Gustav Klimt Inspired Art
I've always been such a fan of Gustav Klimt's work and I was excited that after our Frameless experience in London, Nixie has become inspired by him too. We spent some time online looking at some of his artworks including our favourites, The kiss, Tree of Life & Birch Forest. We began our Klimt inspired art with our own Klimt inspired birch tree forest purely because I thought Forrest would enjoy it more.
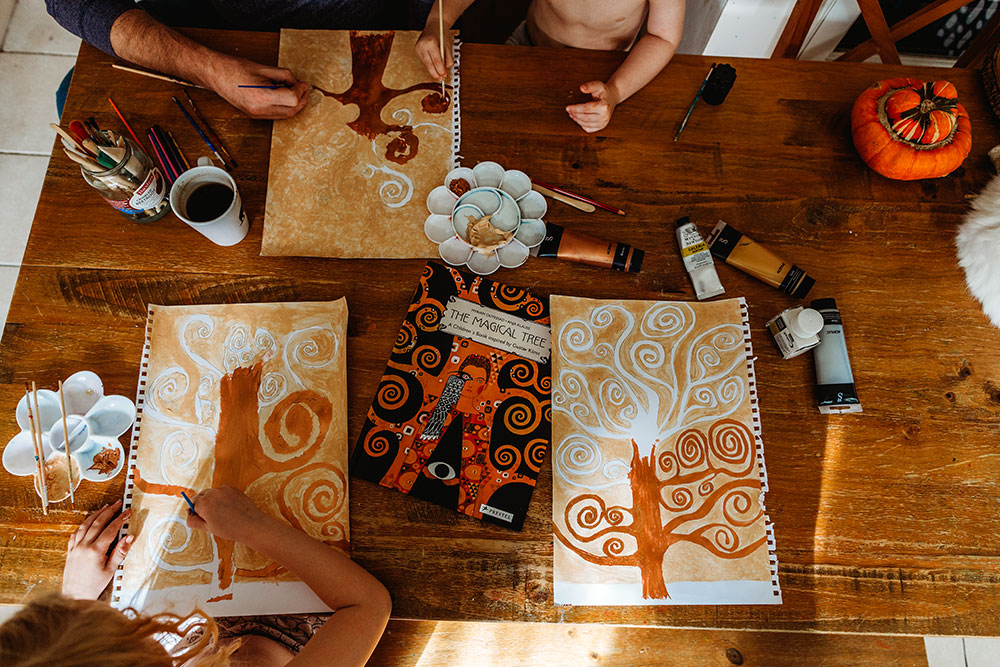
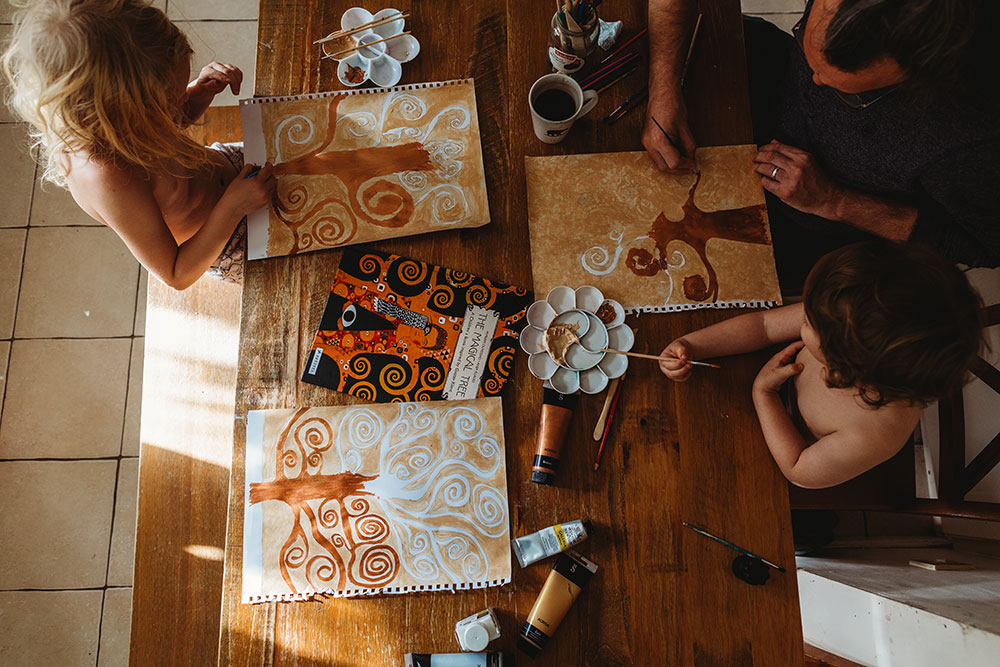
A couple of days later, at the weekend for our family craft project we created our own versions of The Tree of Life. First we read The Magical Tree an incredibly beautiful book by Myriam Ouyessad which was inspired by Gustav Klimt and his Tree of Life piece telling the story of it through the author's eye. I really loved doing this project together as a family and I enjoyed getting creative too while Forrest & Kevin did theirs together.
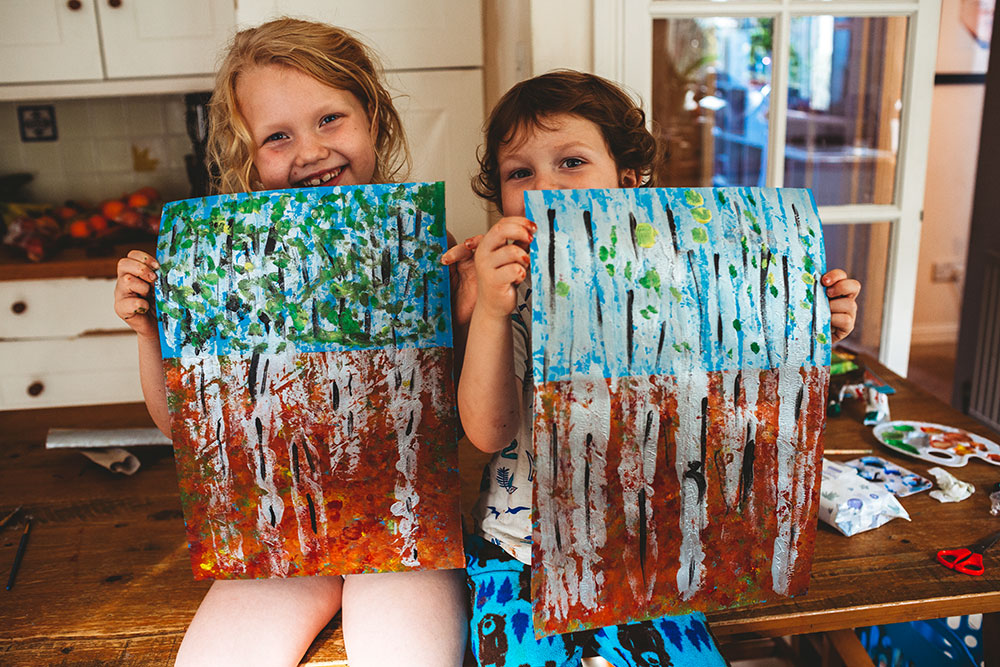
Klimt Inspired Birch Tree Forest
What You'll Need:
- Blue A3 paper
- Acrylic paints in gold, bronze, copper, silver, black, greens, red
- Sea sponges, cotton balls
- Paper towel roll
- masking tape
How To Do It:
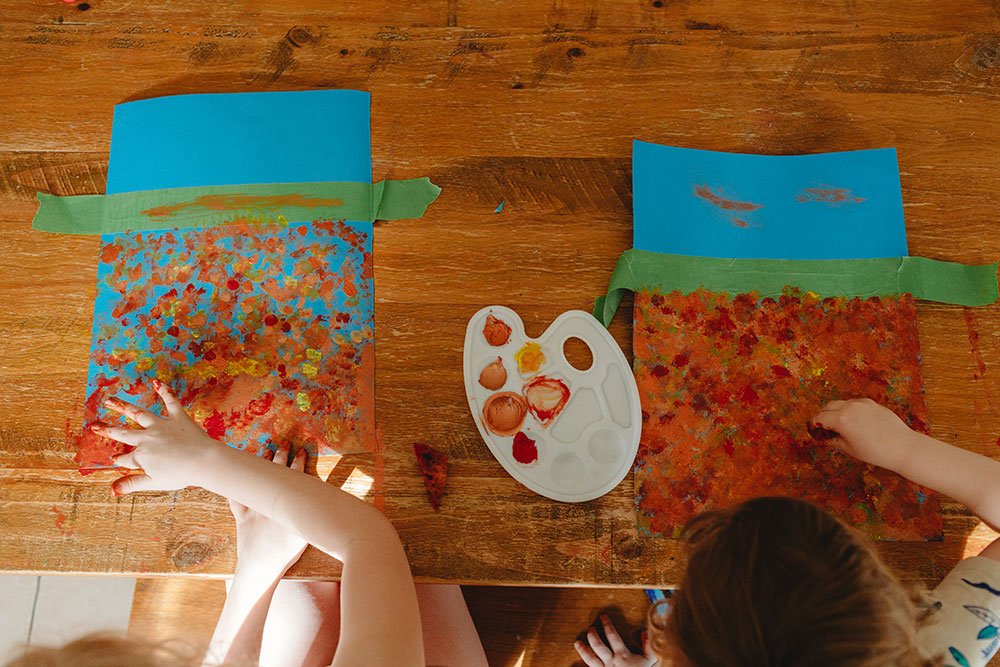
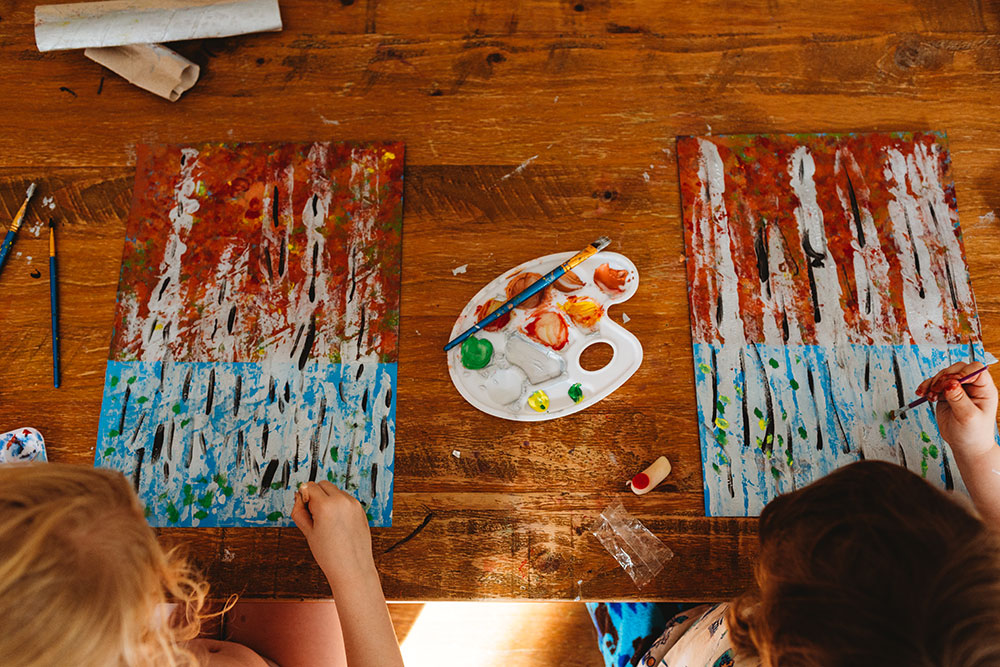
1. Begin by placing a wide piece of masking tape across the top of your paper. Next use your fingers, sea sponges, cotton balls to dab little blobs of paint in a variety of autumnal colours until the whole bottom area is filled.
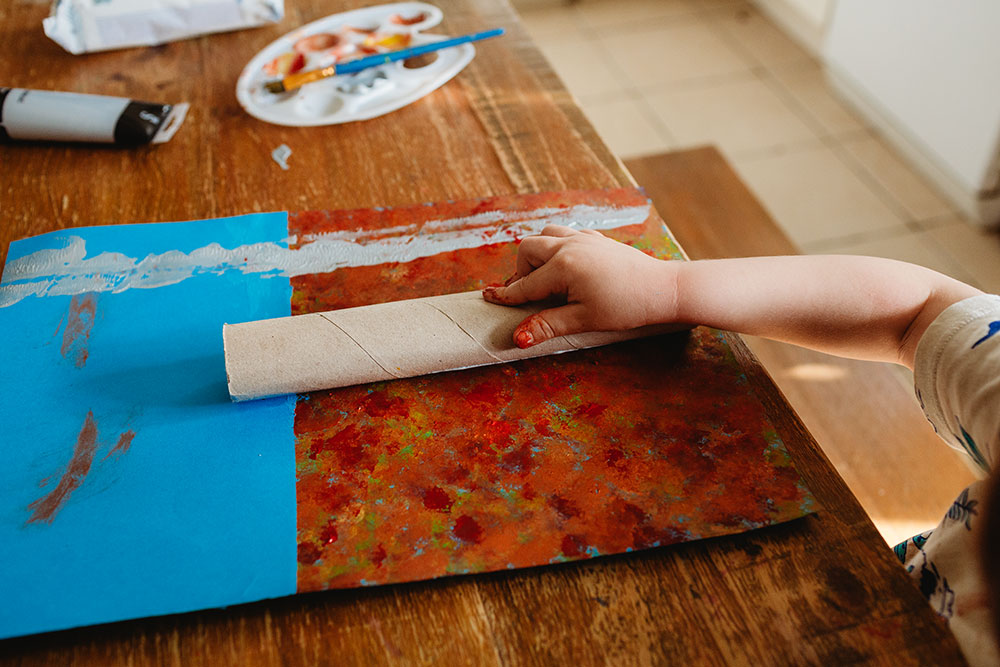
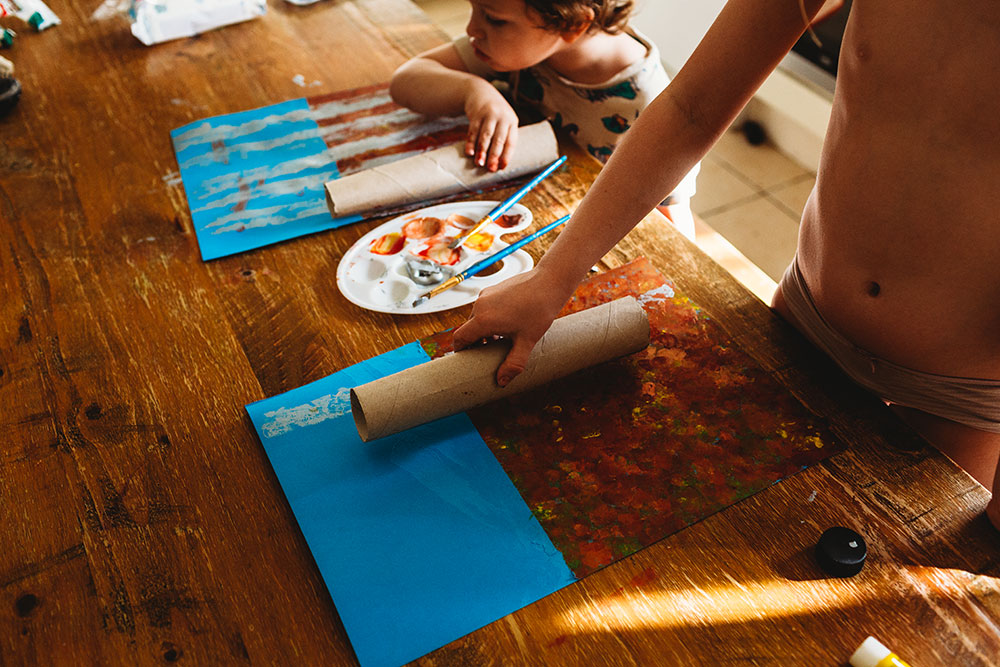
2. Next, remove your masking tape. Grab your paper towel roll and add silver paint to it and stamp your paper with vertical silver streaks. These are your birch trees.
3. Finally add some dabs of green and streaks of black to your trees and they are finished! (I found it helped to turn the paper upside down for this part)
Klimt Inspired Tree of Life
What You'll Need:
- Paper (watercolour or acrylic)
- White cardstock
- Paints in gold, silver, copper, bronze
- Gold leaf
- Gold leaf adhesive
- Paintbrushes
- Glue stick
- Pencil
- Scissor
What To Do:
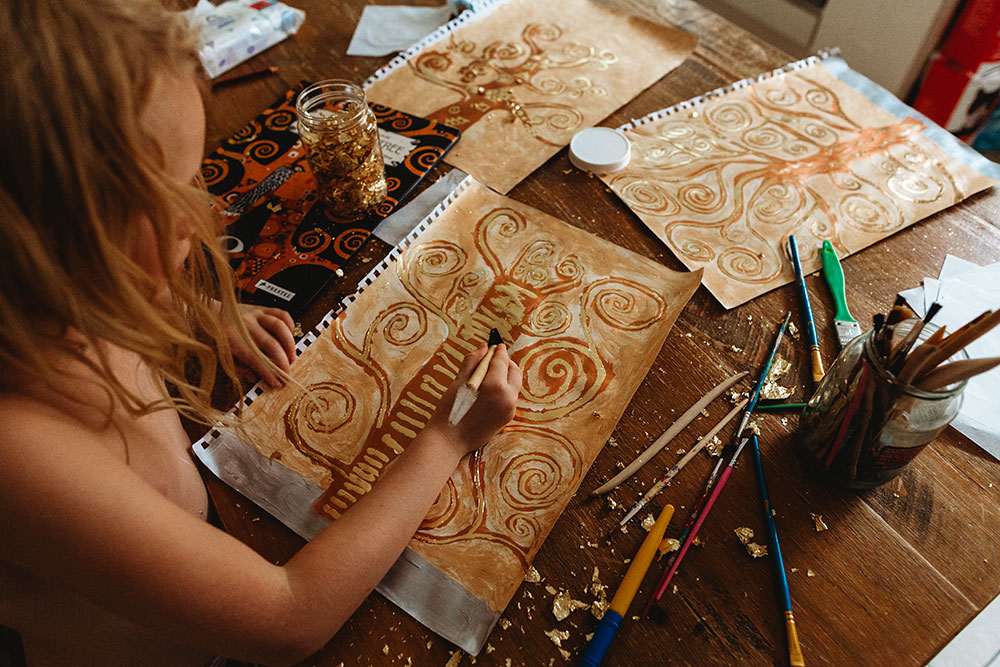
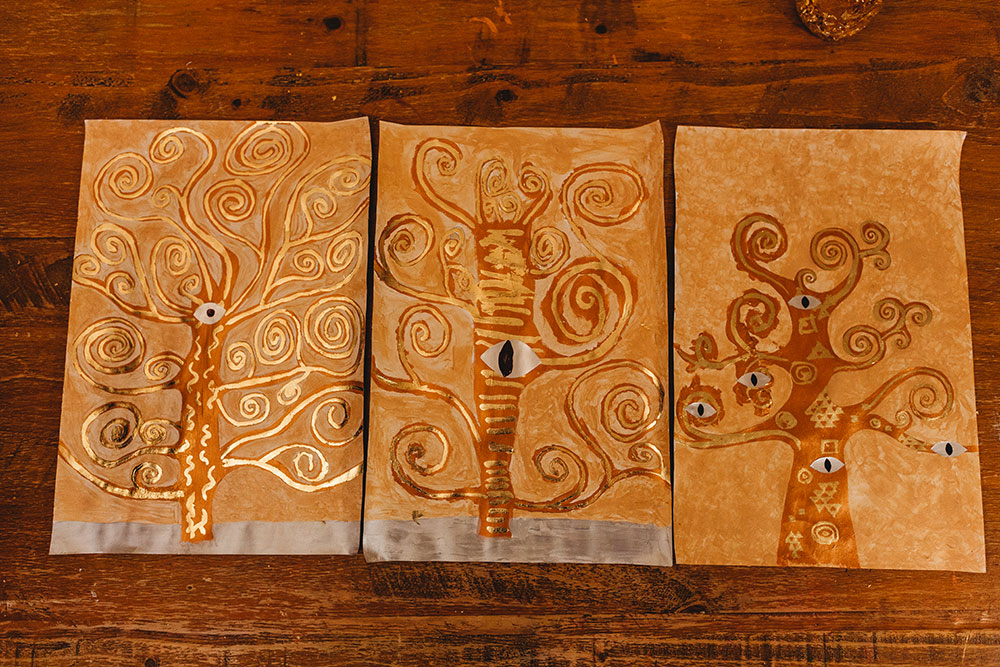
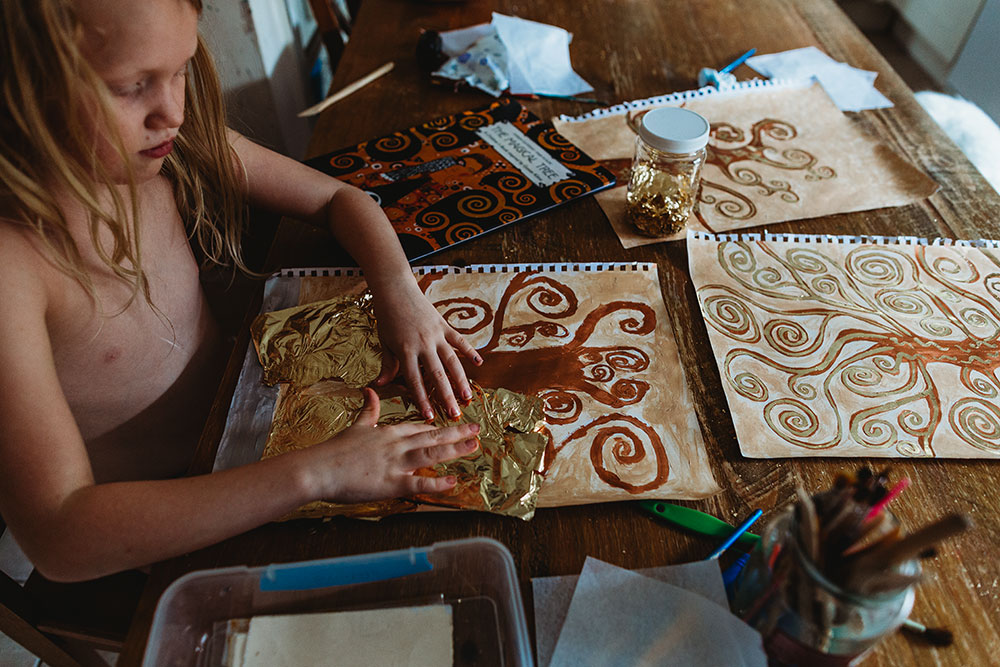
1. Begin with drawing your Tree Of Life, try to have it cover most of your paper.
2. Now paint in your background and your tree. Let dry.

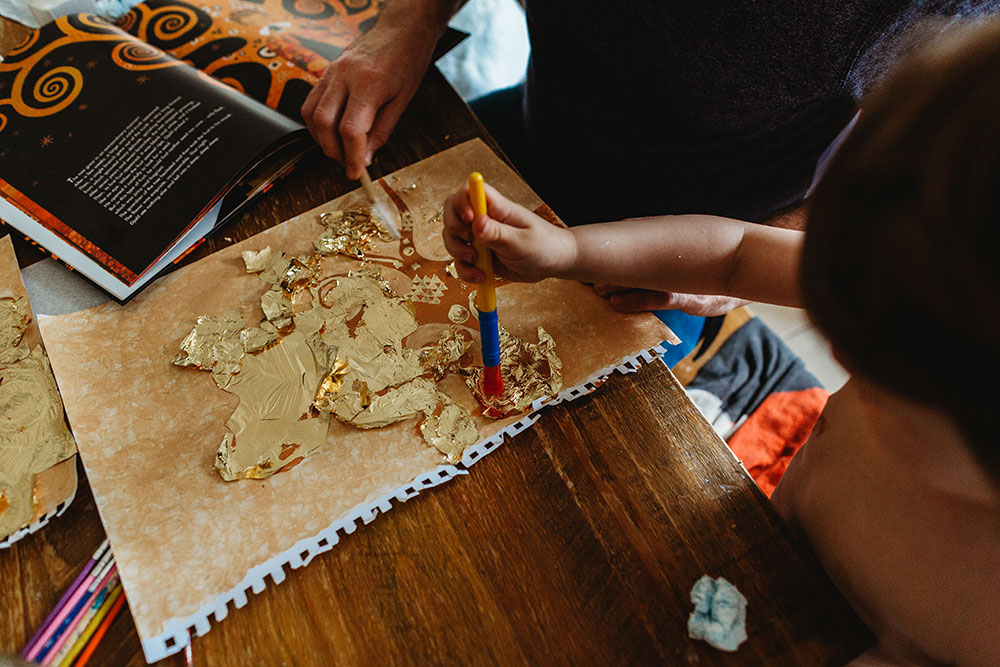
3. Once your paint has dried, it is time to prepare for your gold leaf! With a paintbrush dip your brush into your gold leaf adhesive and "paint" it onto your tree in the patterns you want it to be. Then let it dry for about 15-30 minutes (you want it a little dry but still tacky)
4. Now it's time to apply your gold leaf. Take a sheet of your gold leaf and put it over your adhesive and gently press down until you have it all covered.
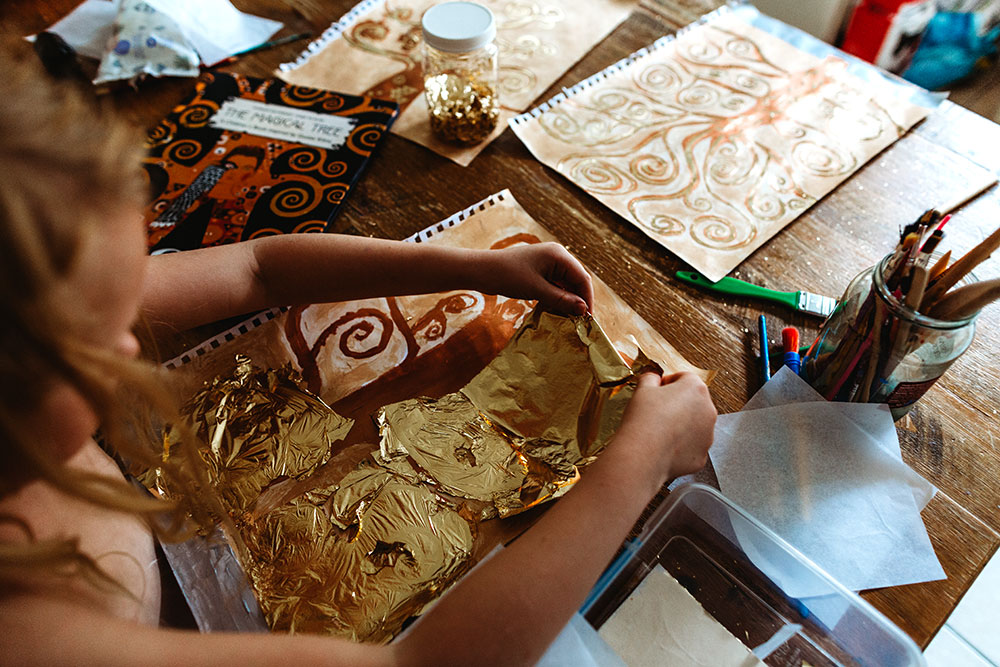
5. Next, with a paintbrush brush off the excess gold leaf (make sure to have a container on hand to collect the extra gold leaf to be used for another project)
6. You may need to go over with a harder brush (we used a bristle brush) to get more of the details. But after this step your piece is finished!