Learning A Bout Sharks: Jaw Pinch Bowl & Skin Experiment
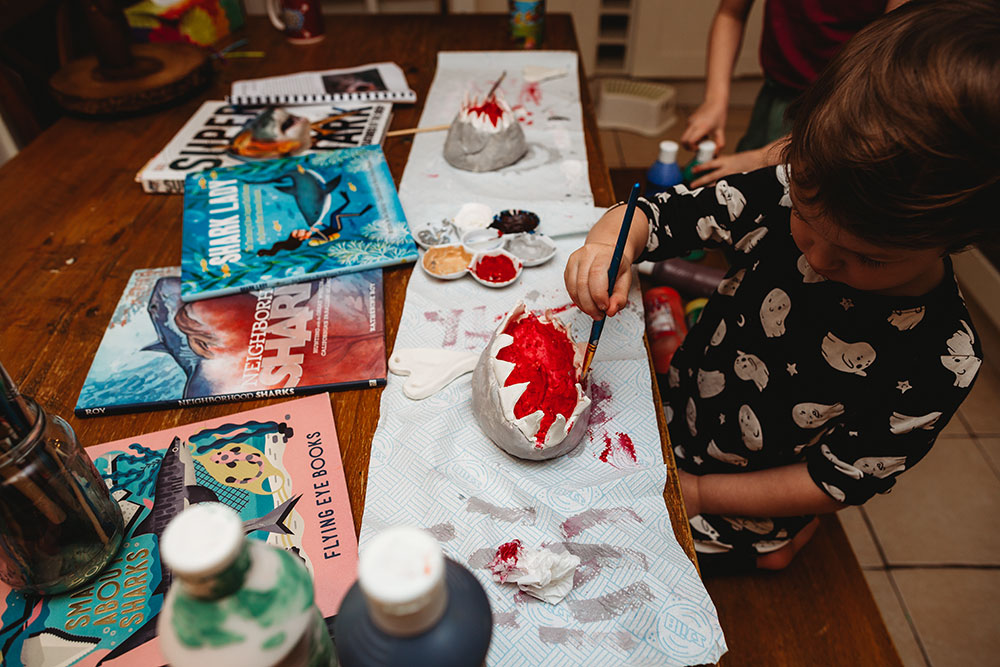
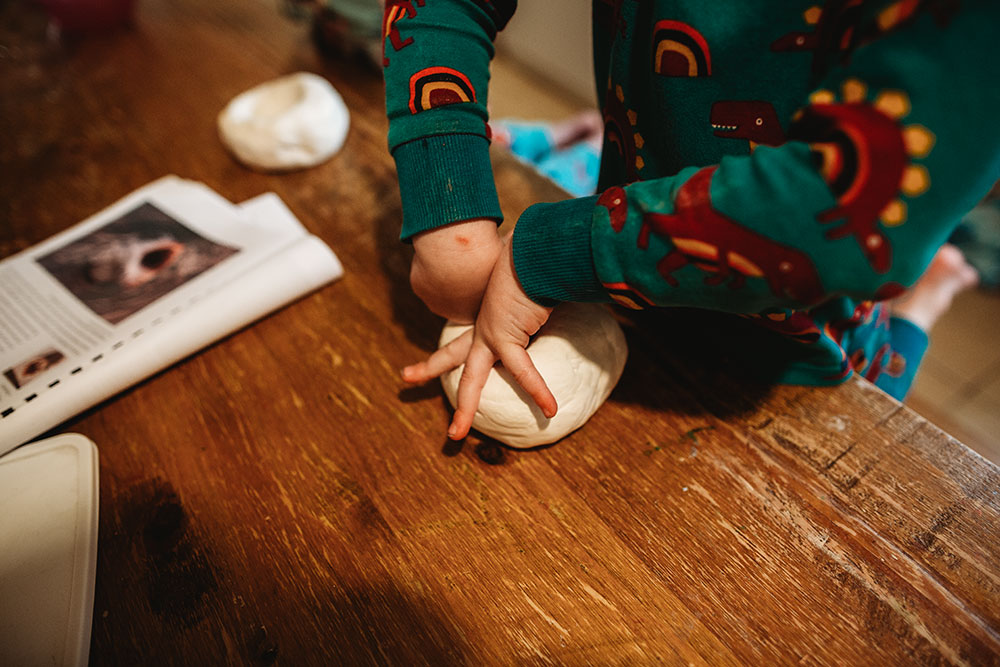
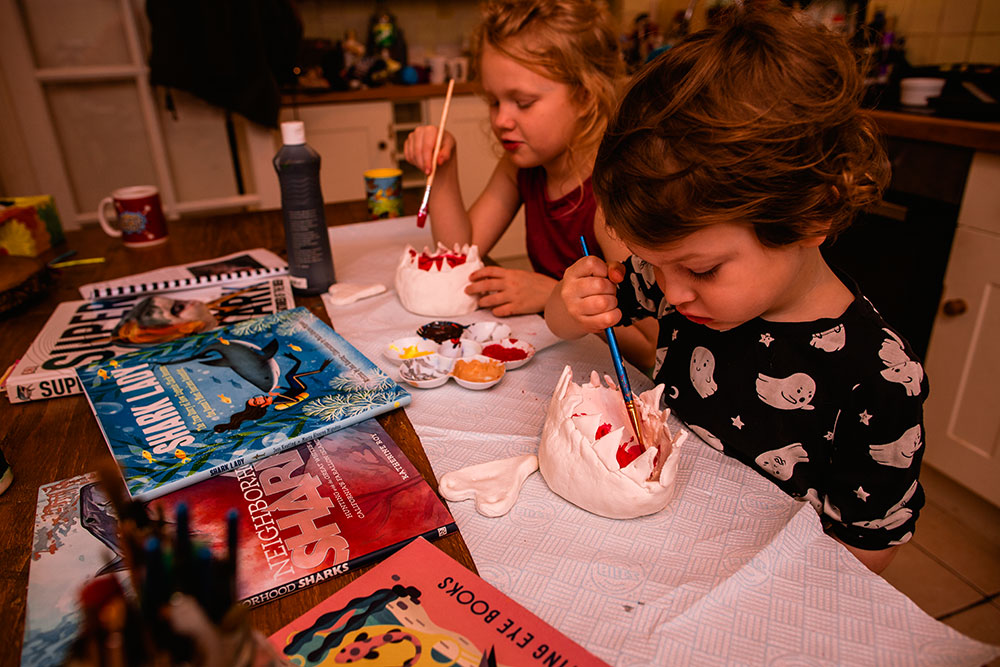
These are from a couple of weeks ago now but since we have now moved on from sharks I thought I'd share these two little projects we did which were really great fun! The first was a shark jaw pinch pot and it was Forrest's first time making one all on his own and I was so impressed with his ability to focus and make the shark teeth. We used model magic which when I first tried it, I didn't really like it but now I've changed my mind as it's perfect for little ones to work with and it's because of it that Forrest was able to do his without any help (mostly, I did help with making his bowl a bit bigger in the beginning).
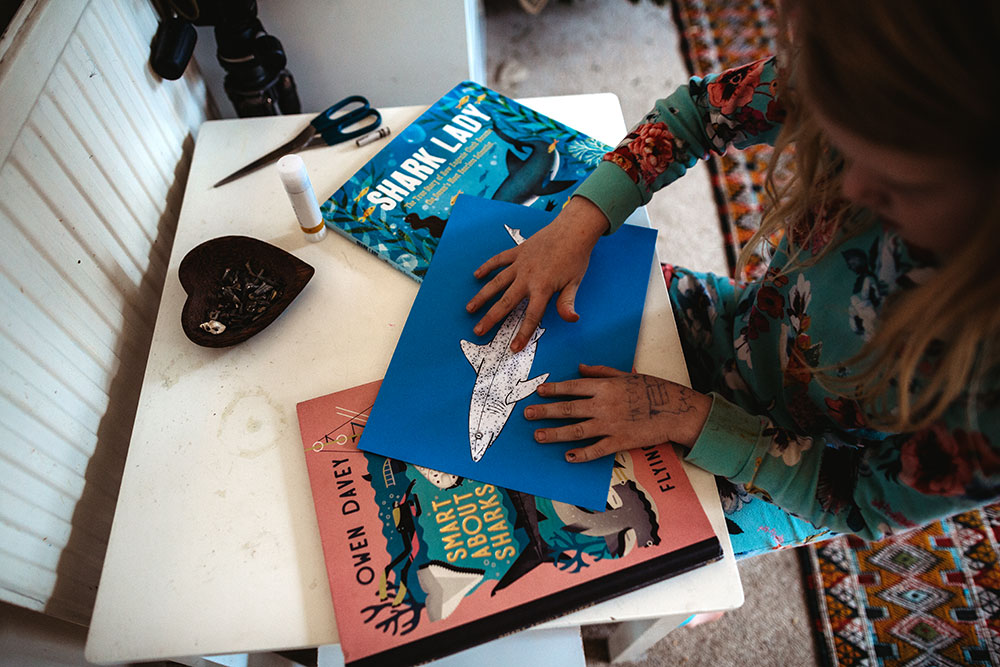
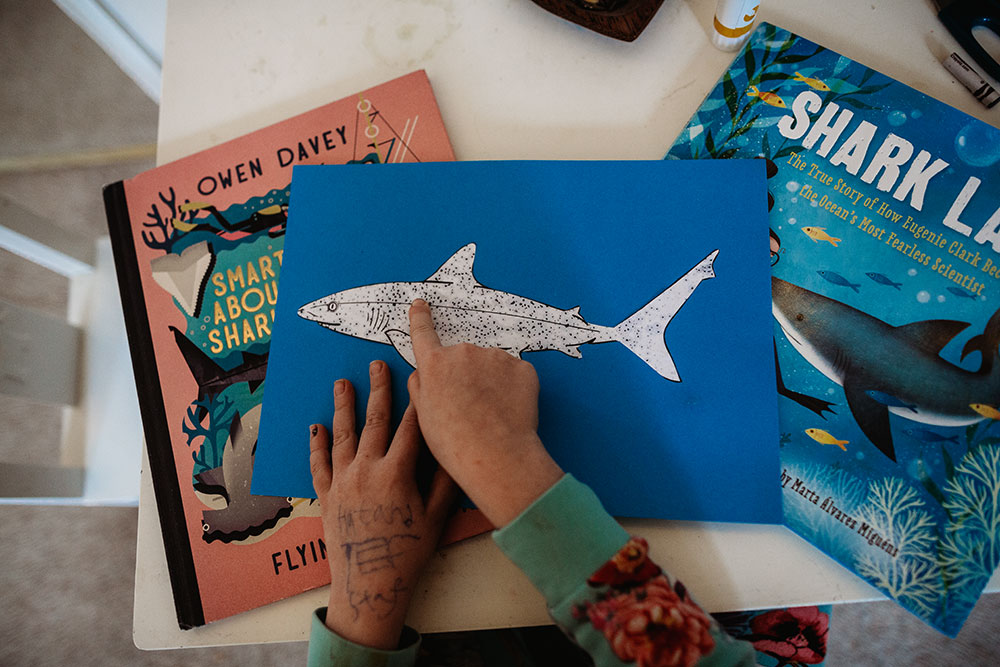
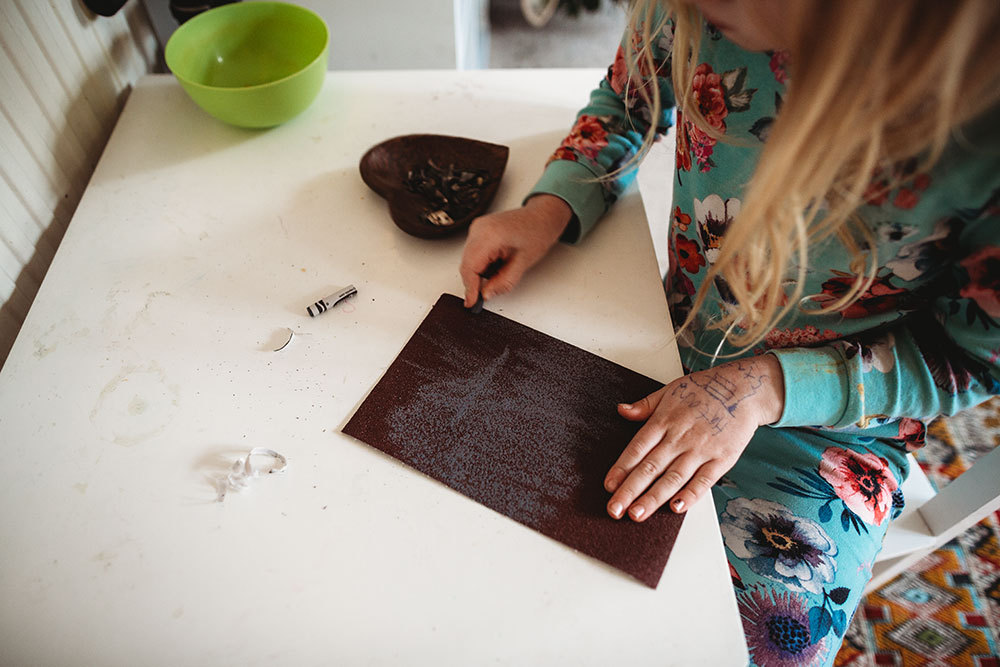
The second project was colouring some rough sandpaper with a crayon and then placing it on top of a shark drawing and then ironing it onto the picture as a way to show the texture of a sharks skin! It turned out pretty good although I wish I would have used rougher sand paper!
Shark Jaw Pinch Bowl
What You'll Need:
- Model Magic
- Red, Grey & Black Paint
- Paintbrushes
How To Do It:
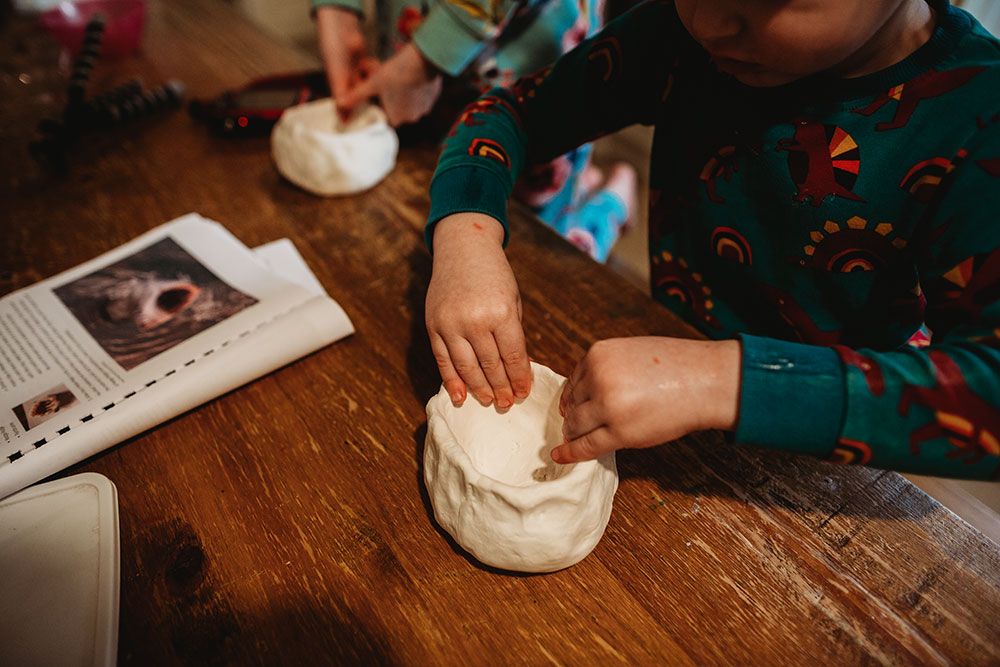
1. First grab a big piece of model magic and form it into a ball. Then using your fingers and thumbs create a hole in it and begin shaping your bowl (jaw).
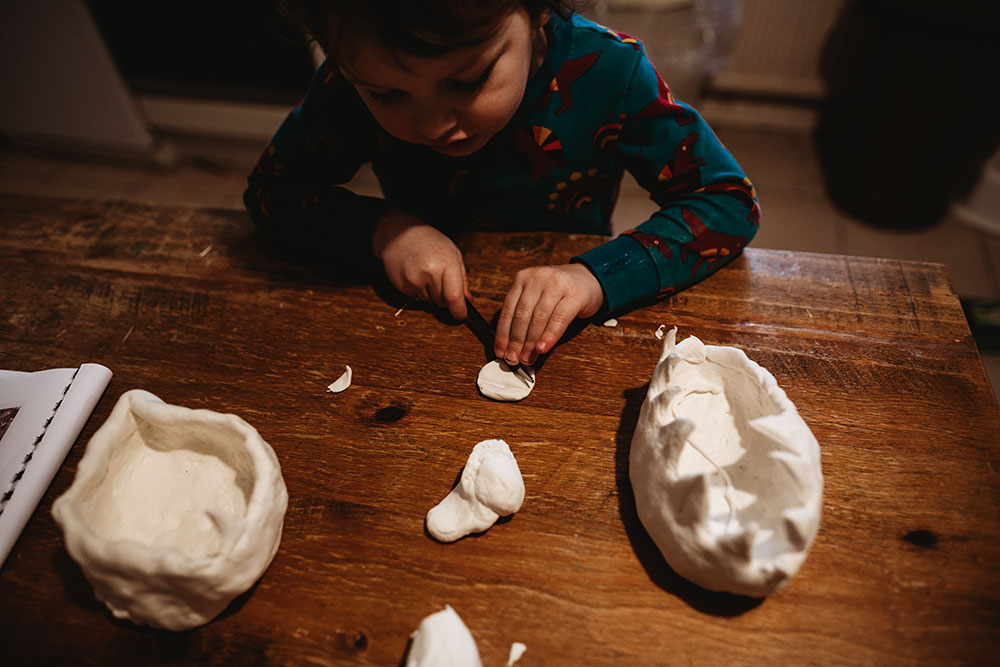
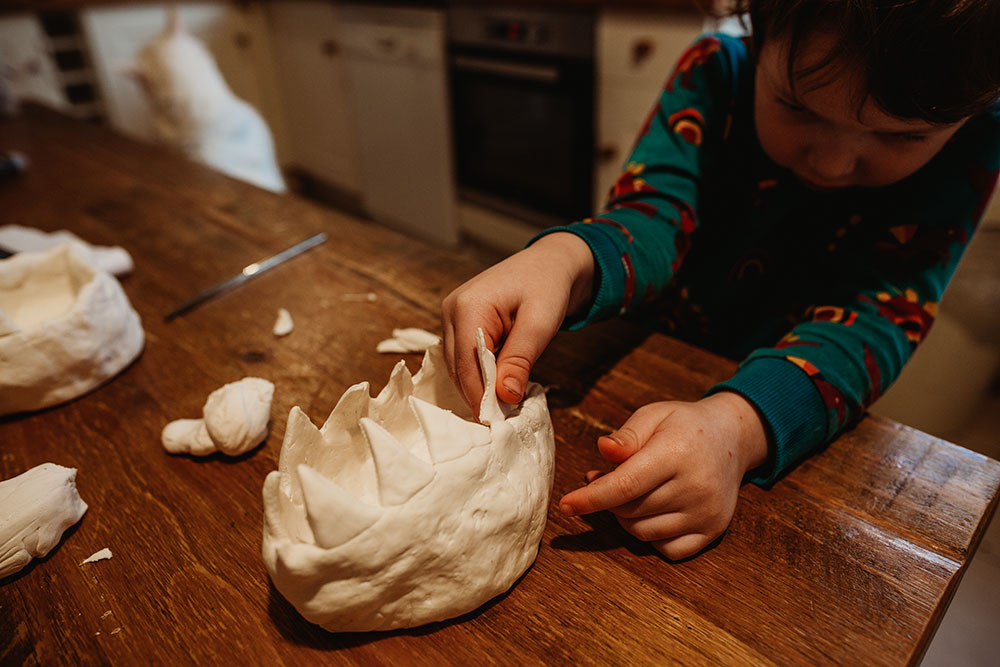
2. Once you have it the size and shape you want it is time for you to add the teeth. You can do so by cutting little triangles and attaching them all around the top of your jaw. Let dry.
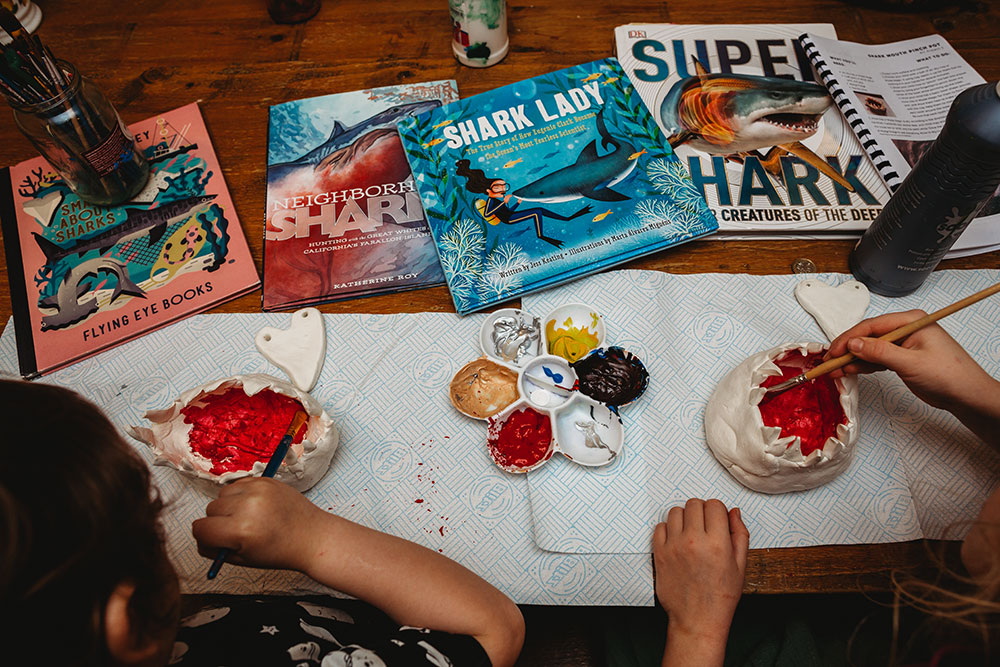
3. Once It has dried it is time to paint your shark jaw. Begin by adding red paint to the inside of your jaw/bowl and then painting the outside grey. You can paint your teeth white or just leave them as is. Let dry and you have a new trinket bowl for your treasures! I think we will use ours as place to put all of the shark teeth that we find!
Shark Skin Demonstration
This was a really great but simple little demonstration to show how rough a sharks skin is.
What You'll Need:
- A printed picture of a shark
- Very rough sand paper
- Crayons
- Iron
- Blue Cardstock
- Glue
- Scissors
- Towel
How To Do It:
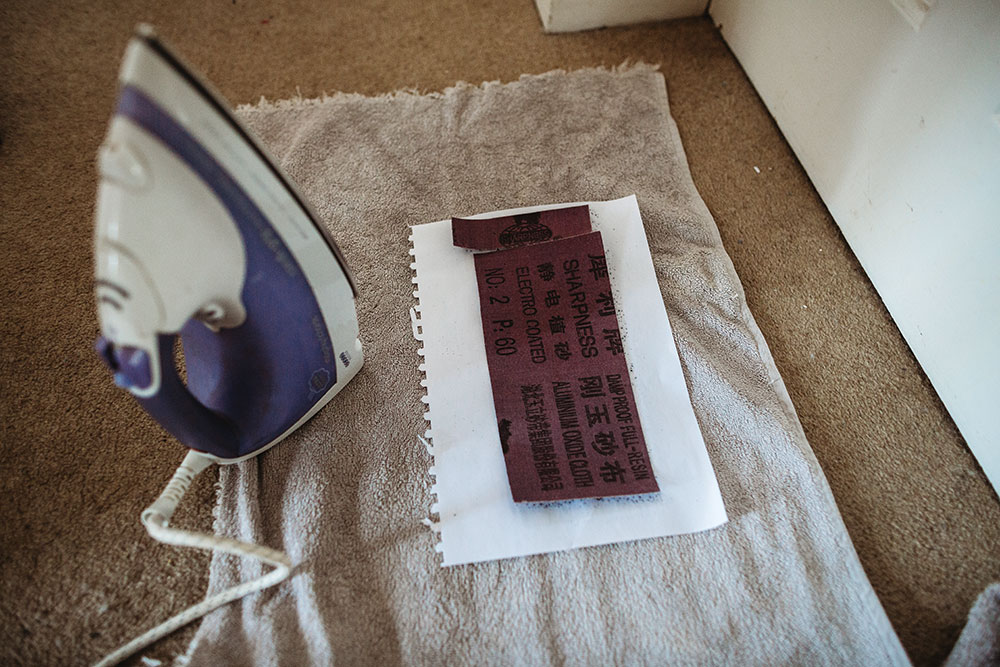
1. First begin by grabbing enough sandpaper to cover your shark. Next, colour your sandpaper in with crayon, pressing very hard as you do.
2. Now it's time to grab your iron, and a towel to place your work on and then take your picture of the shark and place your sandpaper coloured side down directly on top of it, making sure the whole shark is covered. Then add another towel over your work when you iron it. You want to iron it until the wax and parts of the sandpaper has transferred to your picture.
3. Next, cut out your shark.
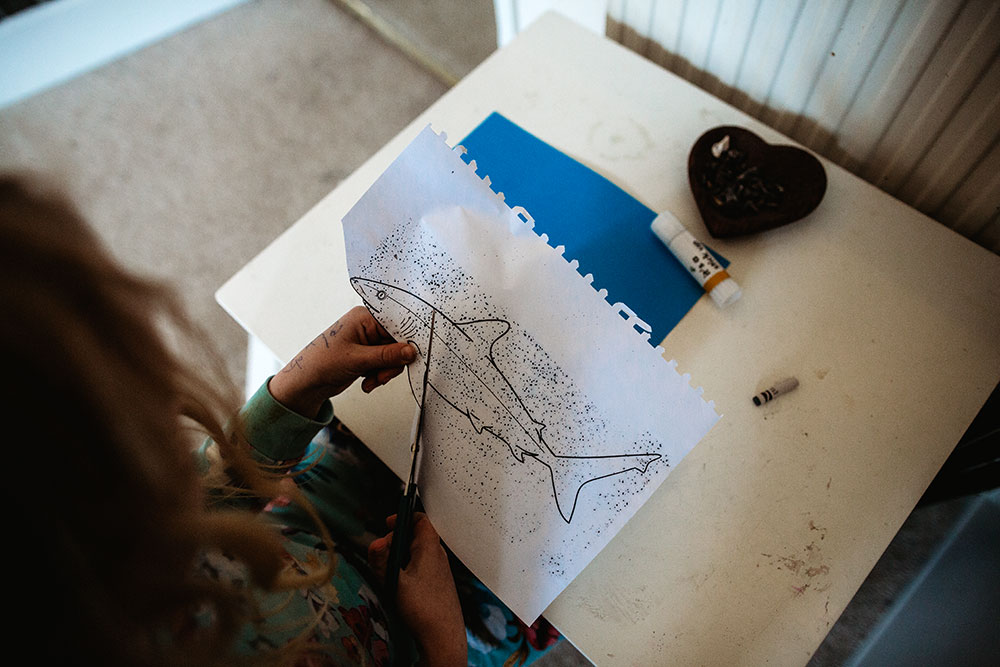
4. Glue onto your blue paper and then rub your fingers back and forth and get a feel for what a sharks skin might feel like!