All About The Weather: 13 Arts & Craft Projects To Get Creative With
There were so many crafts and art projects I wanted us to do together when we were learning about the weather but there's never enough time for everything so in this post I share 13 art projects we did manage to do.
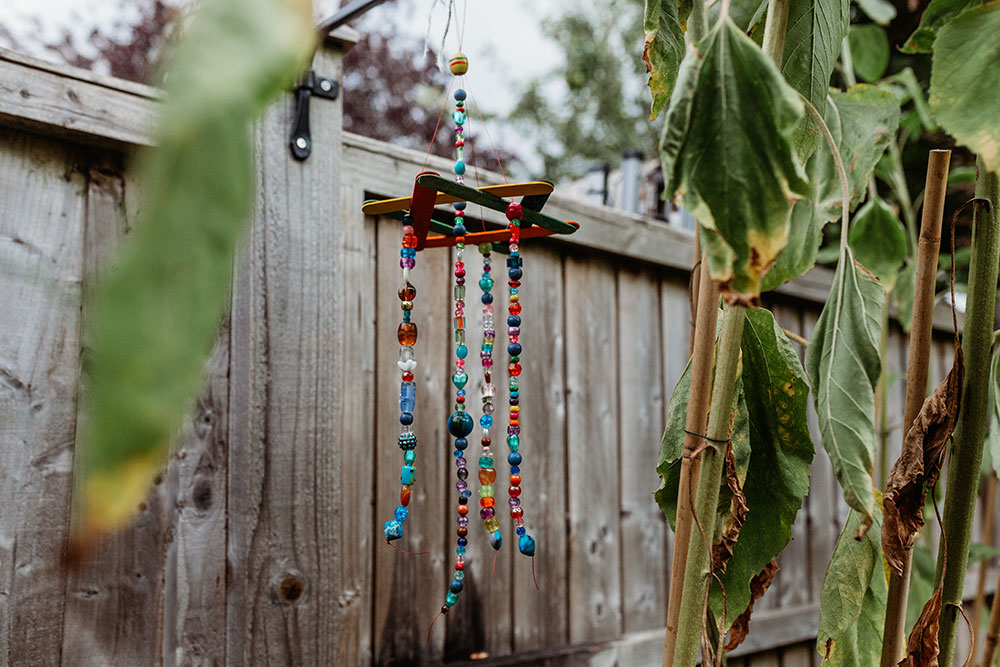
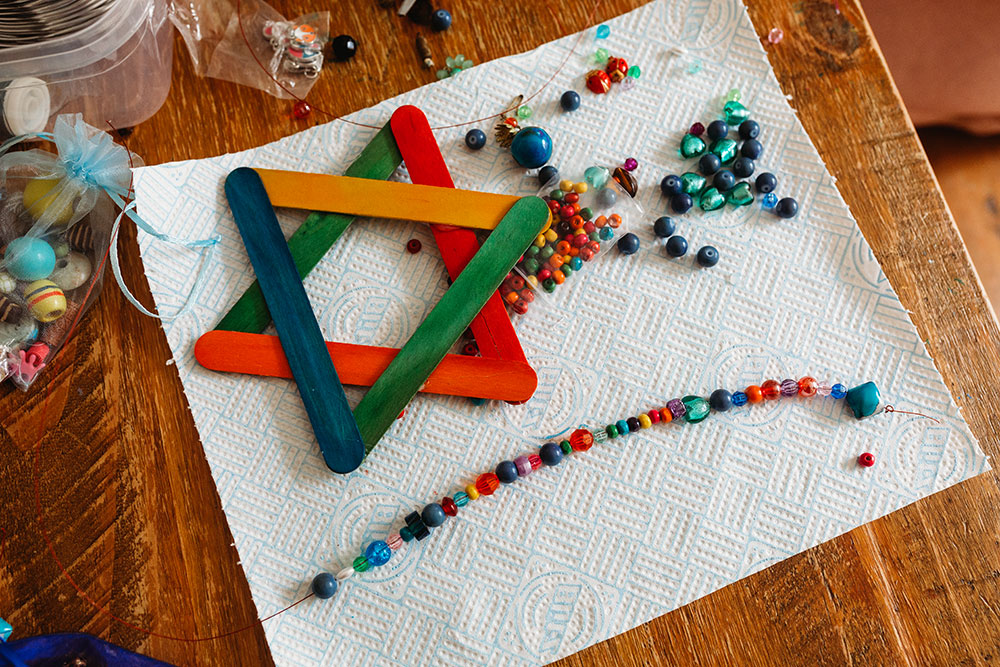
Beaded Wind-Chime
we have a lot of beads in our house so this was the perfect little project for us.
What You'll Need:
- 6 wide large lollipop sticks
- string
- lots of beads
- glue gun
- 4 giant beads
How To Do It:
- We began by making our star out of our lollipop sticks. Create two triangles by gluing the ends of the sticks together. Then glue one triangle on top of the other triangle to make a star shape.
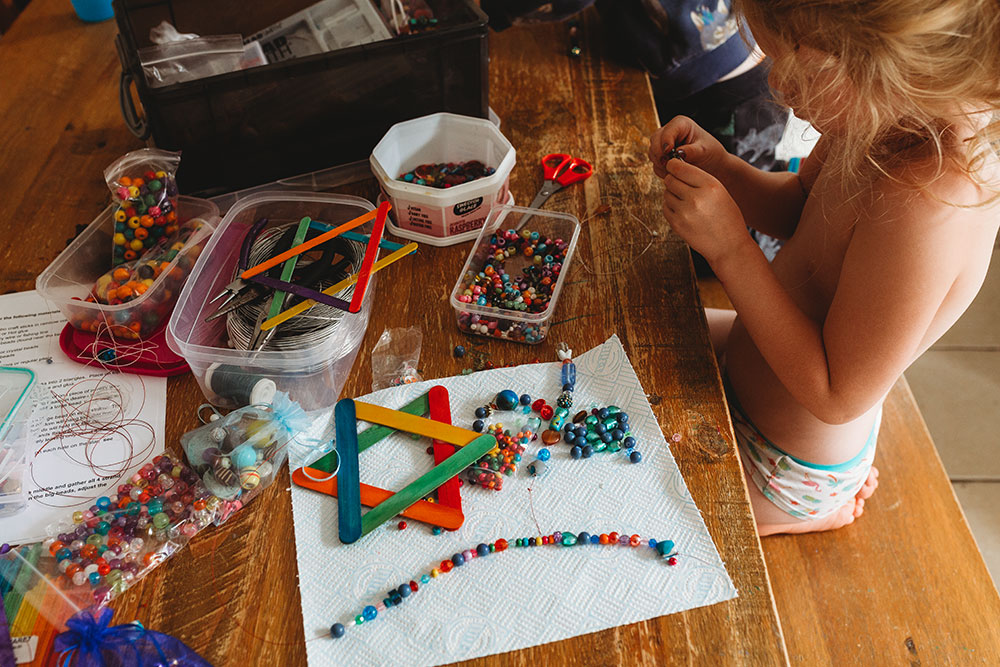
- You will need to cut 4 pieces of similar length string to thread your beads. You may make them however long you want I think ours were about 40cm.
- tie a knot and then we beaded three of them to 22 cm (make sure the last bead is a giant bead as it will be what holds up your star) and one to 30cm. You need to make sure you have plenty of string leftover.
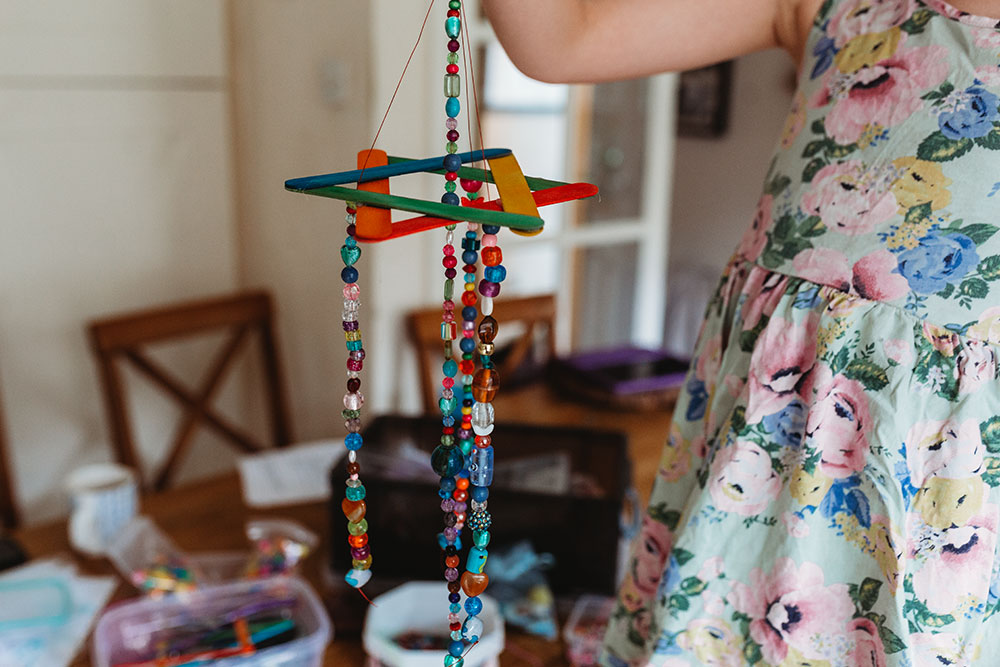
- now thread the three of your beaded strands though the openings of one triangle.
- thread the longer one through the centre
- then make sure your strands and your star is sitting evenly when you hold it up by all the threads and grab a giant bead and tie a knot. Our bead had a very small opening on the one side so it was easy for it to stay in place.
- make a loop for it to be able to hang and put up somewhere in your garden!
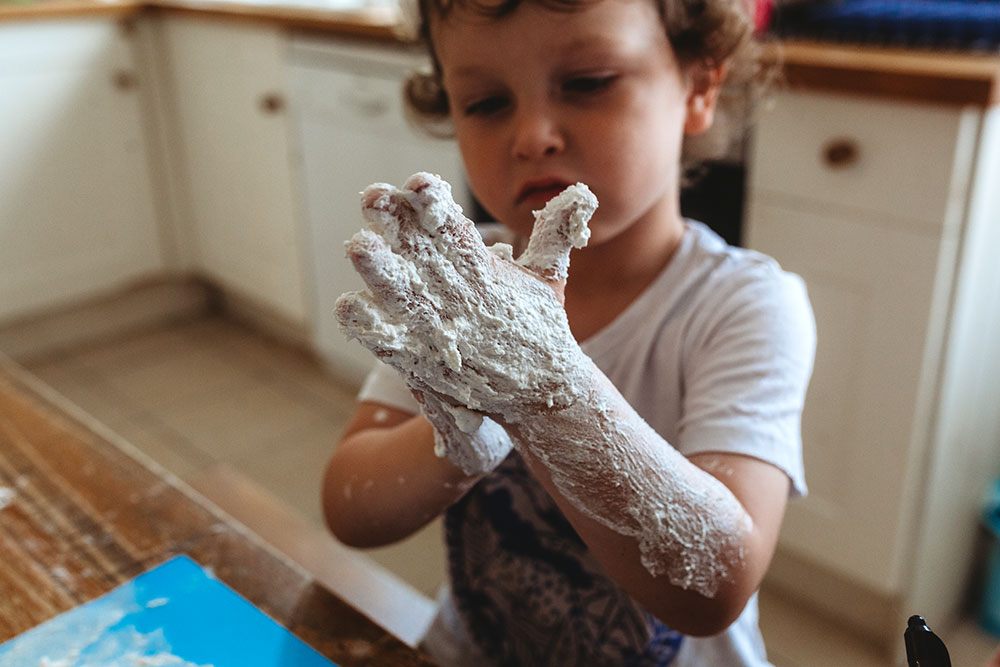
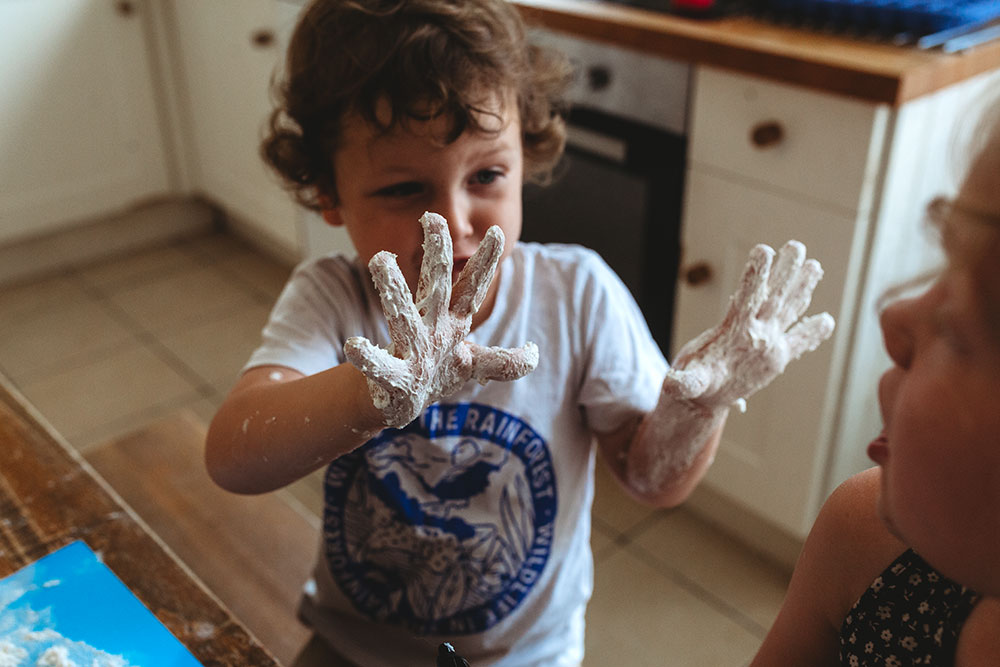
Puffy Paint Clouds
This was such a hit with the kids! I highly recommend this project when learning about clouds. We had so much fun studying and looking at different pictures of different types of clouds while we did this and even after the cloud painting was finished Forrest, especially loved just playing with it!

What You'll Need:
- 1 1/2 cups shaving cream
- 1/4 cup white glue
- 1/4 cup flour
- thick blue card stock
- paintbrush
How To Do It:
- mix the shaving cream, glue and flour together until it is all combined
- grab your paint brush and make some clouds!
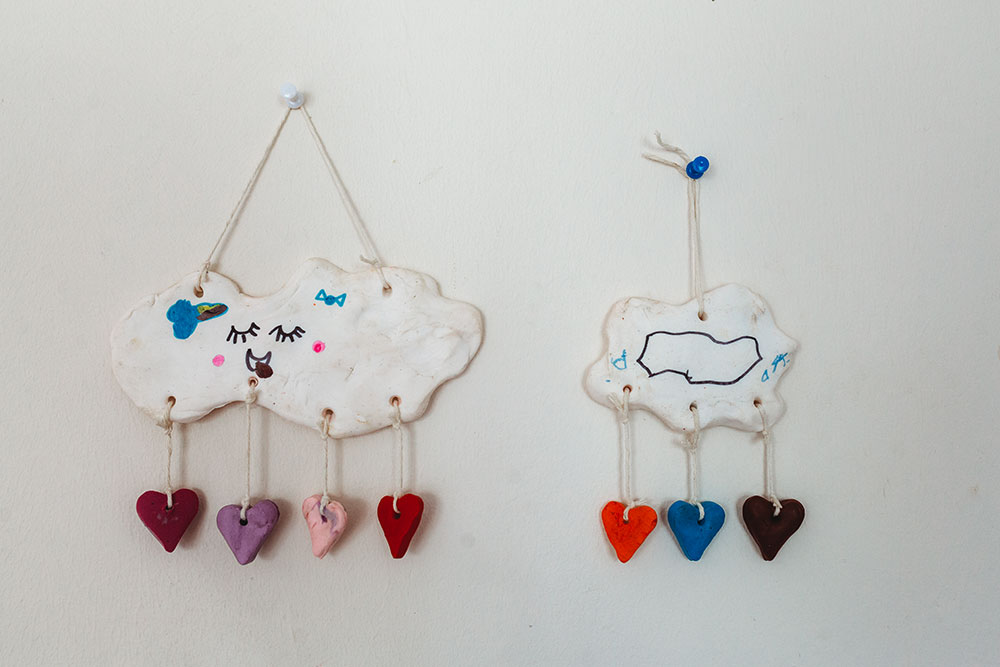
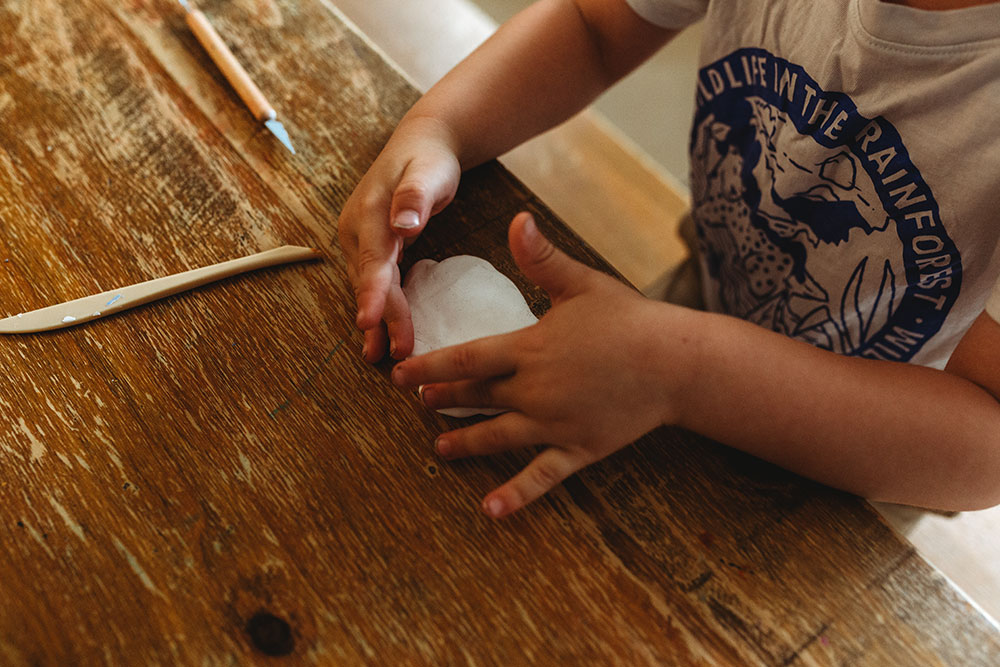
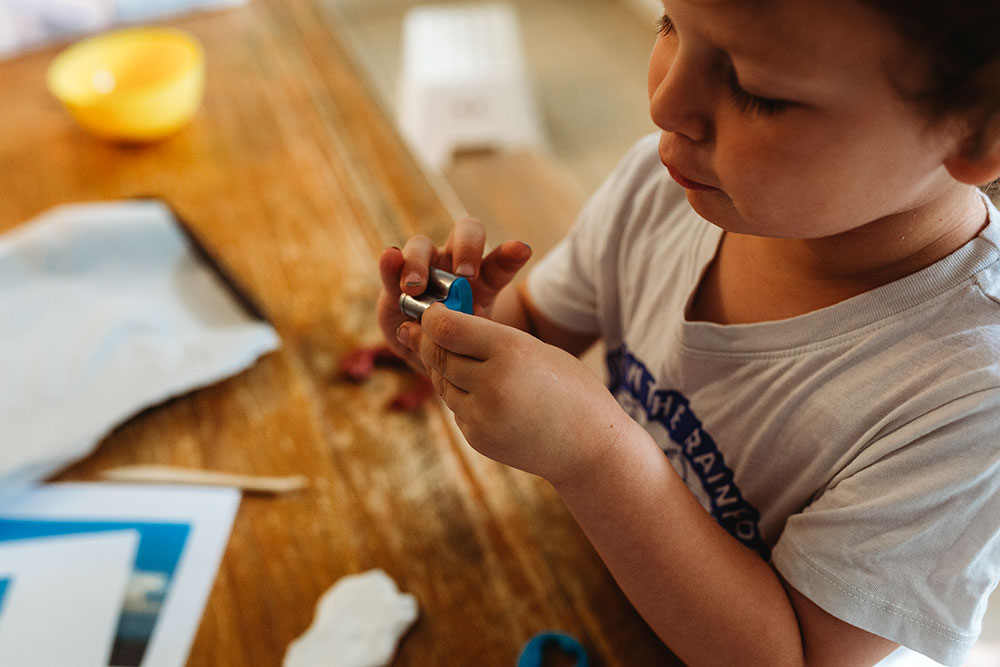
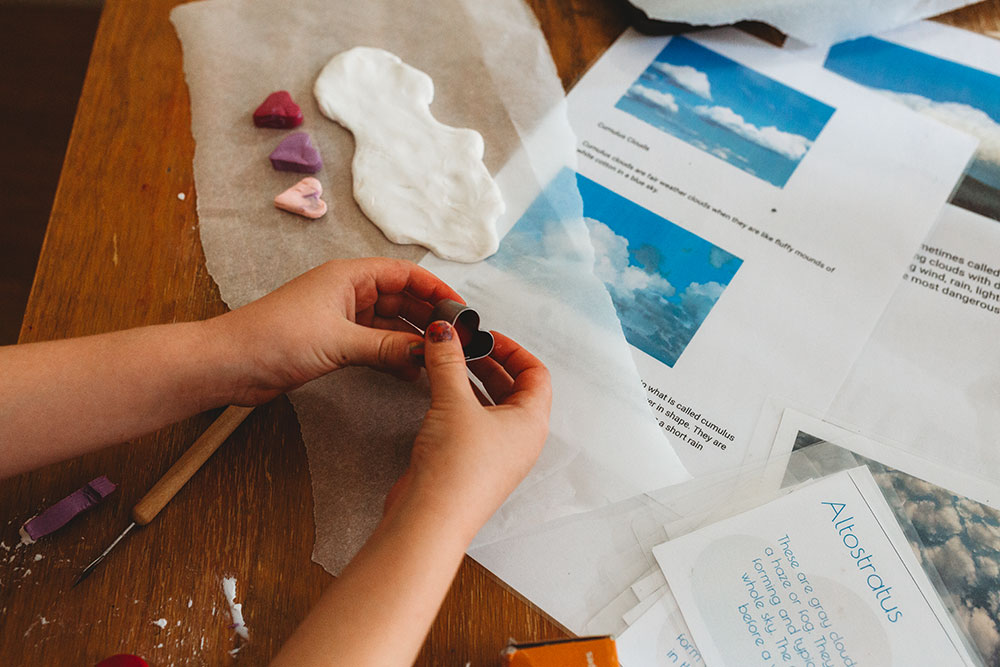
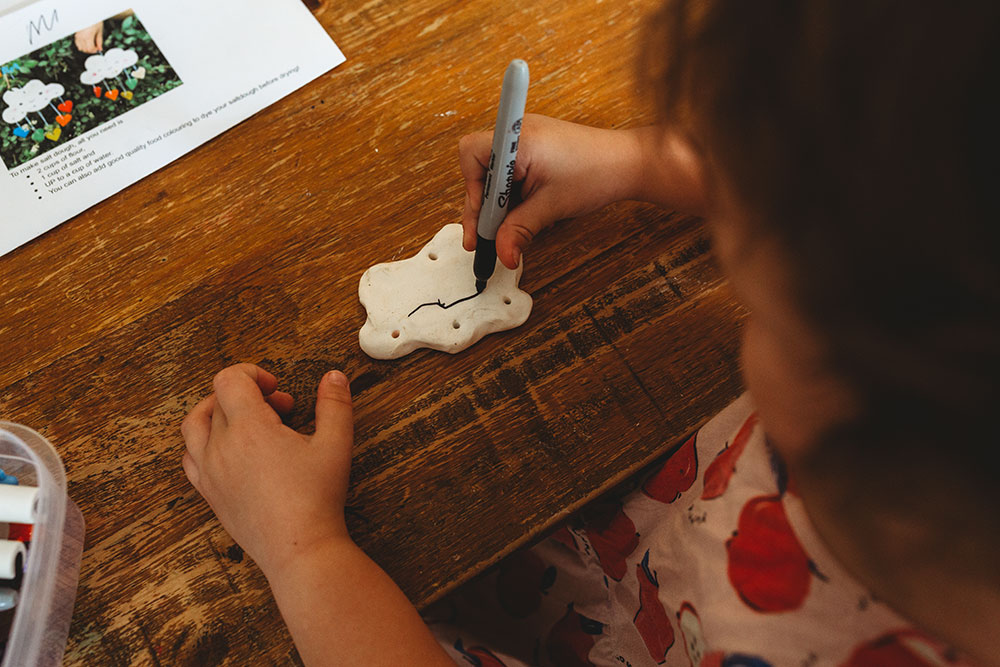
Polymer Clay Clouds
if you haven't realised already we love polymer clay and are always on the look out for new things to make and this was a really easy project and one that Forrest could do really easily too.
What You'll Need:
- white polymer clay for the cloud
- different colours for the hearts
- a very small heart cookie cutter
- something to poke holes with
- string
How To Do It:
- make your cloud shape
- make your hearts
- poke holes in your hearts and the cloud where you want your hearts to go
- poke either on or two holes in the top of your cloud for hanging (dependant on shape and size)
- bake in the oven at 130c for about 30-40 min
- draw on faces
- add your string and you are finished!
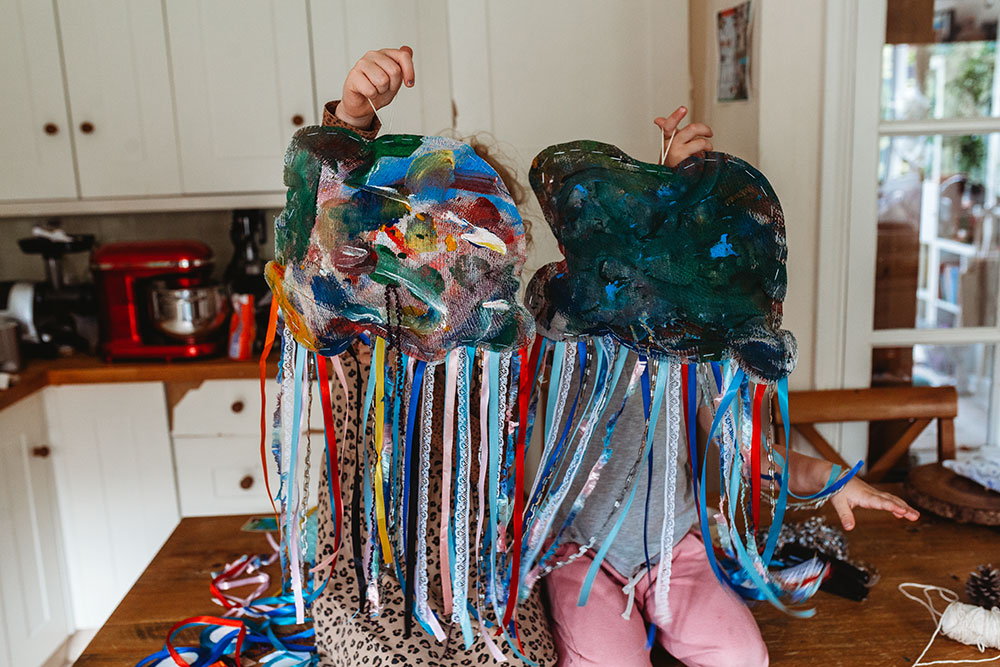
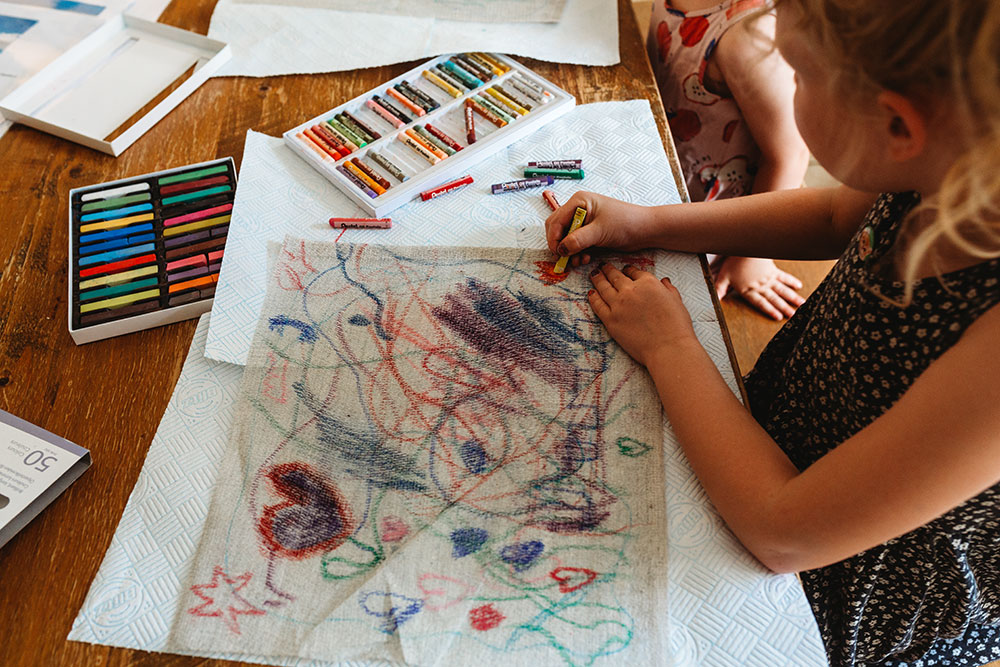
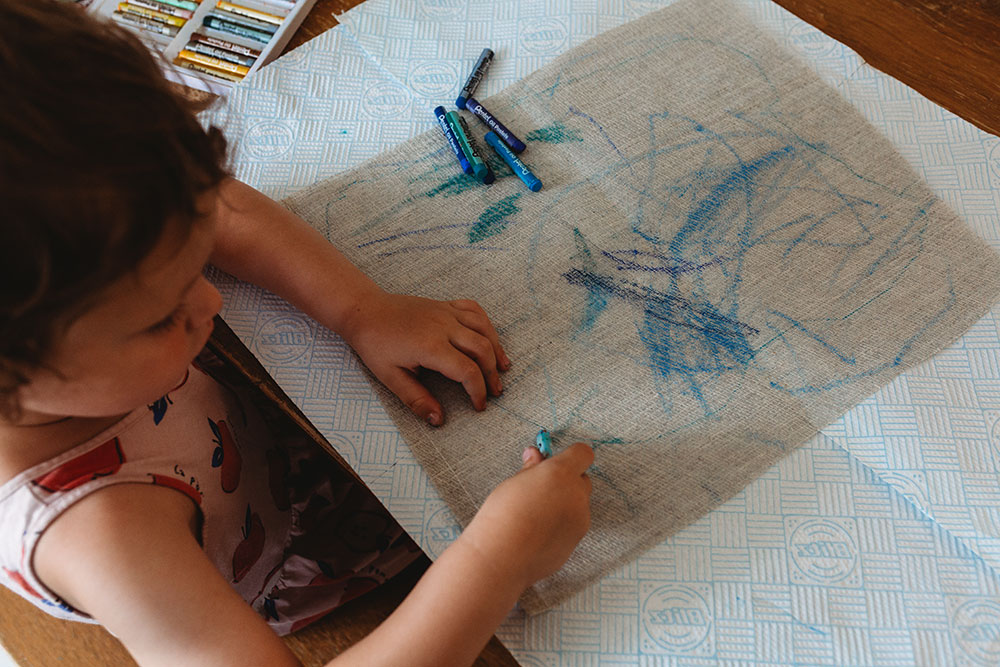
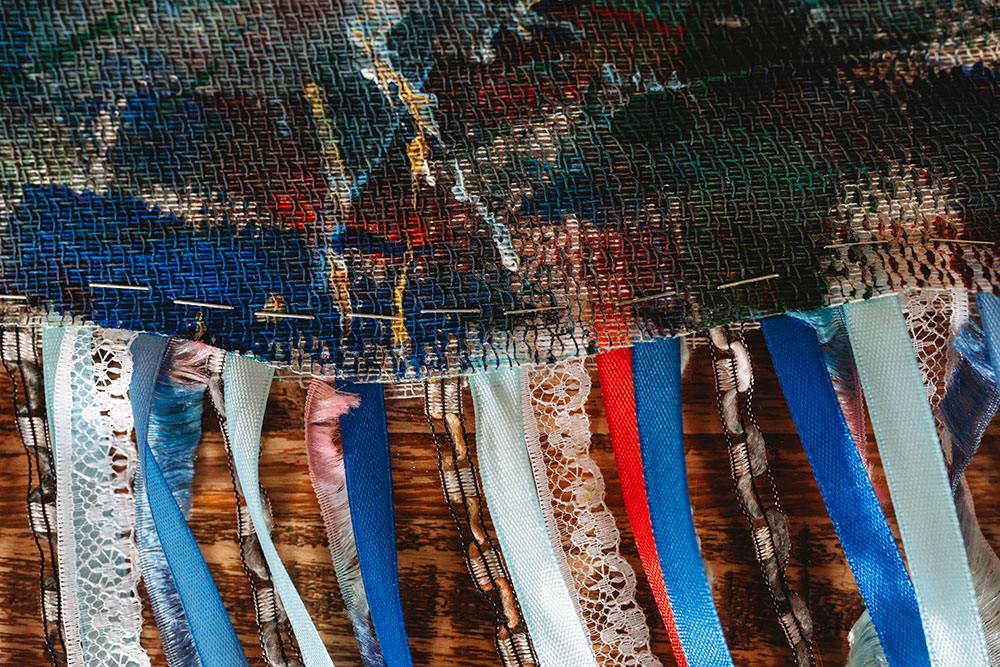
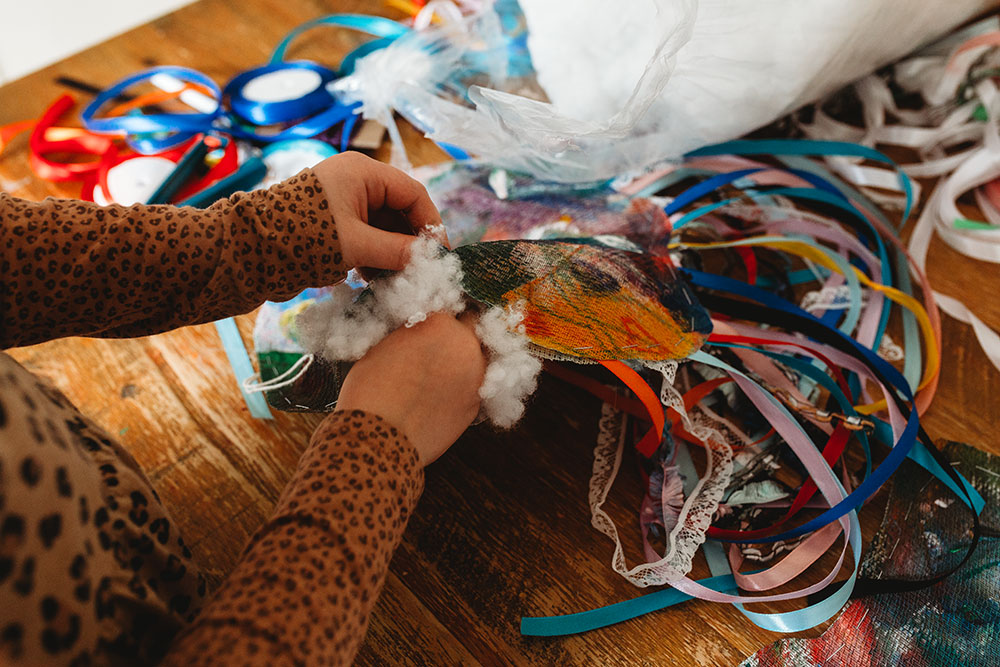
Mixed Media Puffy Clouds
when I discovered these online by Meri Cherry I just knew we had to give them a go! And it was the first time I had ever heard of using double sided drop cloth as something to paint on and that fact alone excited me. I love trying new things! Now I just need to come up with more cool things to make with it!
What You'll Need:
- double sided drop cloth
- ribbons
- oil pastels/chalk pastels
- paint
- stapler
- masking tape
- stuffing
How To Do It:
1.Cut a rectangular piece of drop cloth approximately A3 size
2. Draw a big puffy cloud shape on the shiny plastic side of the drop cloth
3. Flip the cloth over and use oil pastels and chalk pastels to draw pictures or shapes on it
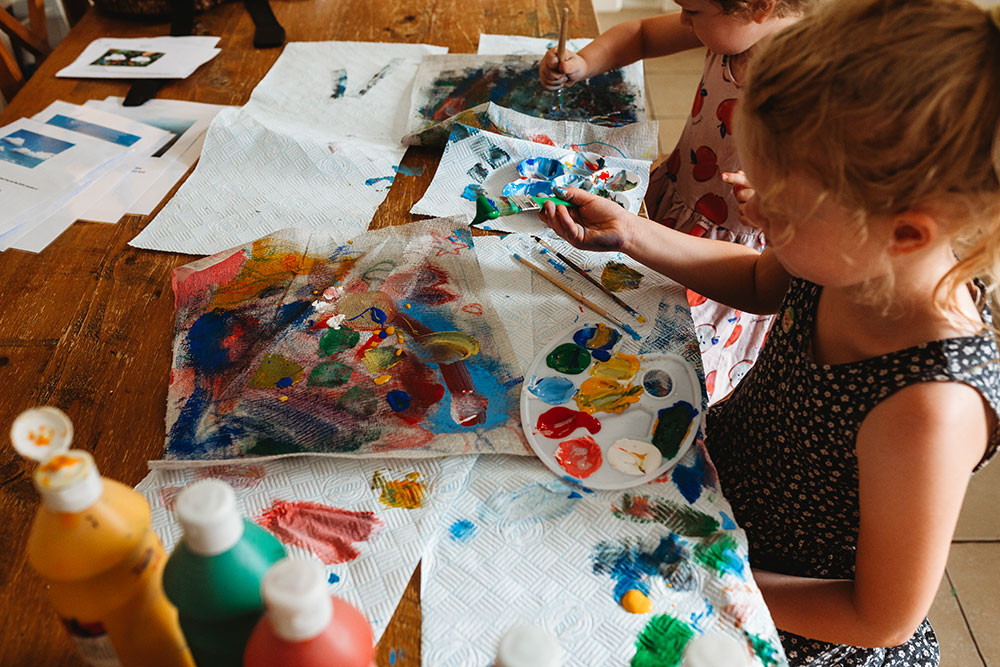
4. Next add paint

5. Once paint is dry line it up with more drop cloth and cut out the shape of the cloud that was drawn on the opposite side
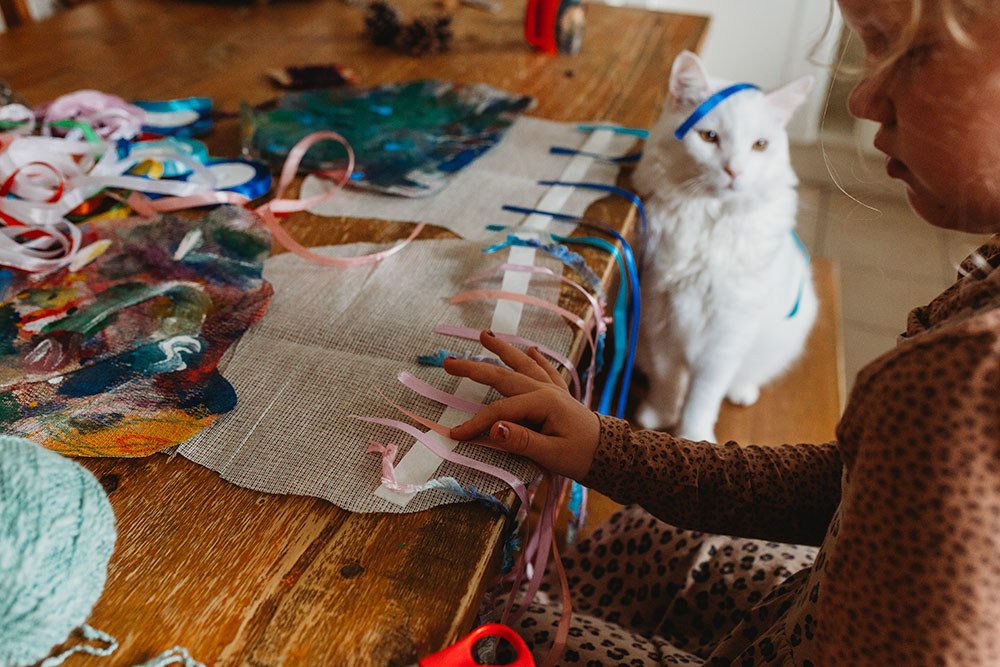
6. Cut a bunch of ribbons about 50cm long
7. Now take a long strip of masking tape (as long as your cloud) and have it sticky side up but attached with the ends to the edge of your cloud
8. Add your strands of ribbon to the masking tape until it is filled
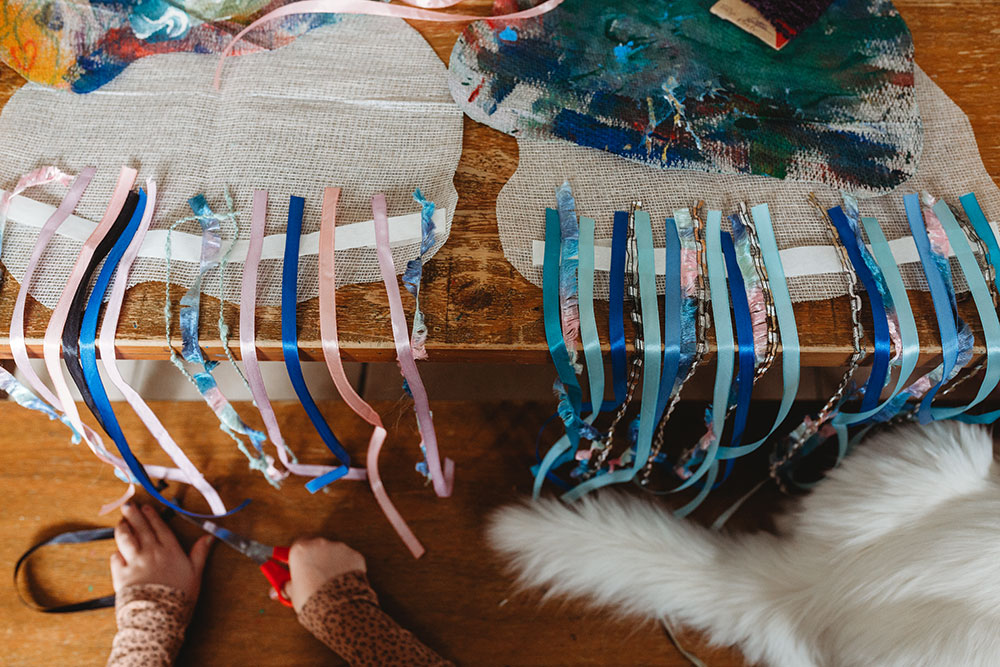
9. Add your painted side of the cloud and place it on top and staple it all around leaving a hole to be able to fit the stuffing
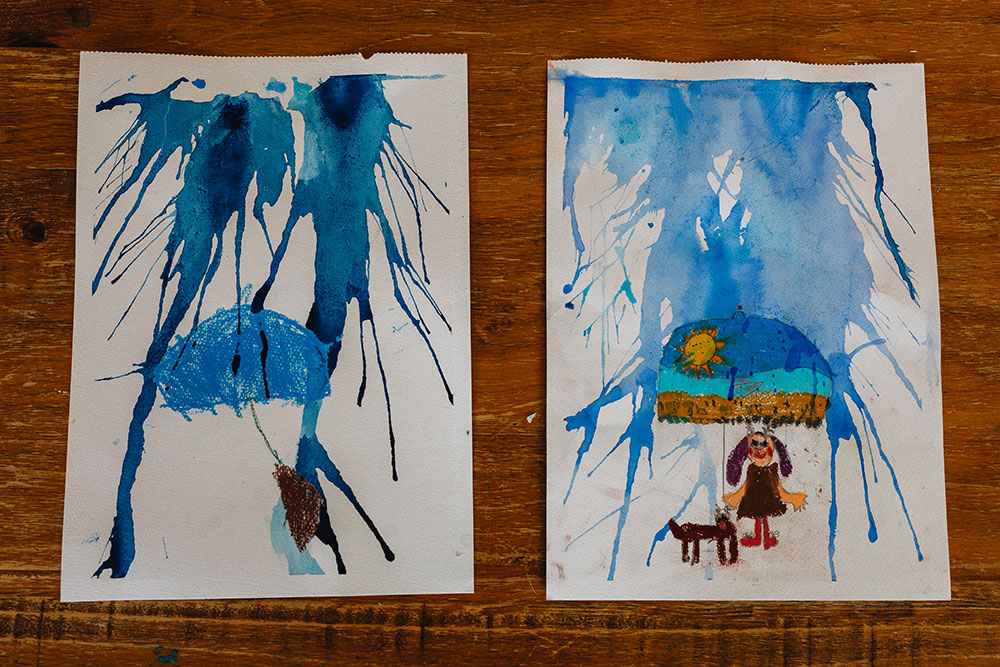
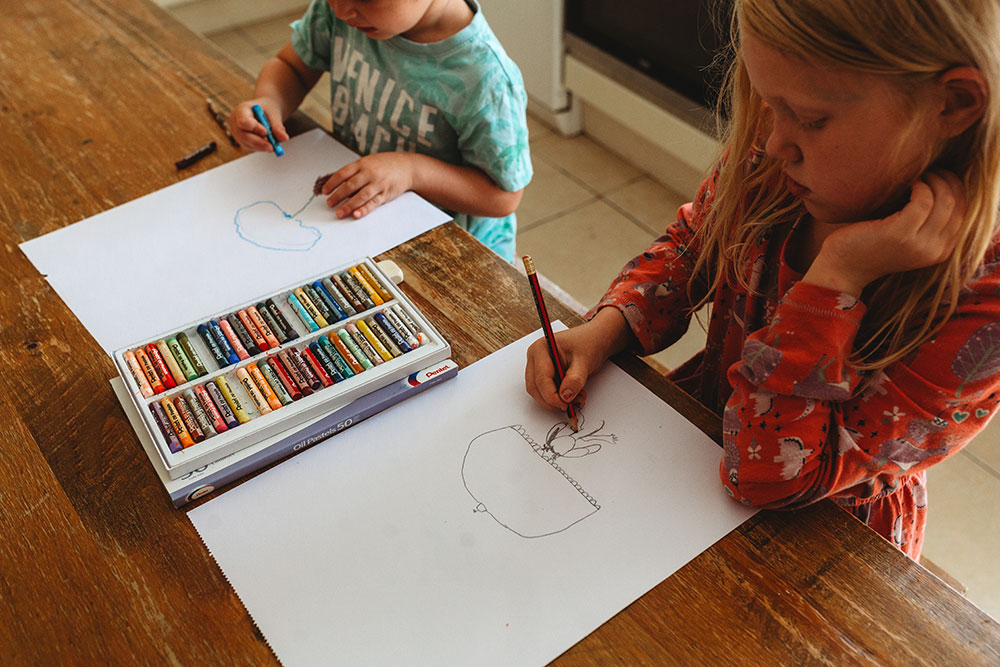
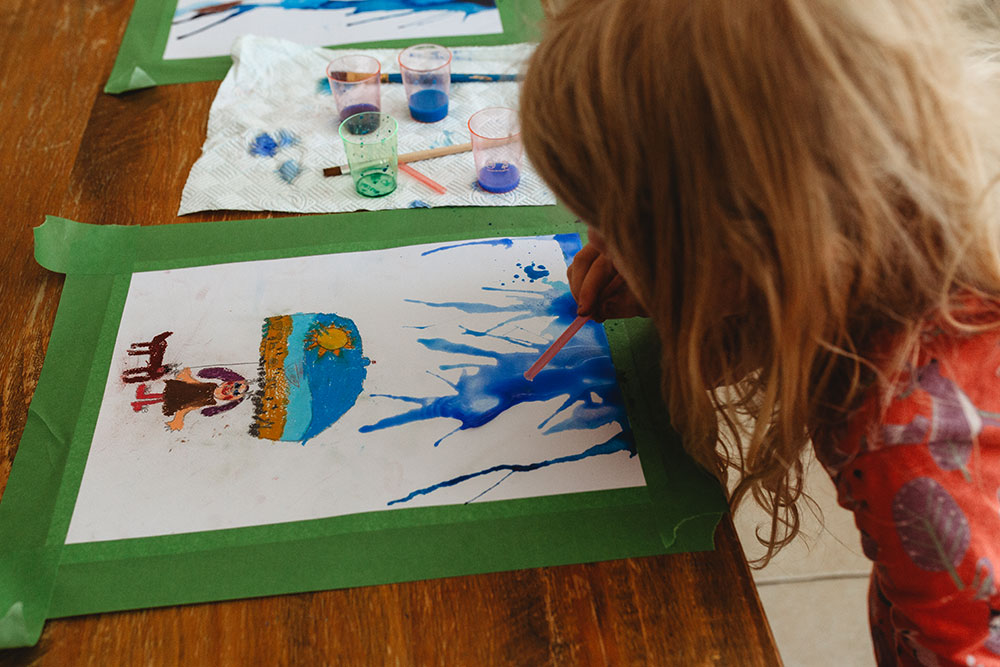
Umbrella Process & Resist Art
This was a sweet little project to do. I loved that Forrest had a go as well, and he made me laugh with what he drew: A poo under an umbrella.
What You'll Need:
- watercolour paper
- watercolours
- pencil
- oil pastels
- masking tape
- straw
- paint brushes
How To Do It:
1. Draw a fairly big umbrella and someone under it (or something!) with pencil and then colouring it in with oil pastels
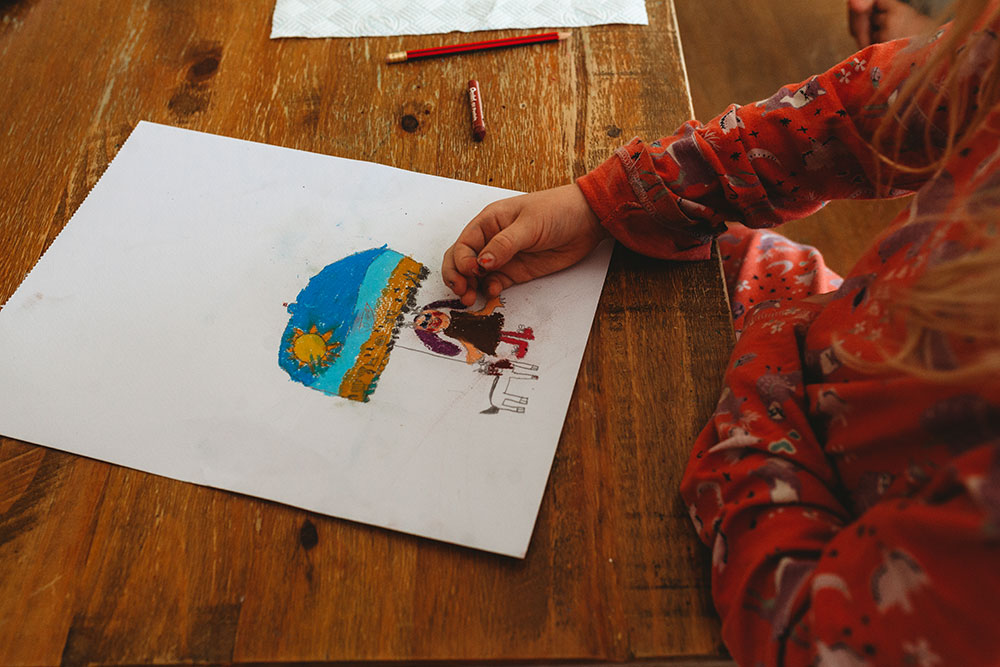
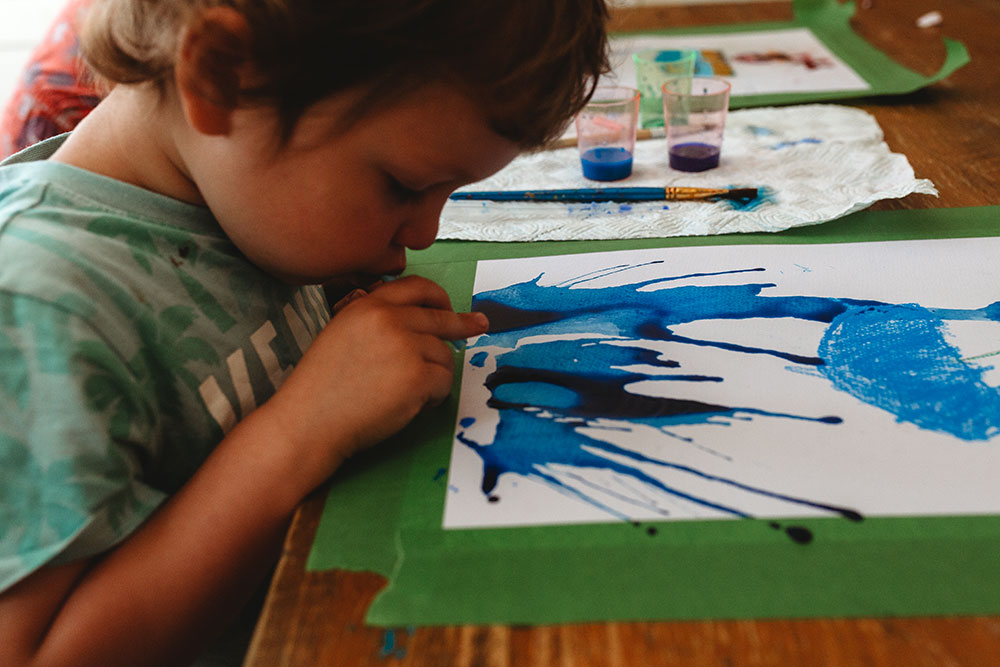
2. now turn your picture upside down and grab your watercolours and splat some paint on with a brush and then use a straw to move it around until it's finished!
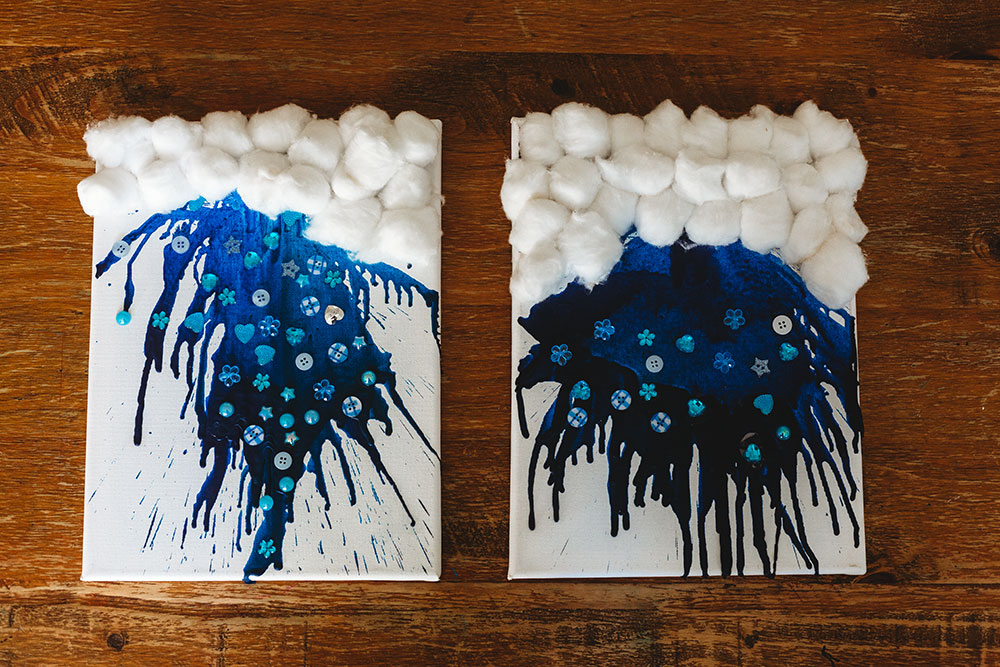
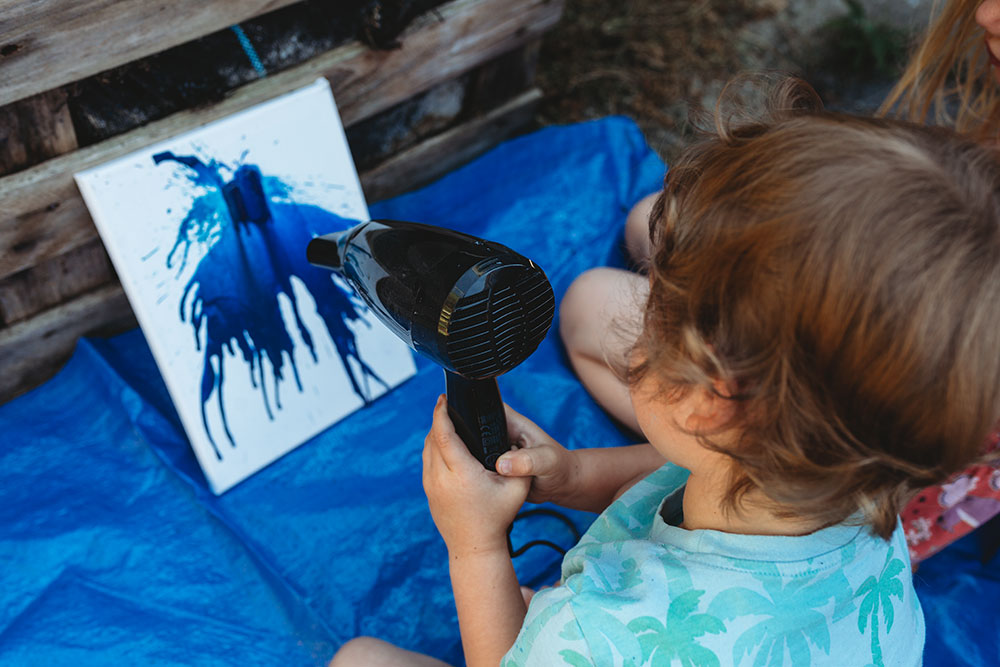
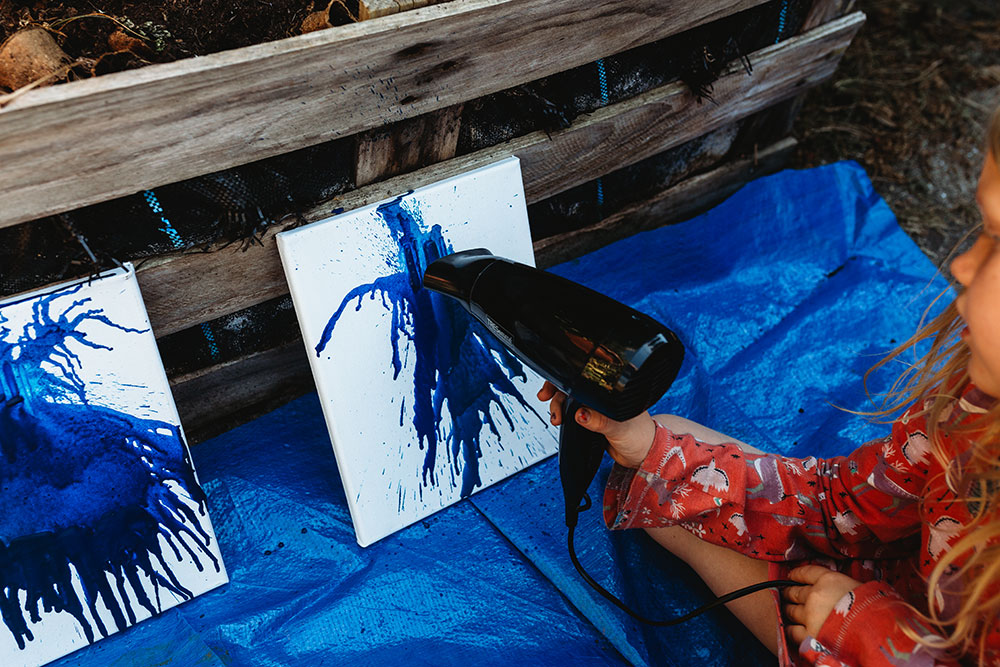
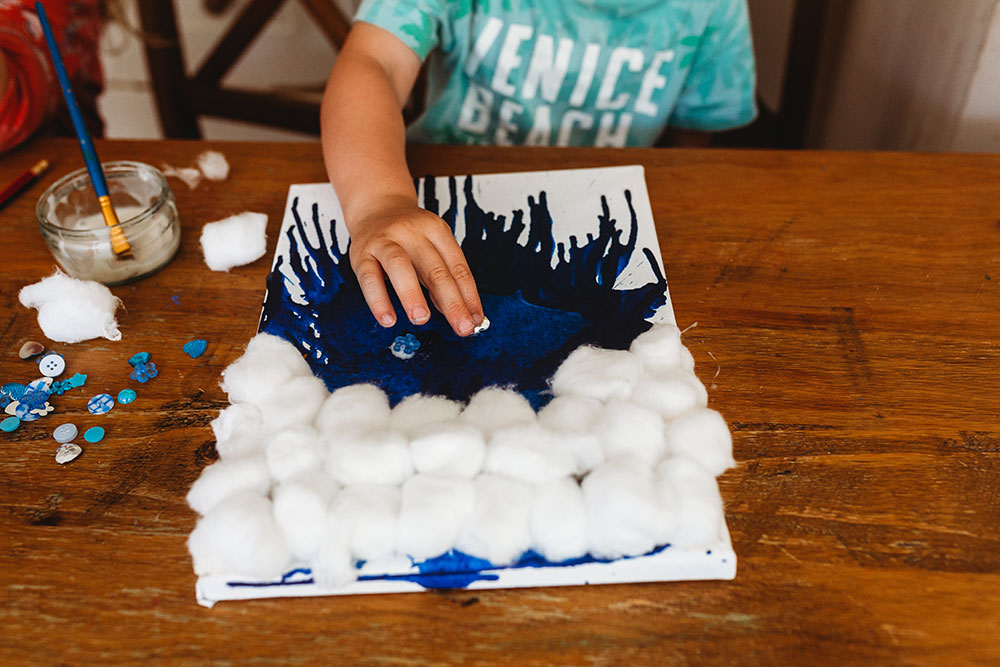
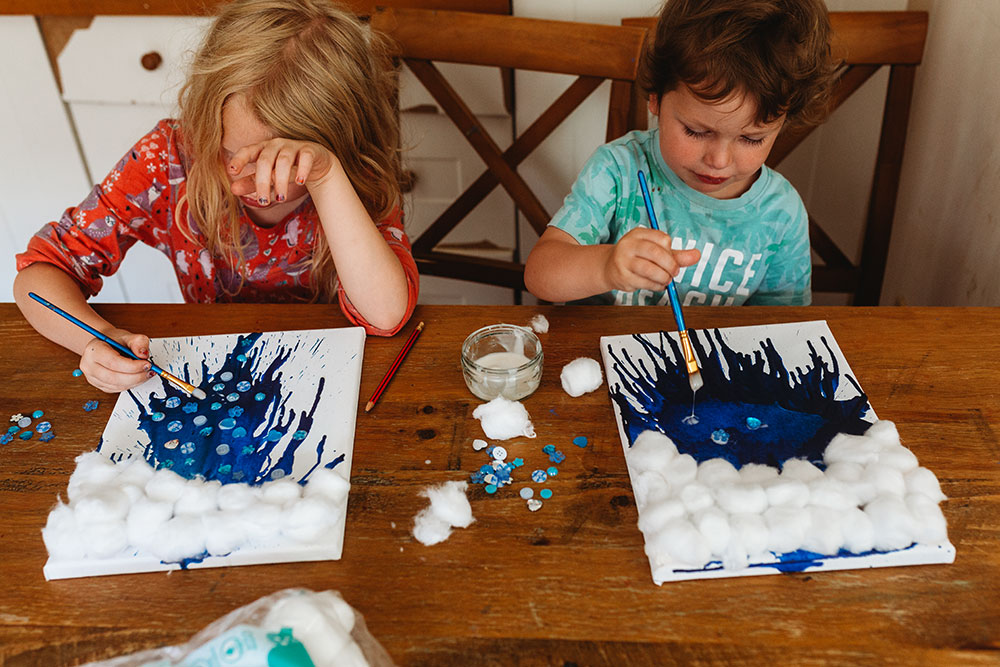
Melted Crayon Rain Cloud
This was another hit with the kids, I don't think you can really go wrong when there's melting involved with a hair dryer!
What You'll Need:
- canvas
- crayons in several shades of blue
- cotton balls
- buttons or beads
- hairdryer
- a tarp to keep area clean
- white glue
- gluegun
How To Do It:
1 You will probably want to do the first part of this project outside as it does get a bit messy. Grab your crayons and peel the paper off and use your glue gun to glue them towards the top of your canvas. Take your hairdryer and begin melting them until you feel it's finished.
2. Next take your canvas inside and grab your cotton balls and begin gluing them to the canvas into the shape of a cloud going over the melted crayon.
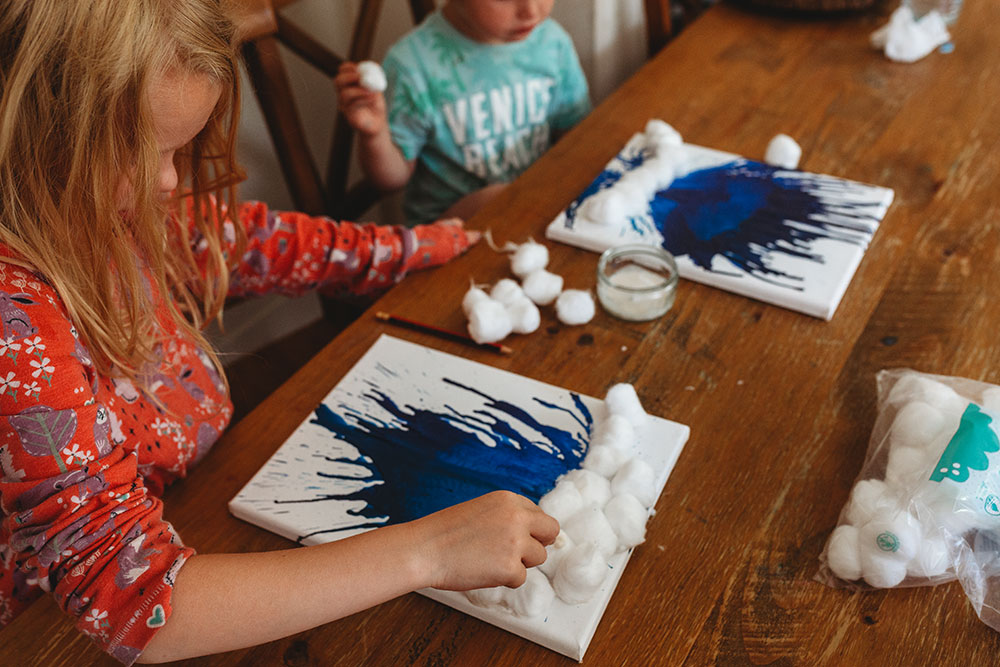
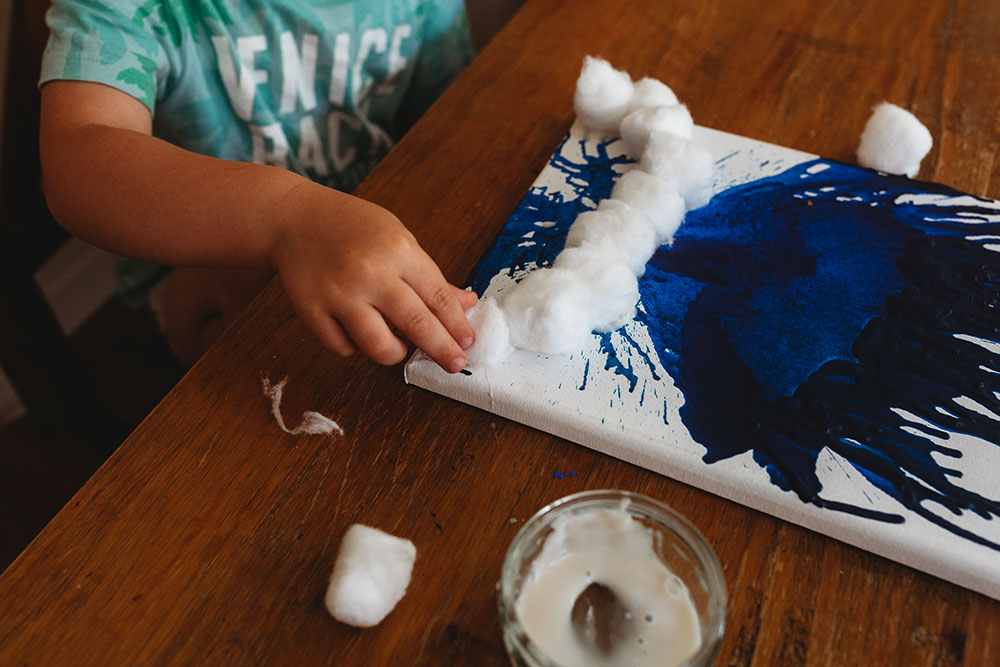
3. Next add your beads or buttons by gluing them into place and then you are finished!
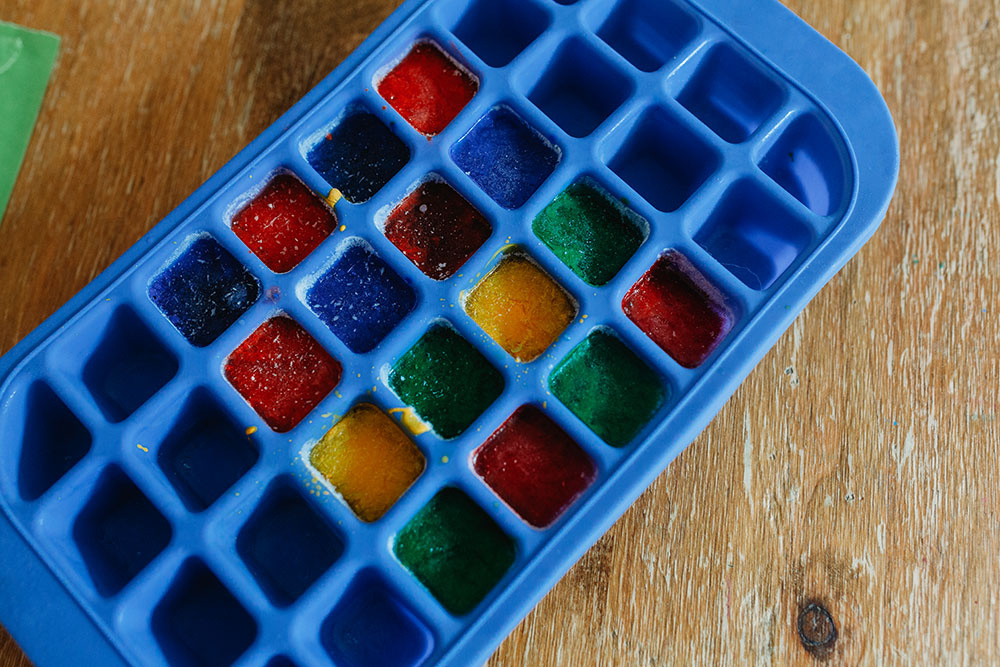
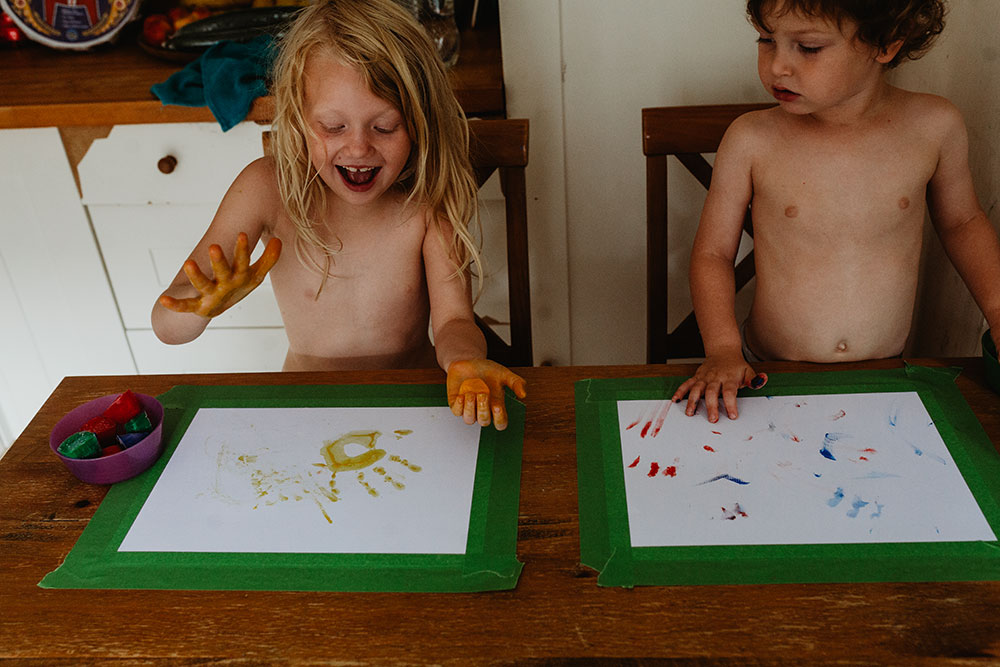
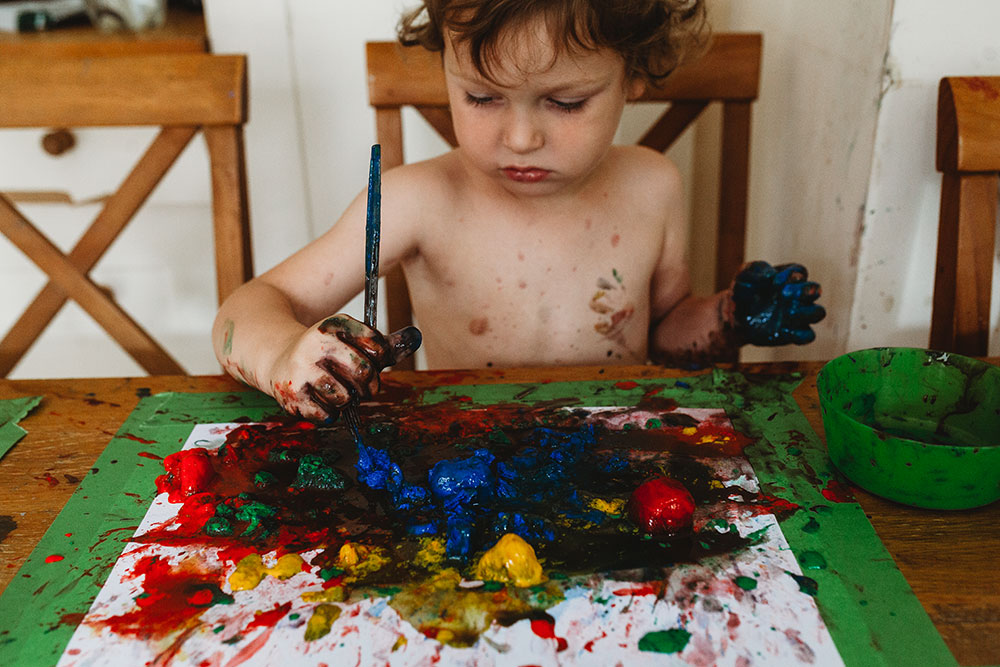
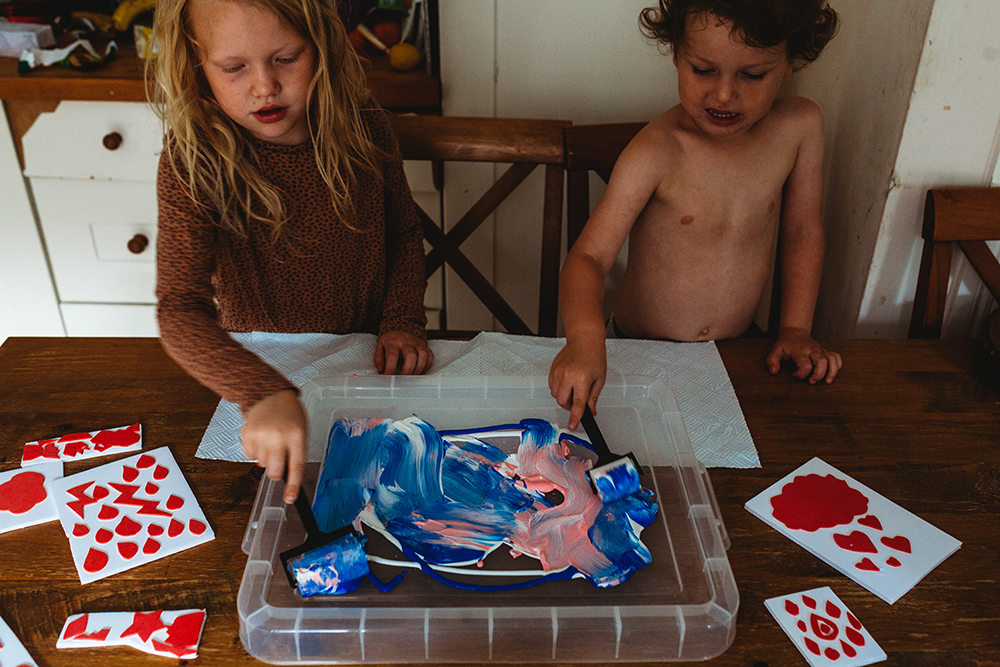
Process Art: Painting With Ice
What You'll Need:
- ice cube tray
- tempera paint
- water
- watercolour paper
How To Do It:
1. First prepare your paint cubes by filling your ice cube tray with water and paint. A couple of drops into each cube should be fine. carefully mix it. Let it set overnight.
2. Put paint cubes into a bowl and give them to the kids along with some paper and see what happens! Nixie immediately started to make hand prints where Forrest really wanted to break it all up. He didn't want to stop and spent a good hour or so playing with it until it had all melted away and then he asked if I could make more!
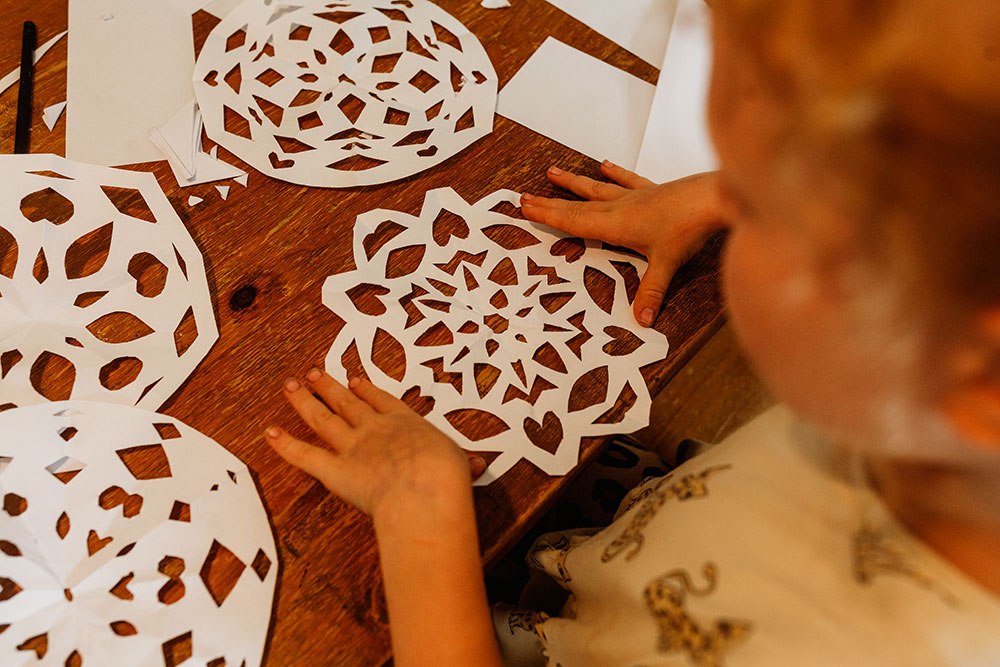
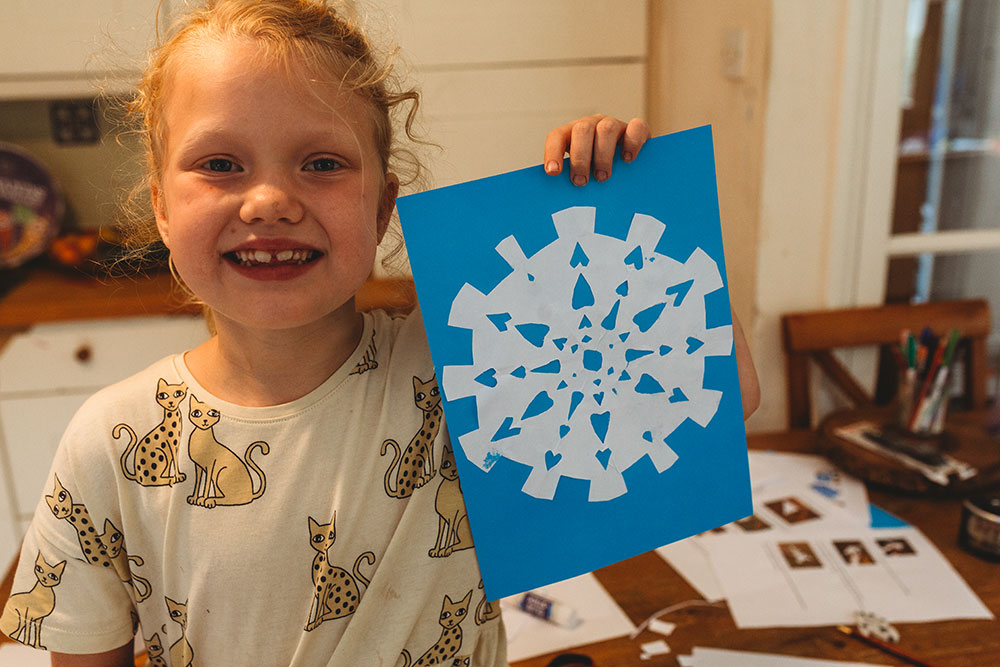
Paper Folded Snowflakes
These were a huge hit with Nixie and once she learned how to make them I kept finding them all over the house for weeks afterwards!
What You'll Need:
- White A4 paper
- scissors
- blue card stock A4 (optional)
How To Do It:
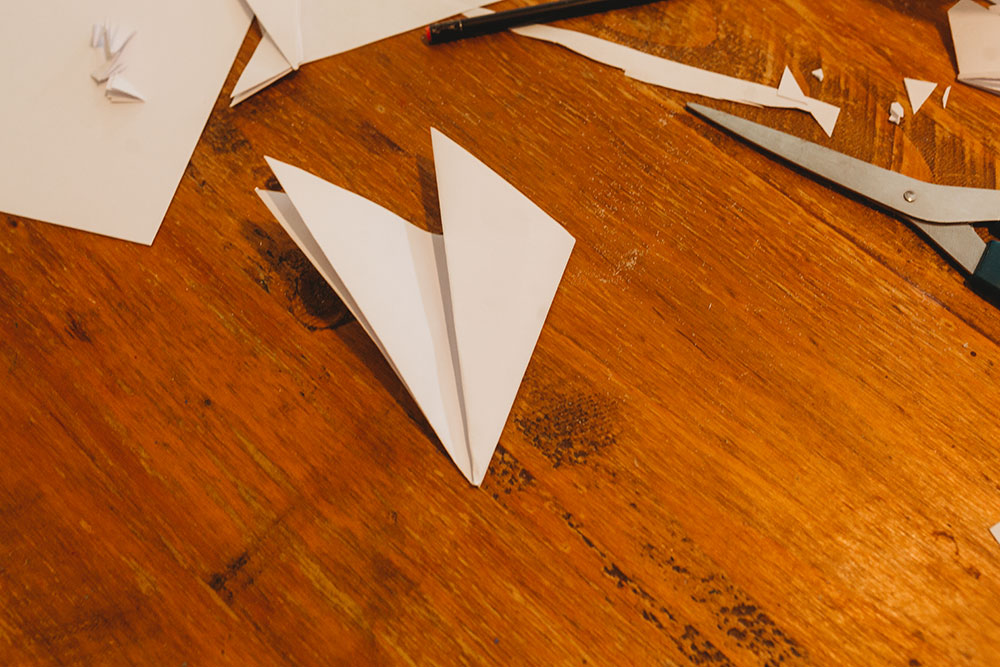
1. For a 6 sided snowflake, we need a square piece of paper. Take your A4 paper and fold over one side.
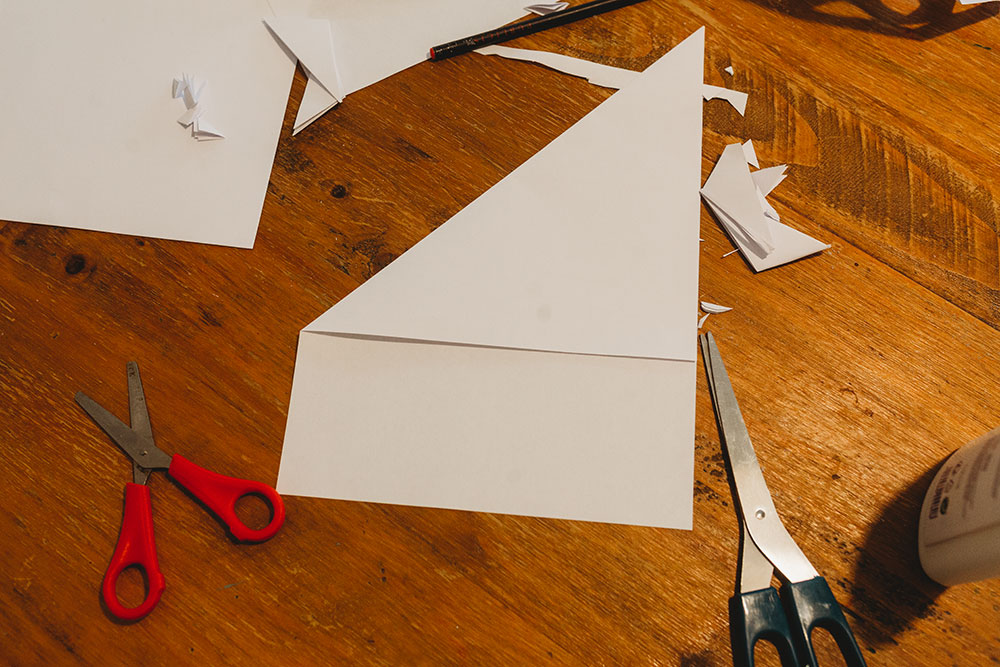
2. cut off the bottom
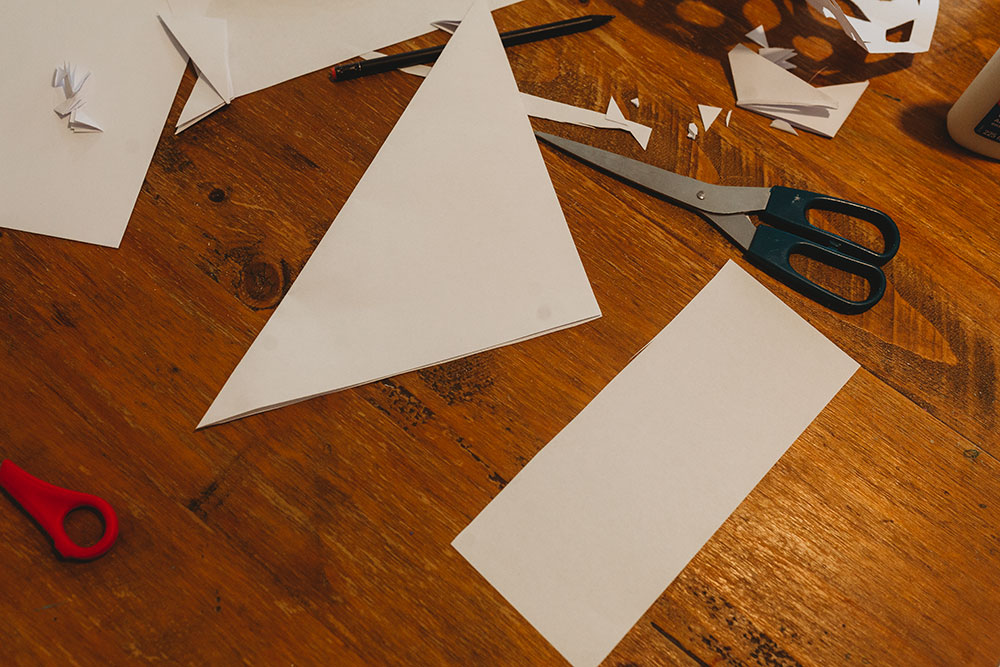
3. Fold it again into a smaller triangle

4. Next, turn your triangle so that the longest side is up. Fold over the right side by a third. You want it to be folded so that when you fold over the left side, the edges line up exactly.
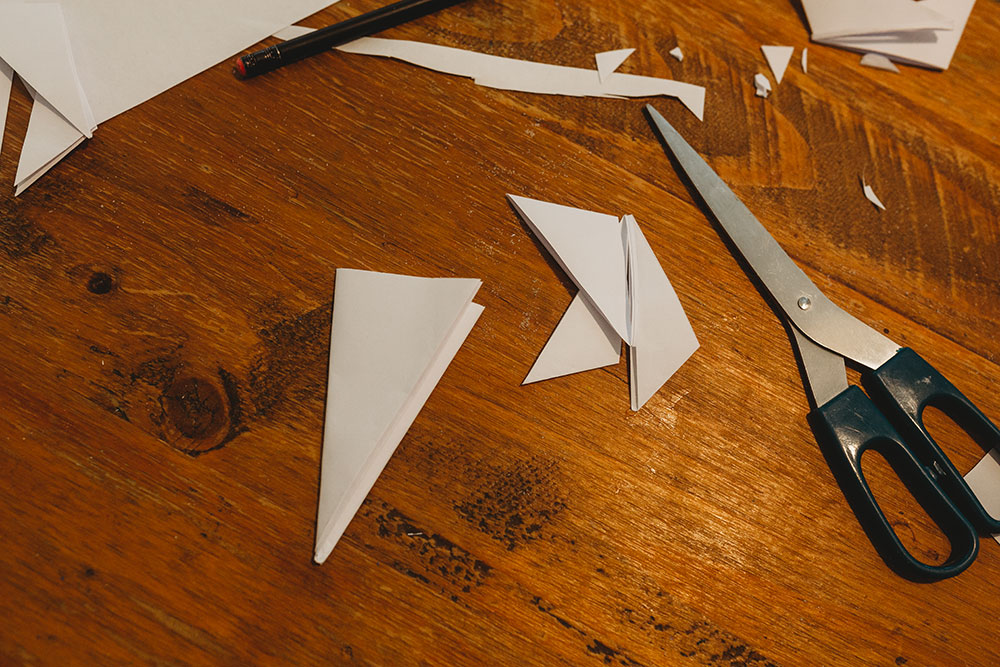
5. Fold over the left third of the triangle.
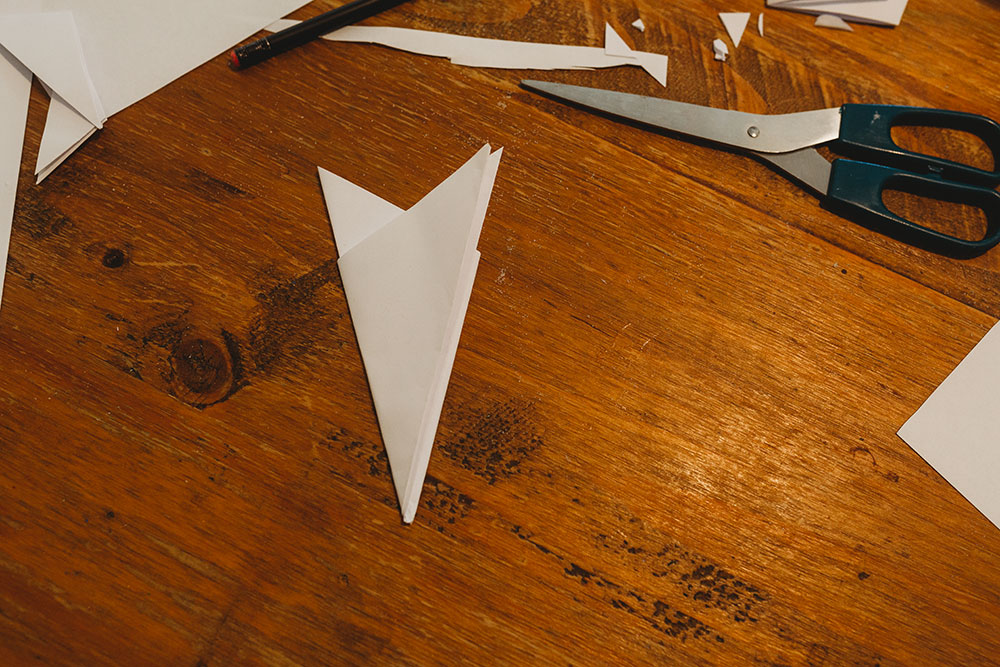
6. Flip the paper over. Cut off the top so that you have a straight edge.
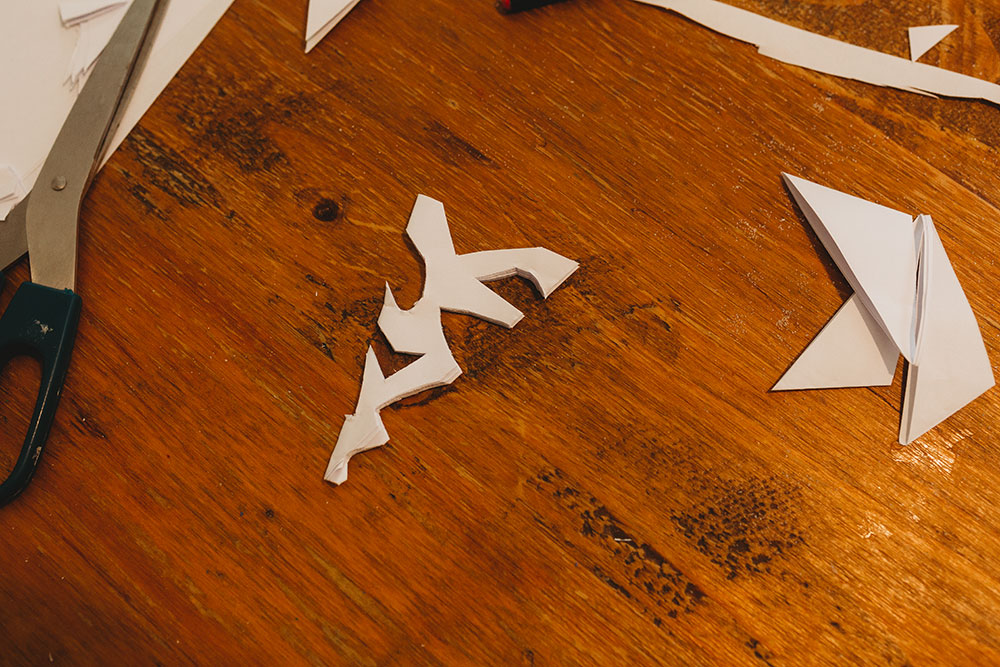
7. Now it's time to cut your design! There are so many different ways to make it, just have fun experimenting. If you cut off the pointed tip, your snowflake will be open in the centre.
8. If you want you can glue it onto some blue card
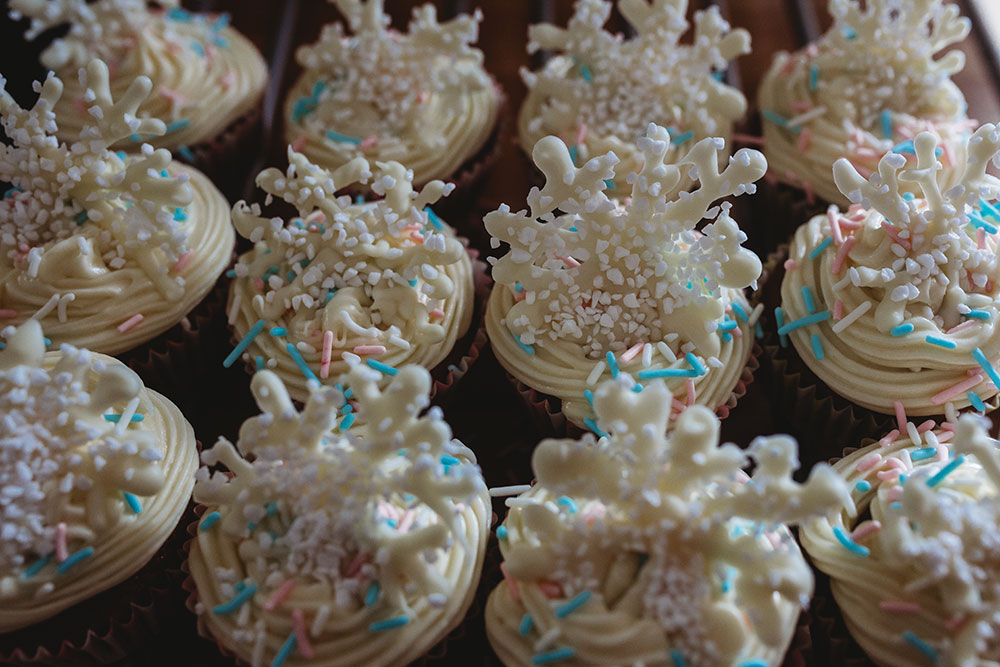
White Chocolate Snowflake Cupcake Topper
The kids were really craving a sweet treat so we decided to make our favourite cupcakes with vanilla frosting and made these White Chocolate Snowflake toppers to go on them.
What You'll Need:
- Your favourite cupcake recipe or even store bought vanilla cupcakes
- White chocolate (we kept it super simple and just bought those white chocolate tubes you use to decorate cakes with that you only need to melt by putting into a jug of boiling water)
- Parchment paper
How To Do It:
1. once your chocolate is melted, lay out a piece of parchment paper and make your snowflake designs and add sprinkles or sugar & then put into the fridge to set and then top your cupcakes.
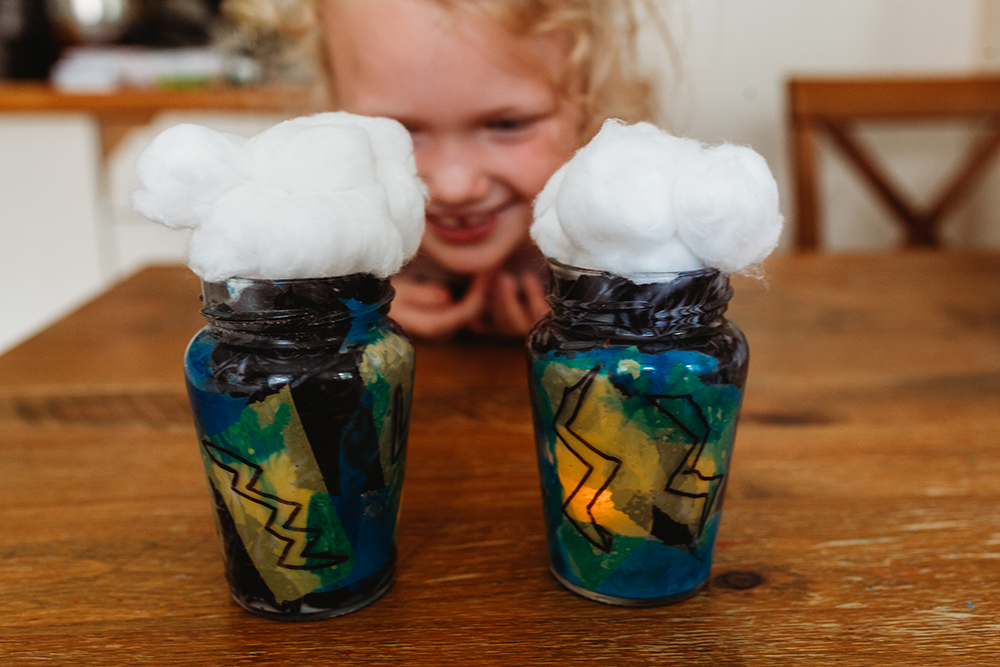
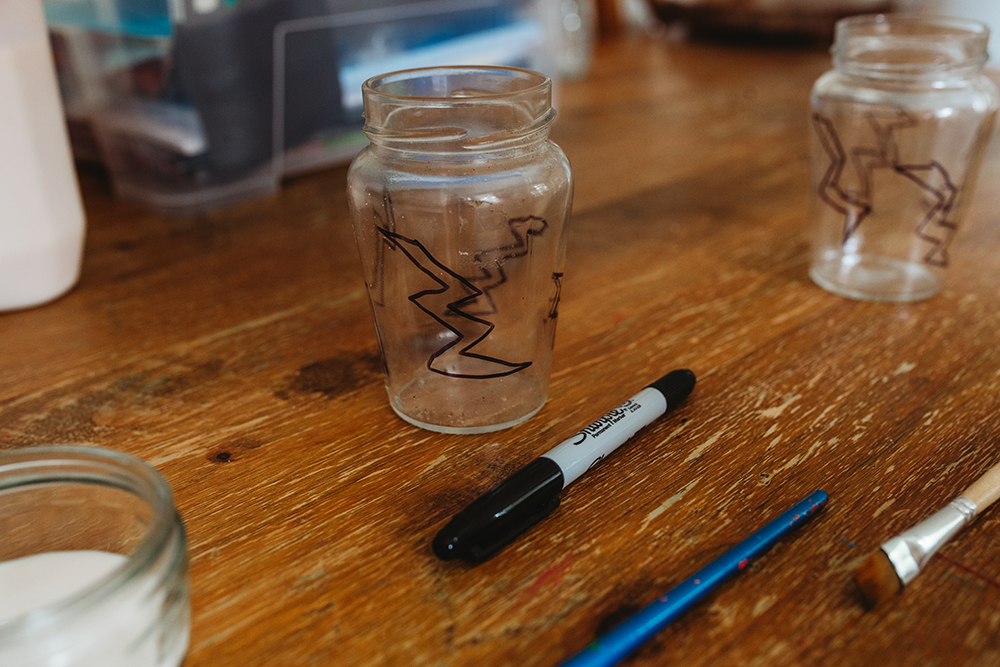
Lightning Storm Luminary
What You'll Need:
- Jar
- Black Sharpie
- Tissue paper in yellows, blacks and blues
- glue
- cotton balls
- tealights
- paintbrush
How To Do It:
1. Begin by using your sharpie to draw lightning bolts around your jar
2. Next use your paintbrush to paint glue all over the inside of your jar
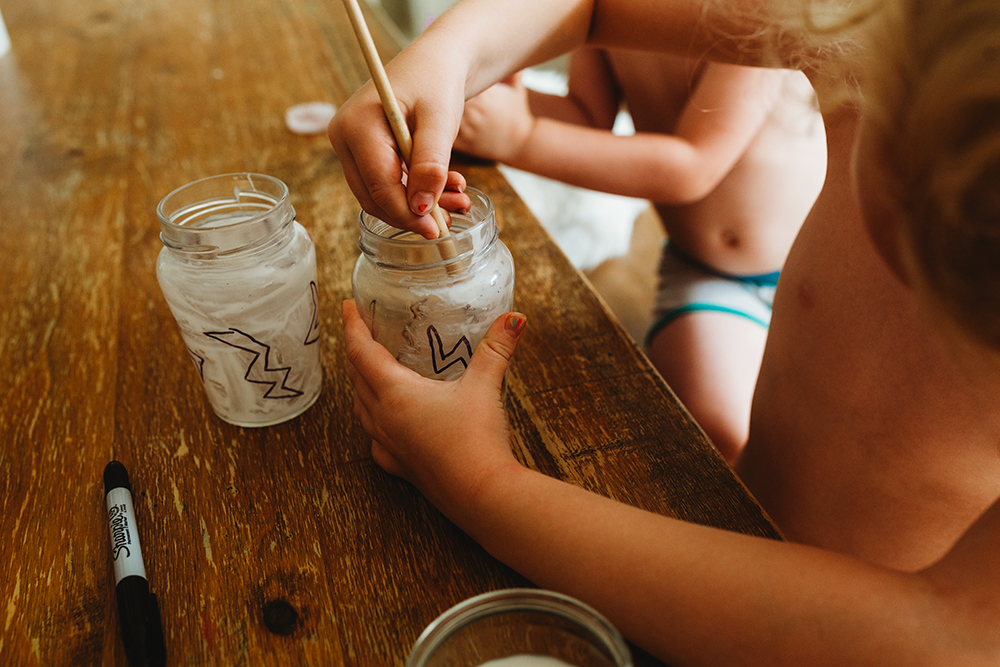
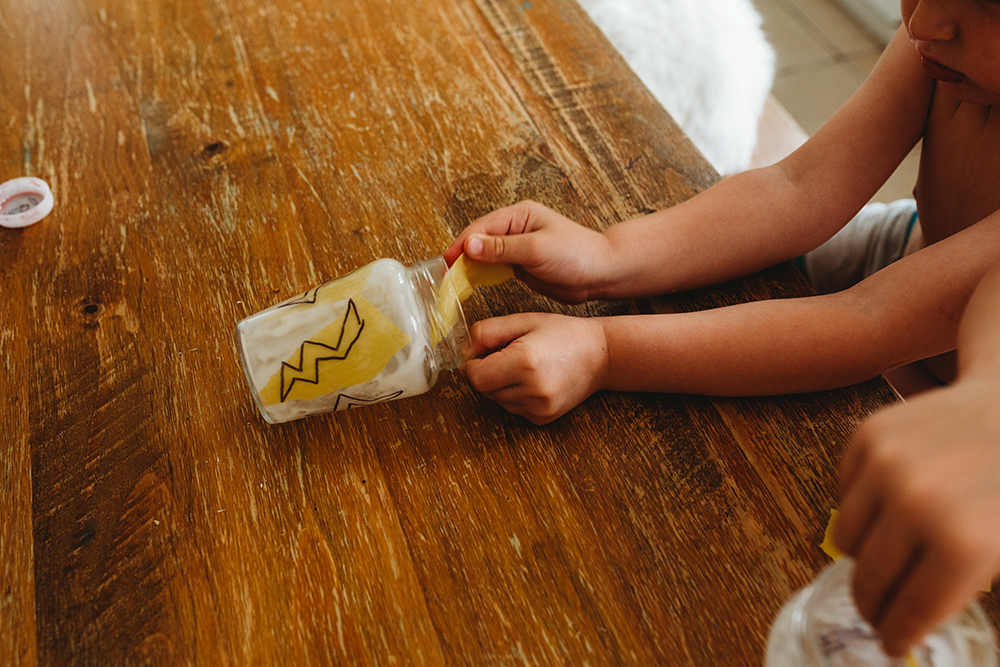
3. Next add in your tissue paper. Try to line up your yellow tissue paper with your lightning bolts. continue adding tissue paper until the whole jar is covered.
4. Next add your tealight
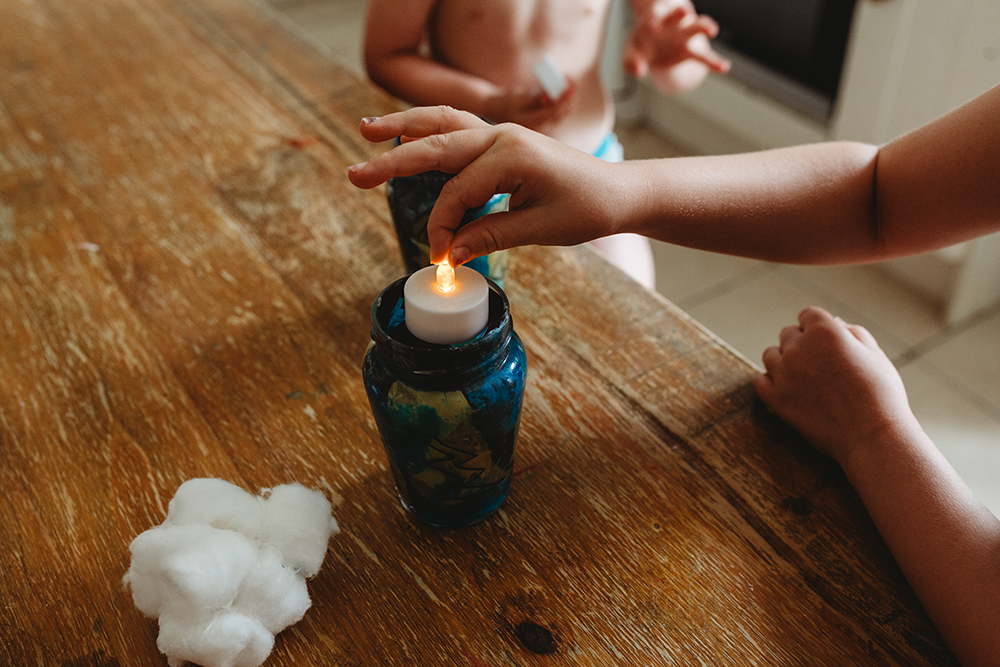
5. Glue a bunch of cotton balls together and then place into your jar and you are finished!
DIY Rain Stamps
these were so incredibly fun to make and I know we will be making loads more!

What You'll Need:
- Sticky-backed foam
- Thick foam (3 or 5 mm)
- Tempera paint
- small paint roller
- White card stock
How To Do It:
1. cut out your rain shapes from your sticky-backed foam then remove the paper and stick to your thicker piece of foam. Now your stamps are ready!
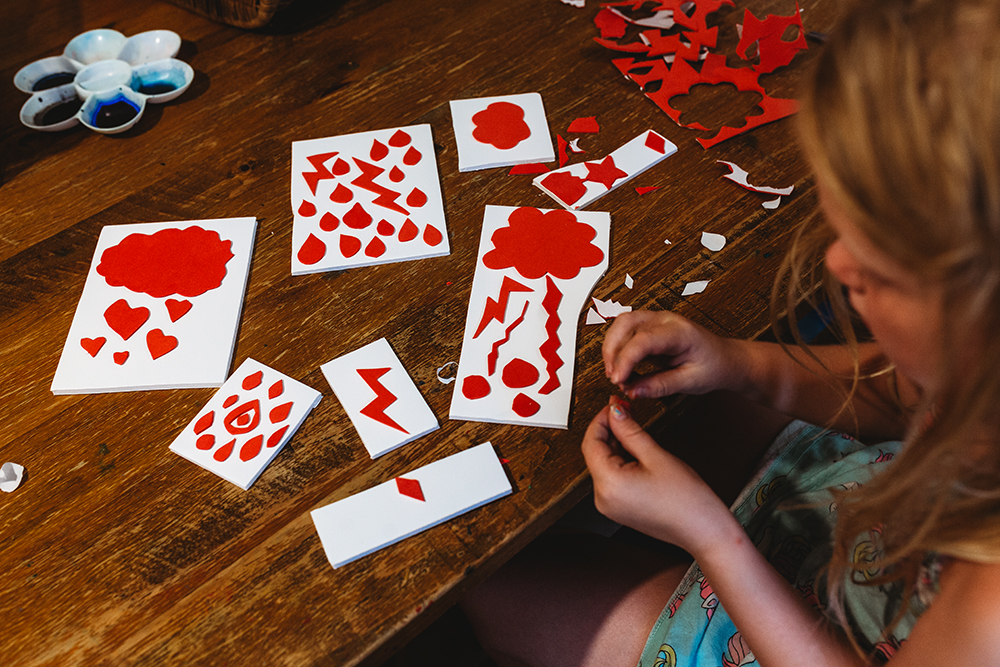
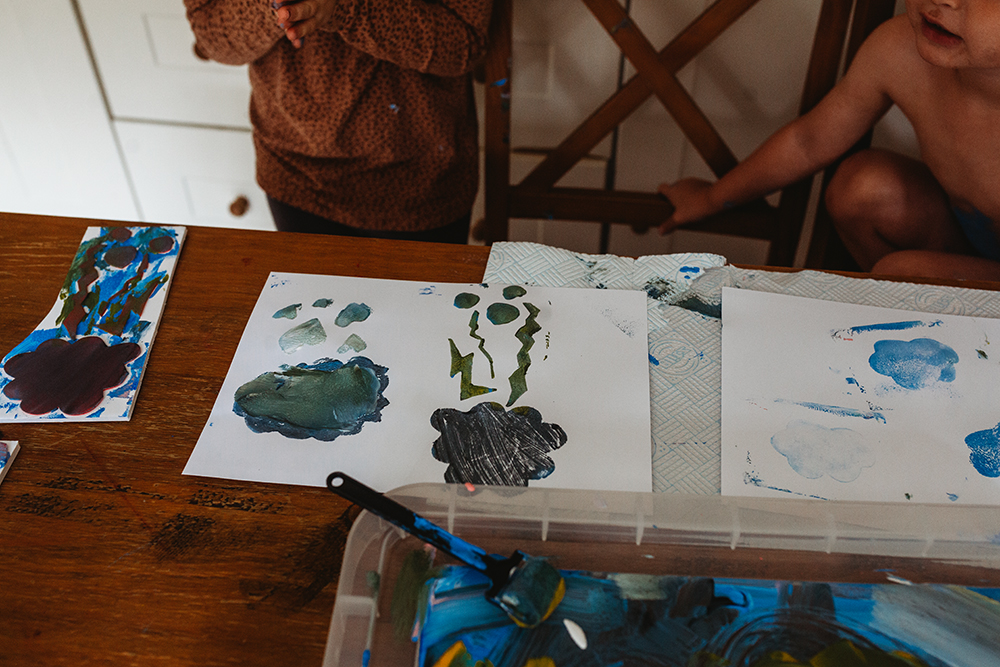
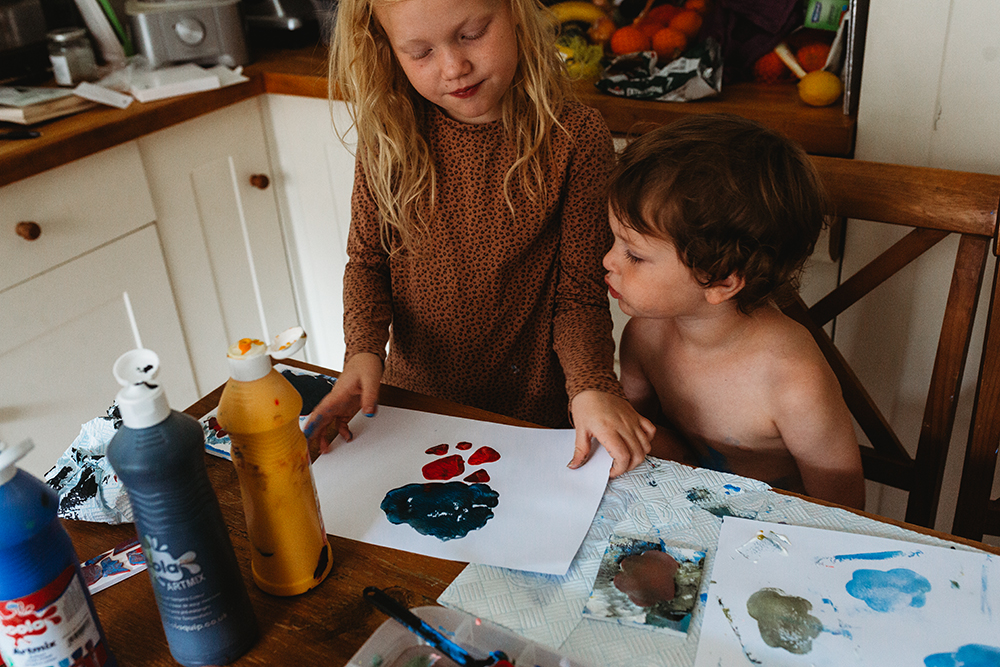
2. Get your paints set up. I just used a lid to a plastic box and added the paint to that so that they could easily use their rollers. They even had fun just putting their paper directly on to the paint creating a mono print!
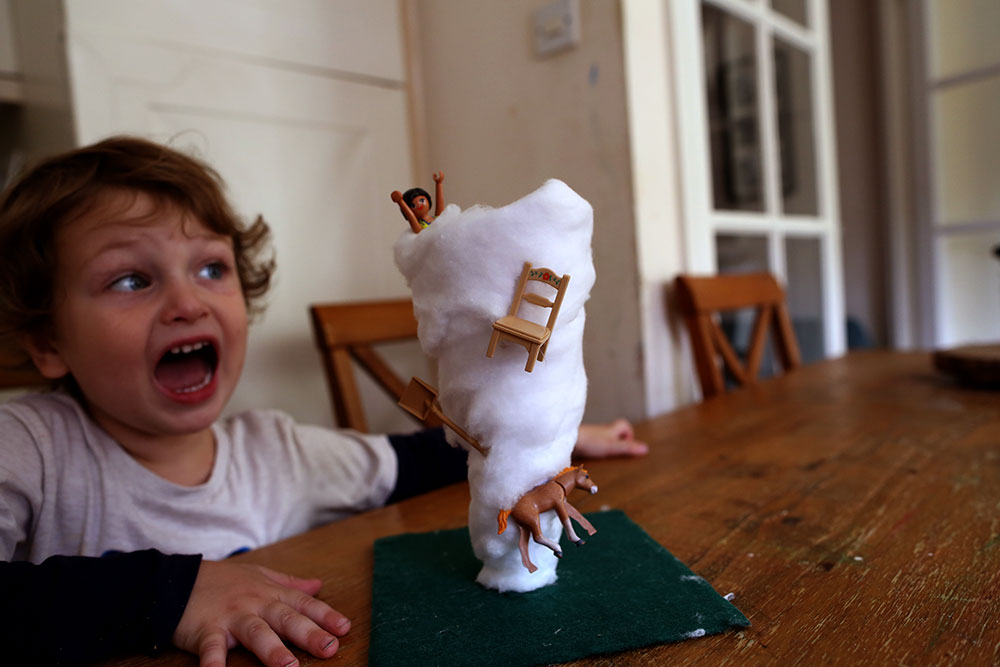
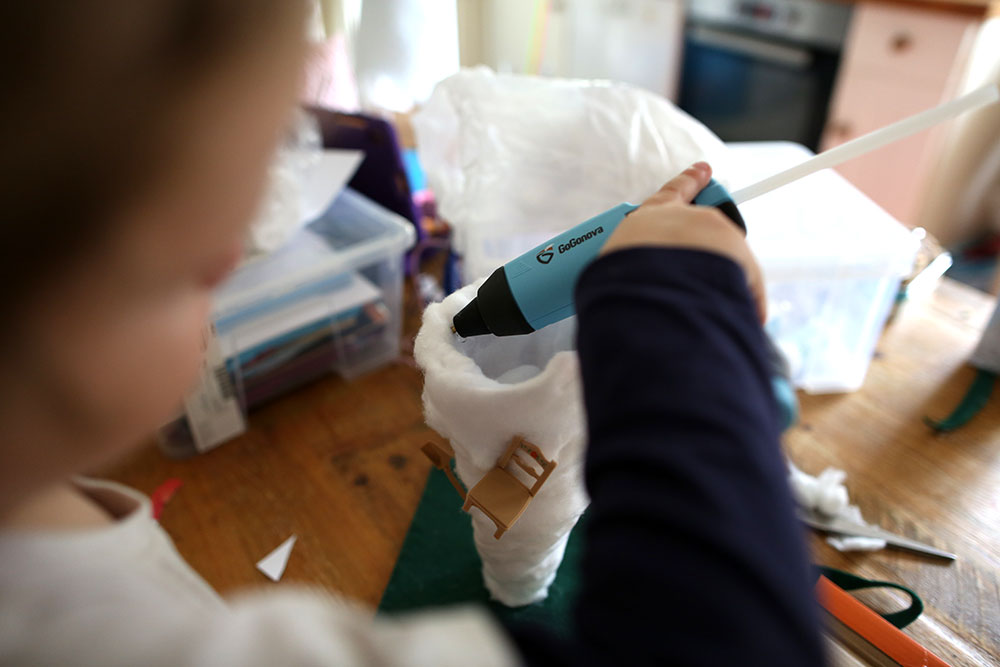
Make Your Own Tornado!
This was something me and Forrest did together while Nixie was at forest school.
What You'll Need:
- some very thick board (I had found a piece of wood that I used)
- Green Felt
- Roll of cotton
- Glue Gun
- Small toys
- cardboard from cereal or similar
How To Do It:
1. First create a funnel shape using the cereal box
2. next cover it with sheets of cotton gluing as you go along, this was quite fiddly but Forrest loved to help with the glue gun.
3. Finally glue on your toys! This was honestly a super quick project, I don't think it took us more than 20 minutes or so.
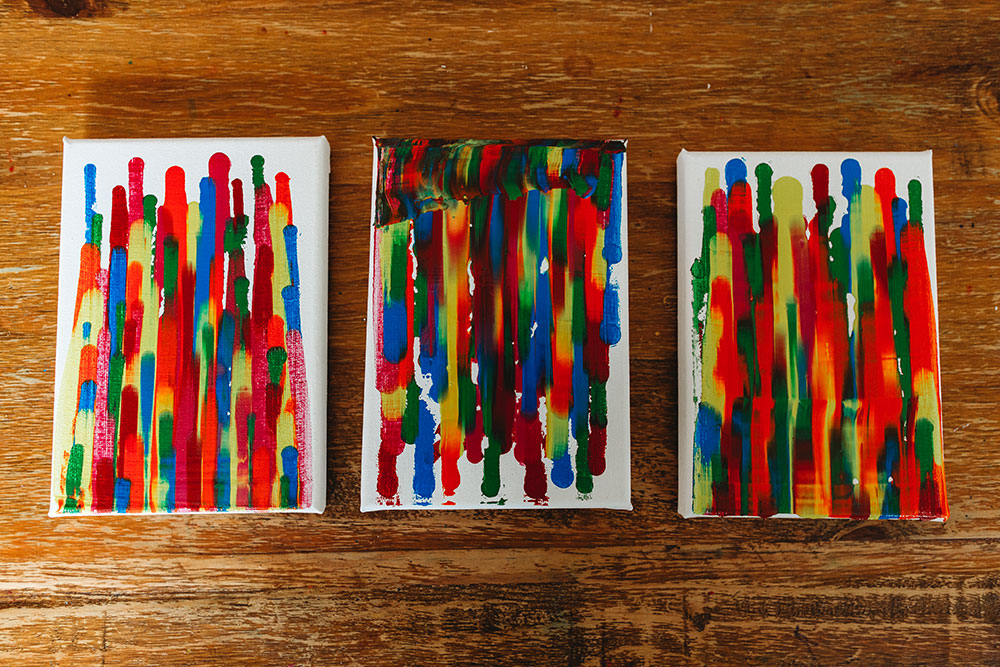
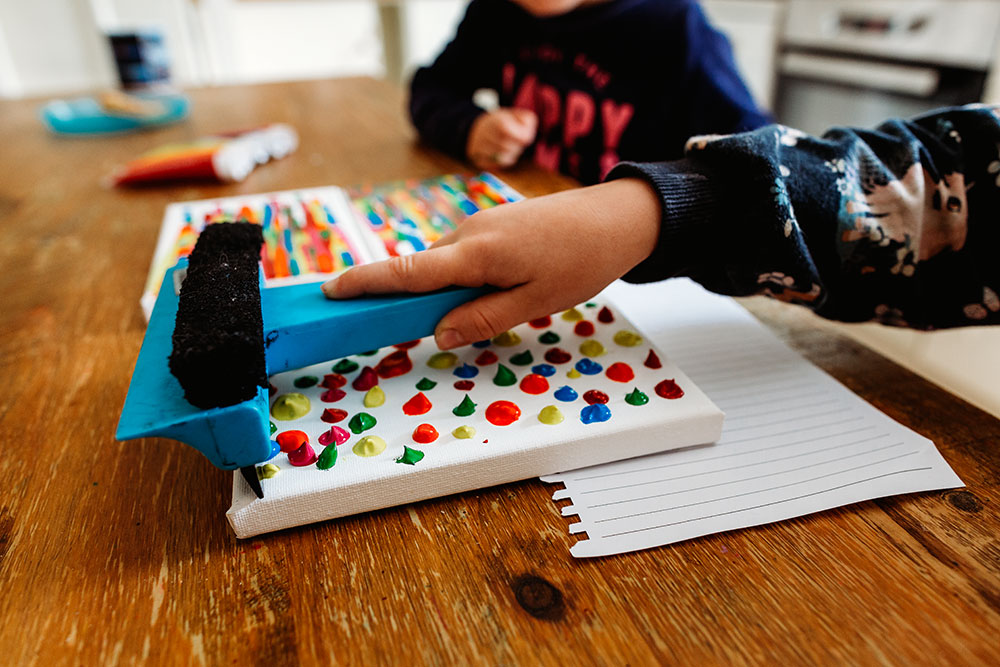
Rainbow Squeegee Painting!
This one is sooo much fun and very addiciting, I highly recommend it!
What You'll Need:
- A squeegee
- acrylic paints
- canvas
How To Do It:
1. Make lots of dots in whichever way you want to
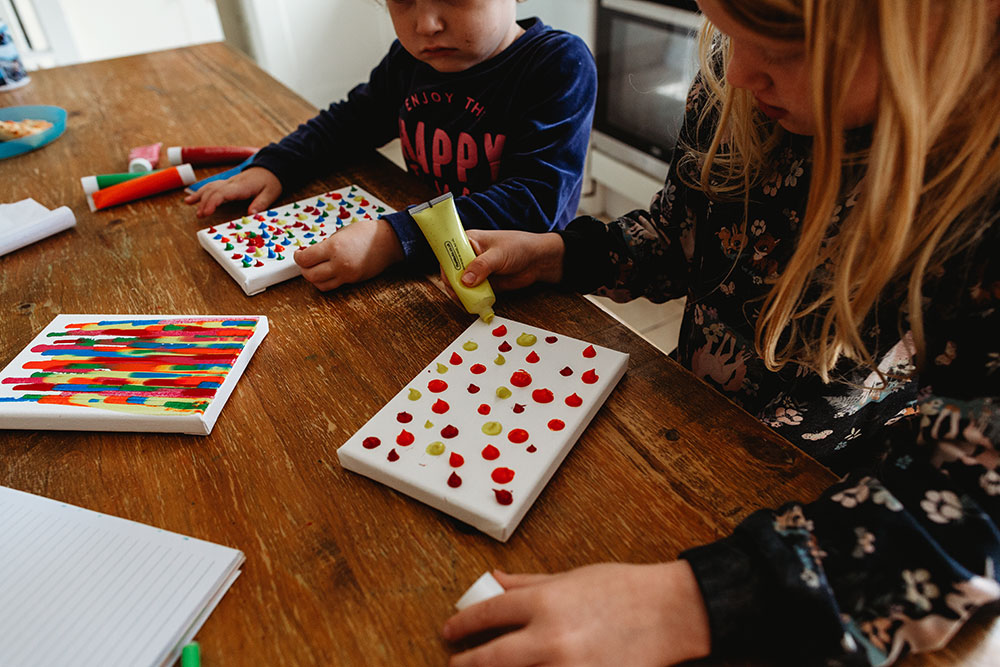
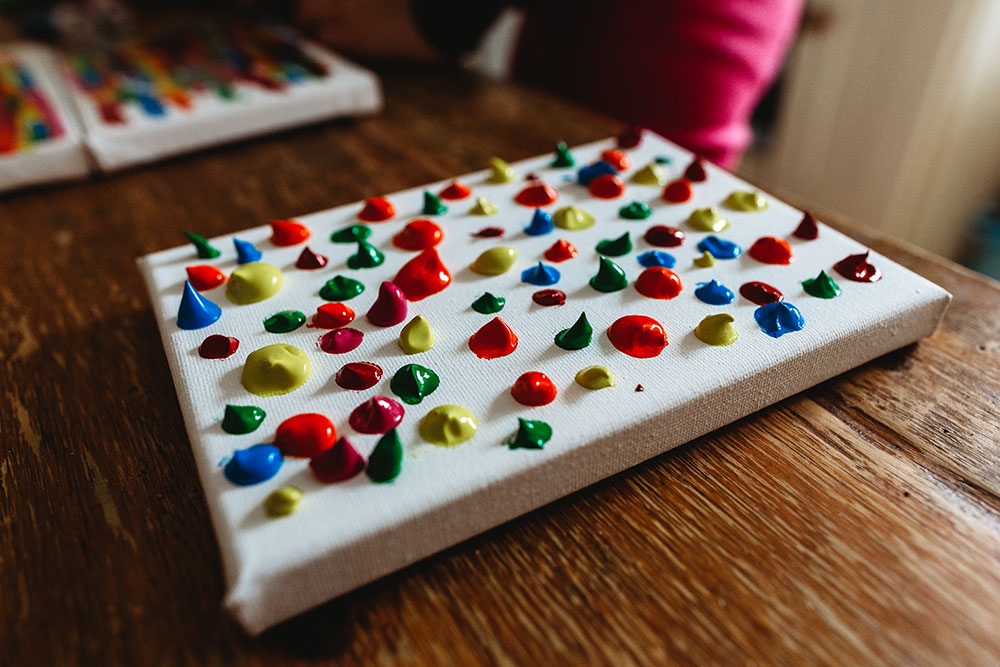
2. Take your squeegee and firmly press down from the top of your canvas and glide it down
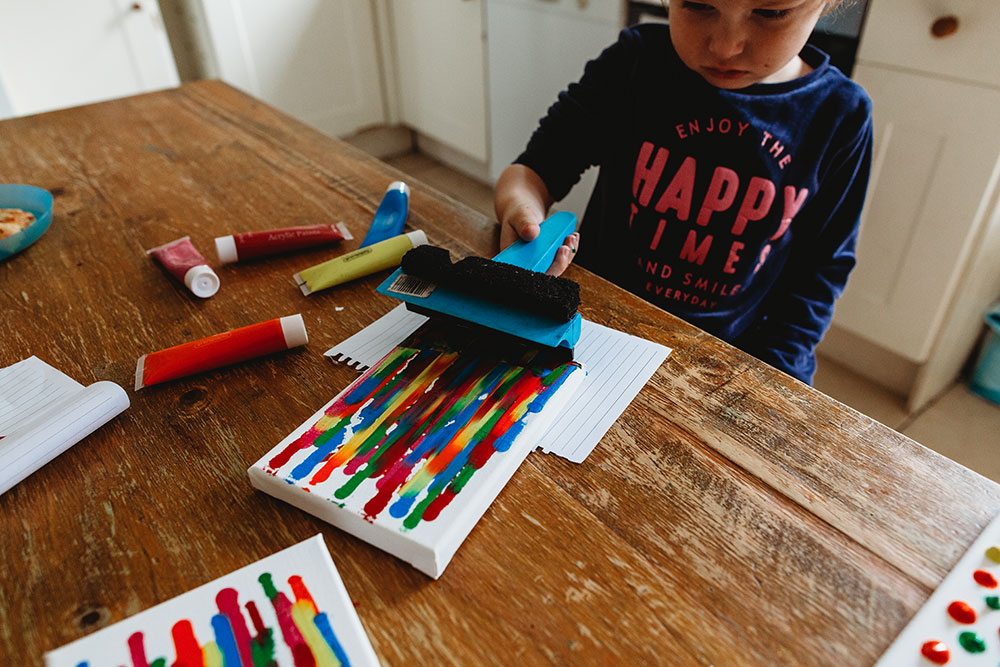
3. Have fun and be creative!