Truss Bridge Experiment
We've been learning about bridges lately and one of the experiments we did was create our very own Pratt truss bridge. I first came across this project via Small Step For Stem's website and please head over there to check out her instructions on how to do it as she explains it perfectly and she also has lots of other projects worth exploring.
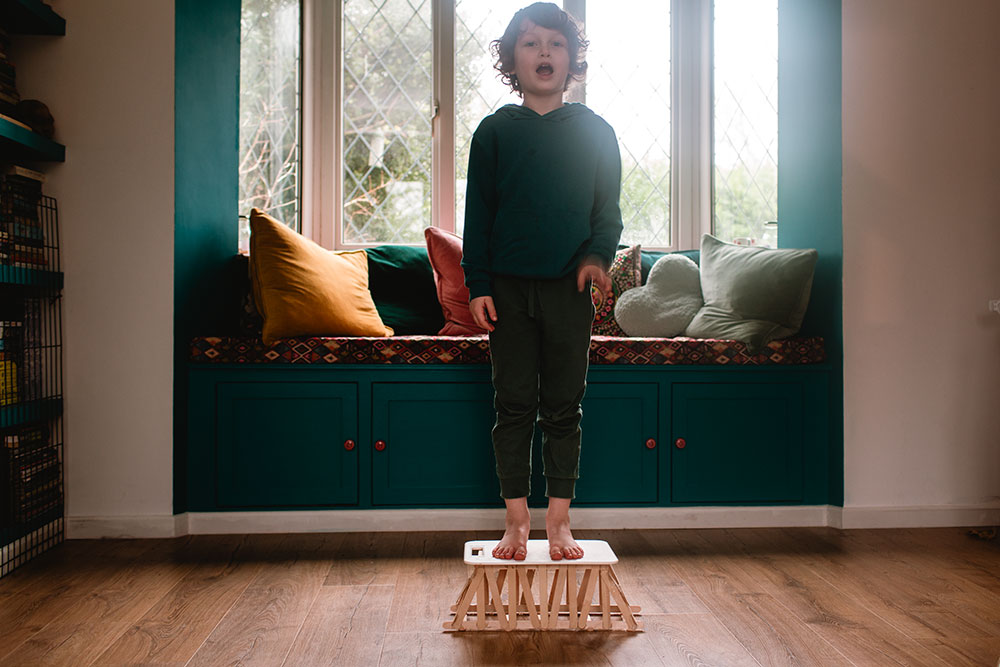
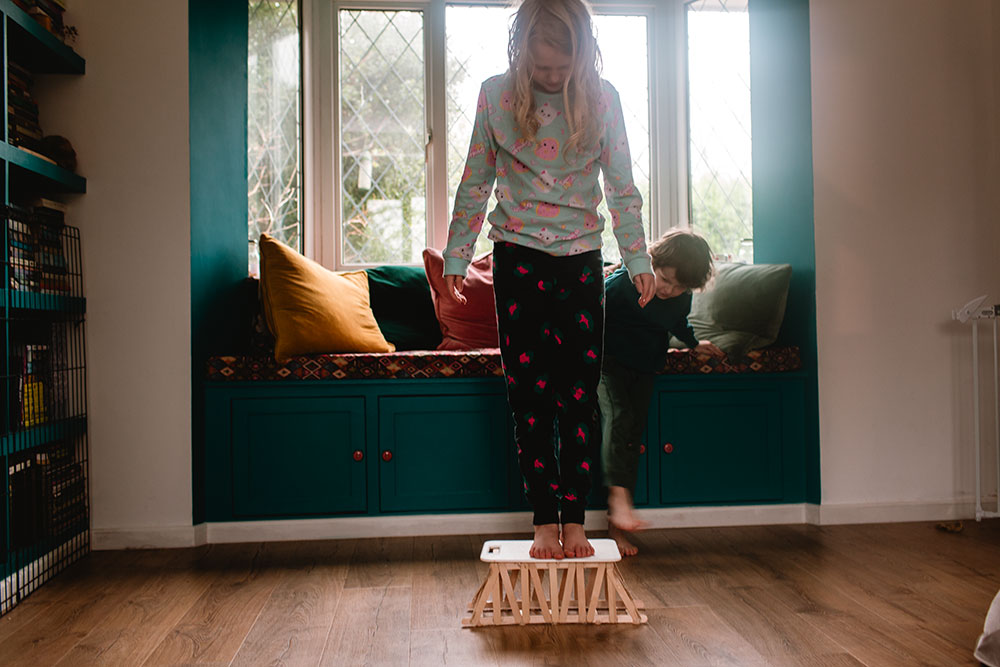
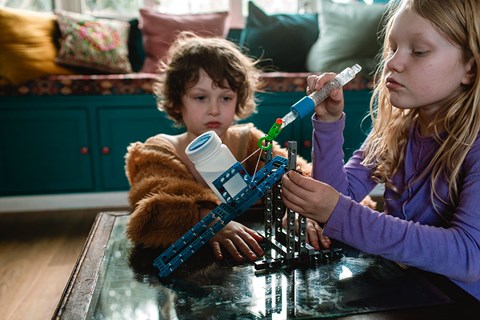
This challenge was such a hit in our household and we had lots of fun with it. We've been using Blossom & Root year 4 science curriculum for this topic and it's been really good but I always like to find extra projects to do alongside it. To refresh our memories we looked online at the different types of truss bridges and were tempted to do another design but then decided to stick with the Pratt truss bridge. When we first began working on this the kids didn't believe that it would hold their weight.

Even though you can head over to the link above for the instructions I'm including how we did it here as well just so that I have easy access to them in case we want to do it again!
Supplies that we used:
- about 60 thick lollipop sticks
- glue gun & lots of glue
- cutting board
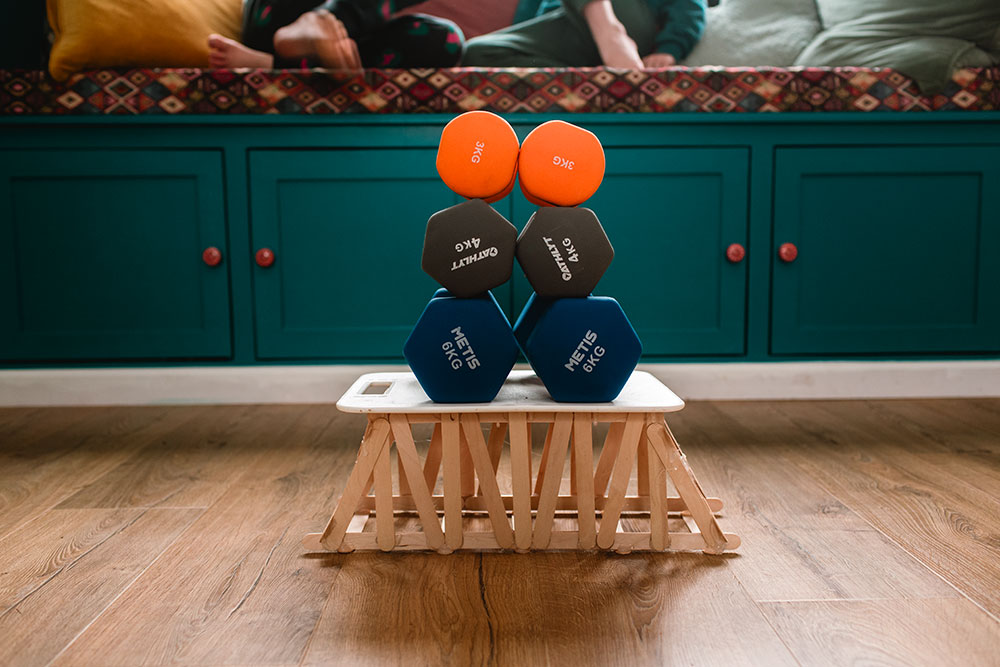
- weights
How we went about making it:
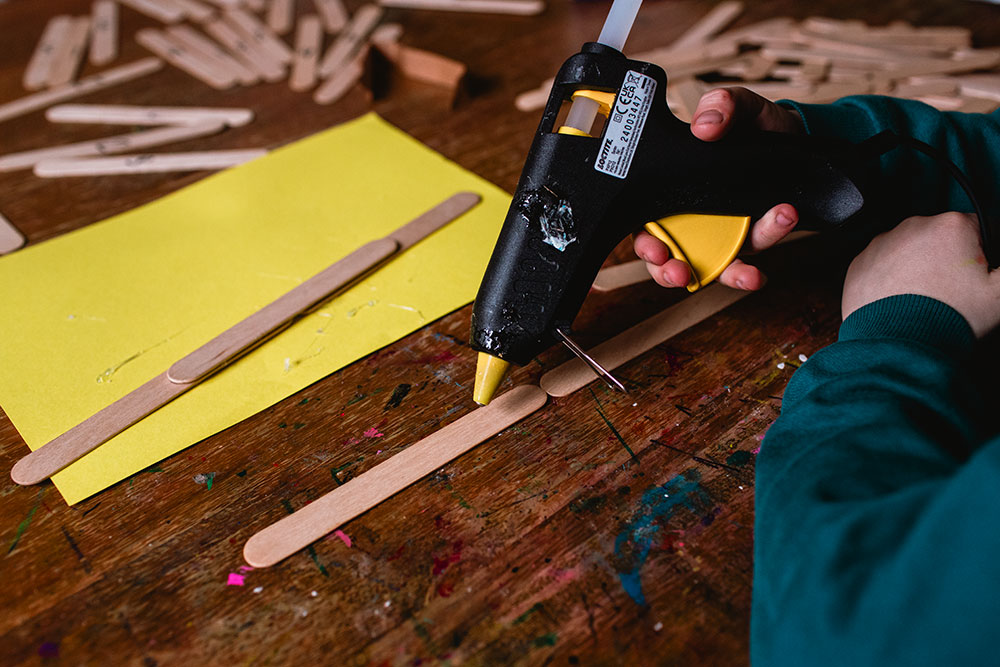
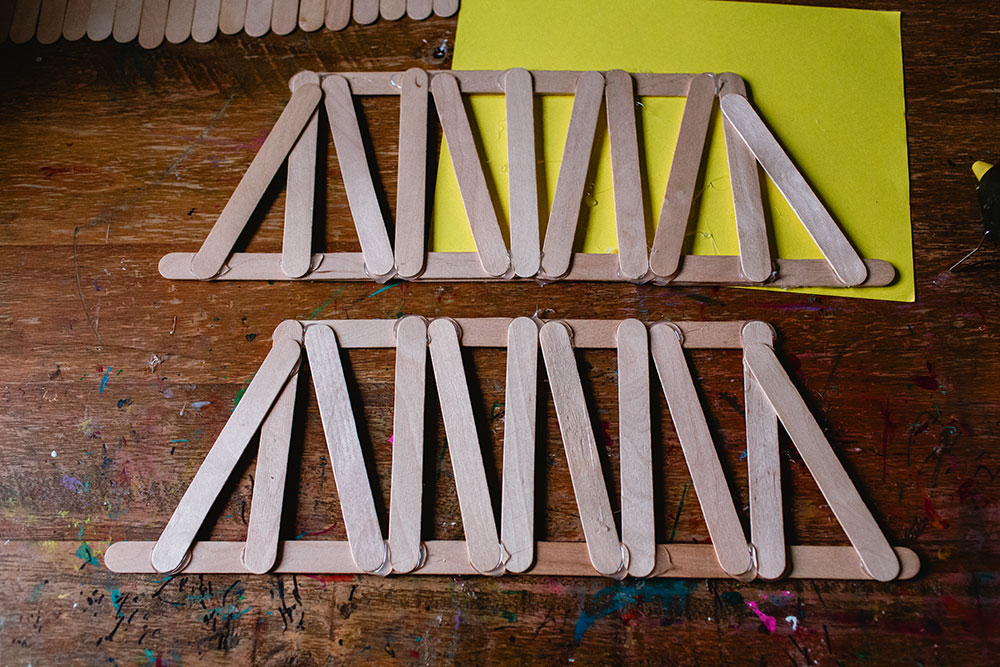
- First we added glue to the ends of two sticks and placed another stick on top.
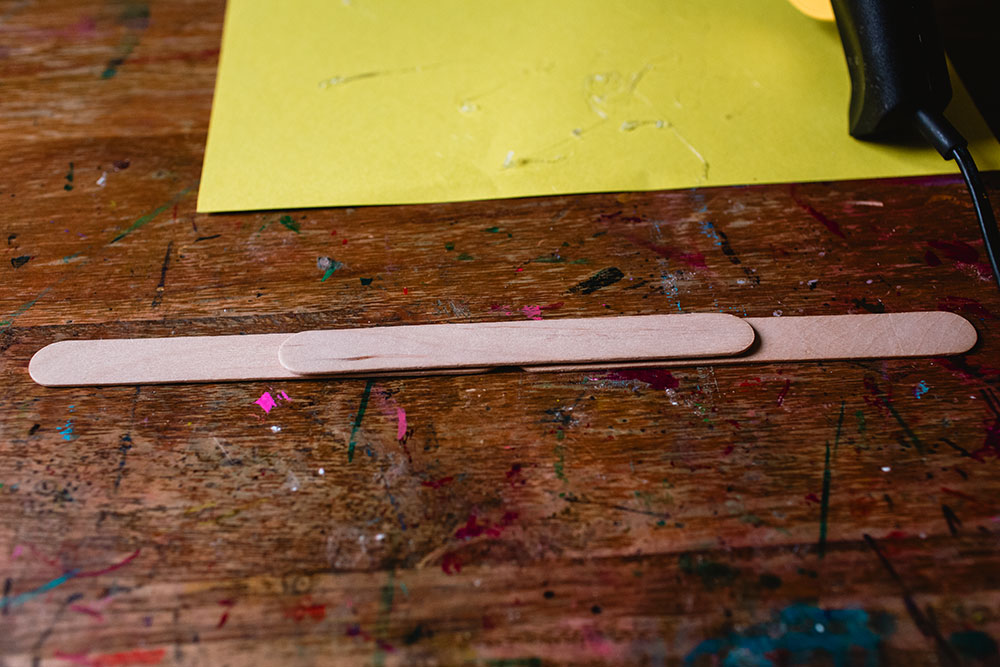
- Next, we did that again but added two more sticks at the end. These two pieces we made create the top and bottom of our bridge.
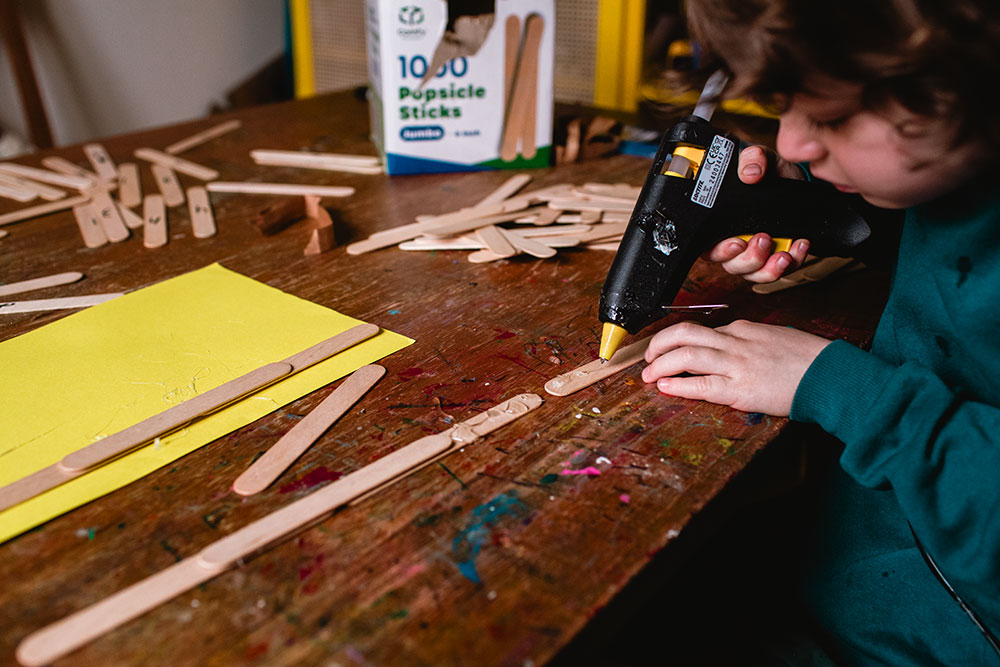
- Then we glued 5 sticks between the top and bottom
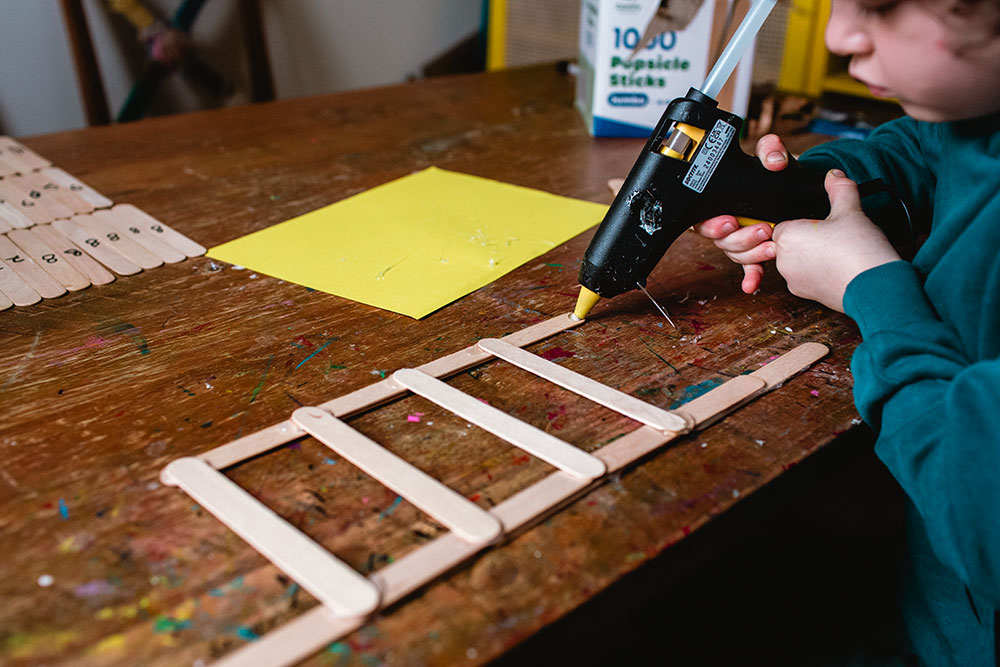
- Next, we added 6 sticks to go diagonally in between each support stick you just added
-
Now repeat steps 1-4
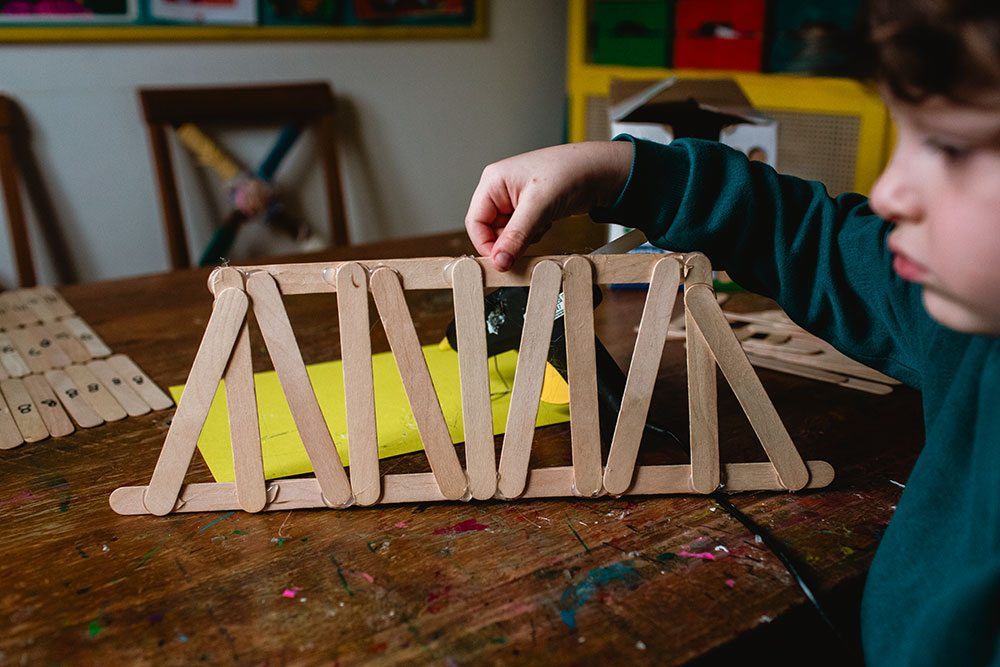
- Now you need to glue them together. Begin by taking 5 sticks and adding glue to their ends and then placing the bridge wall on top of it.

- Do so with both sides and then add supports to the top of the bridge by gluing on 5 sticks.
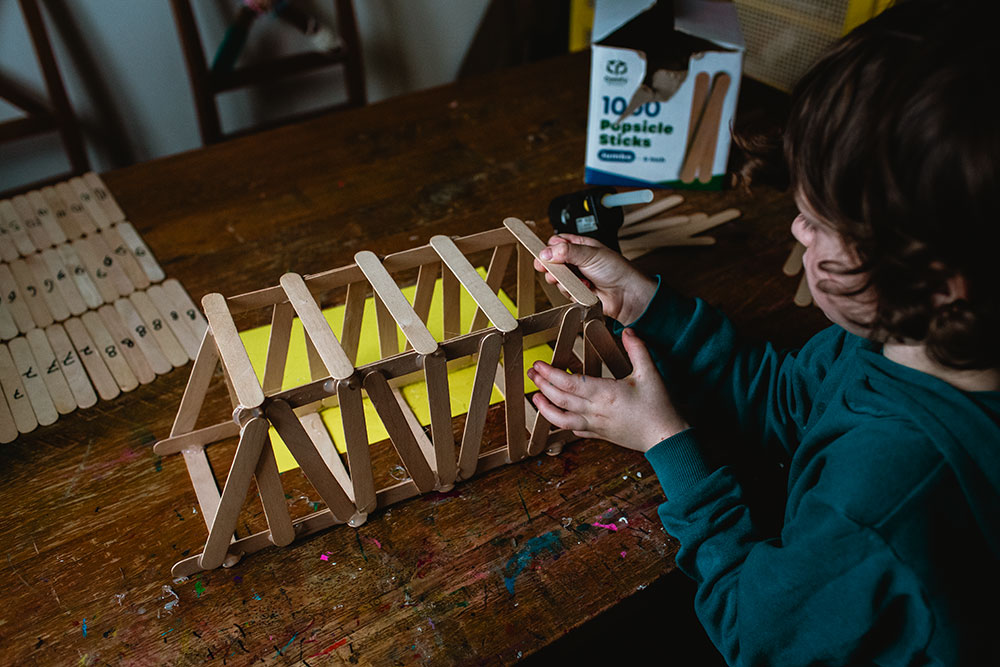
- Then add 4 sticks diagonally and at the ends create and x shape by gluing two sticks together twice.
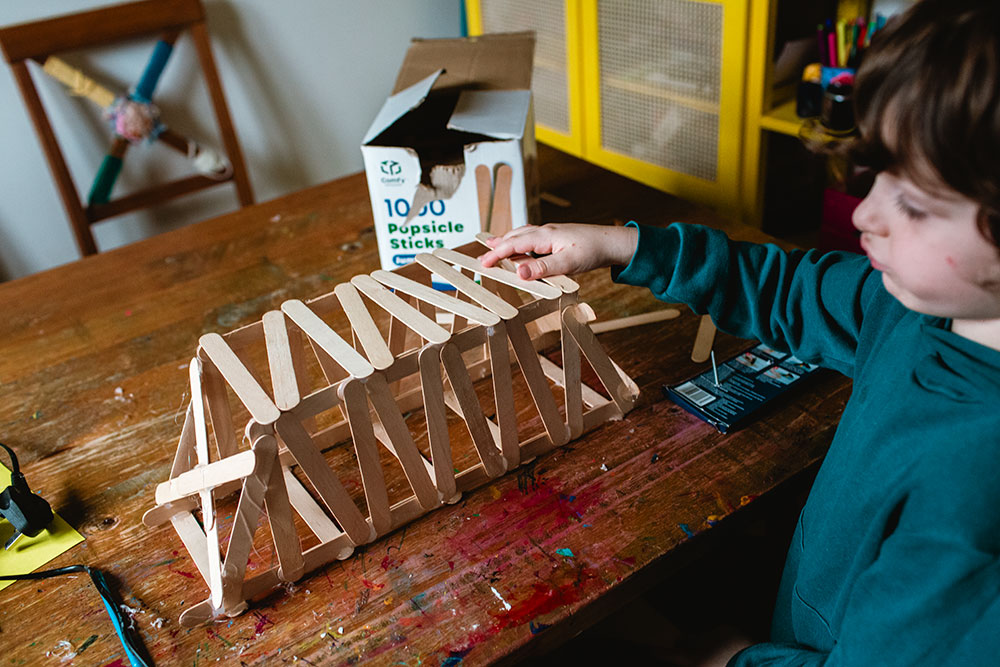
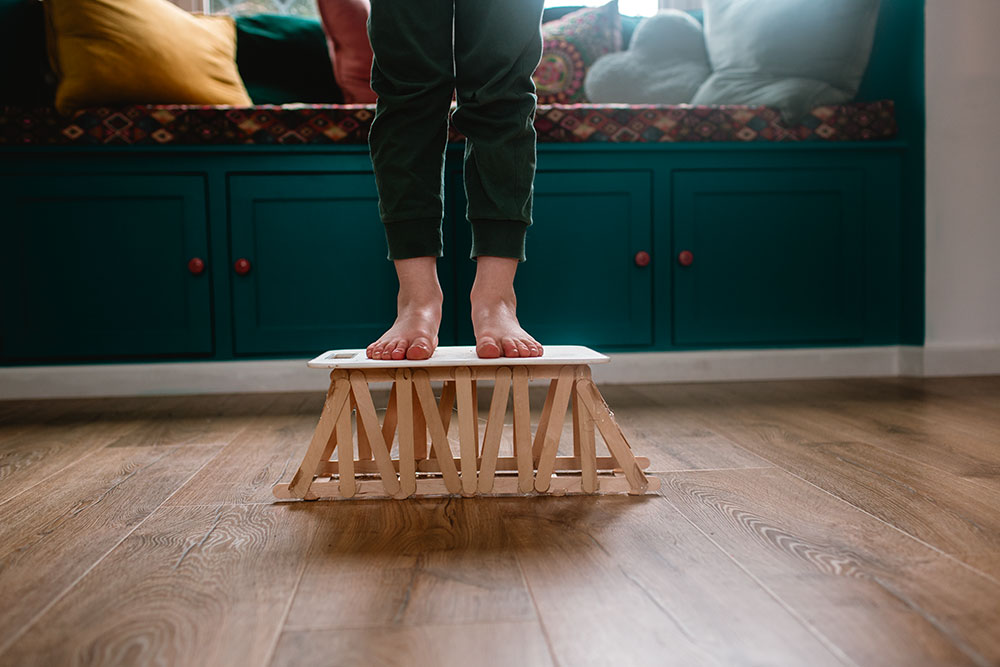
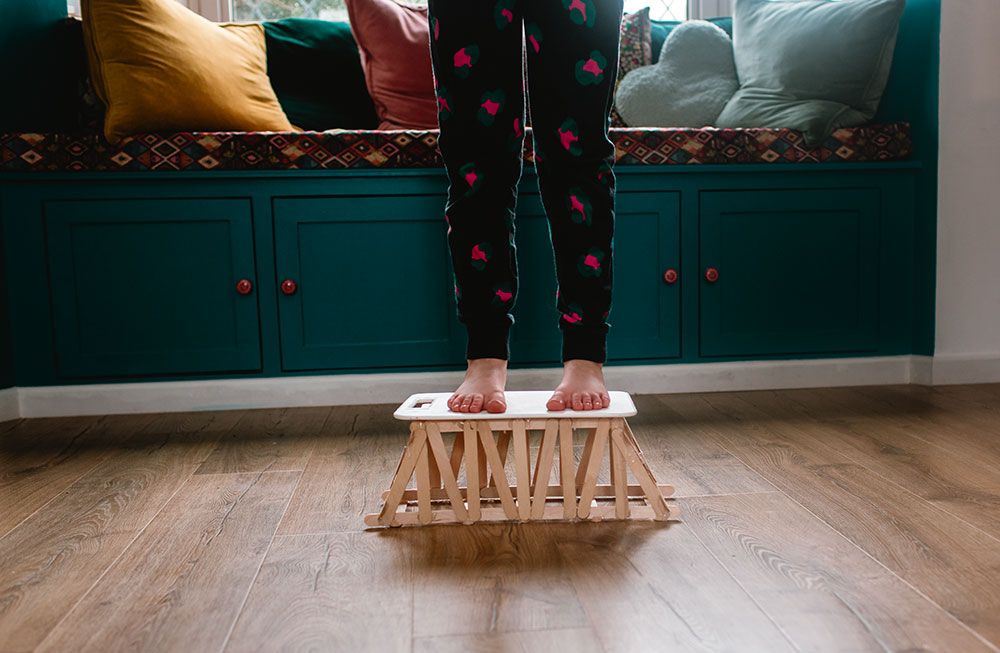
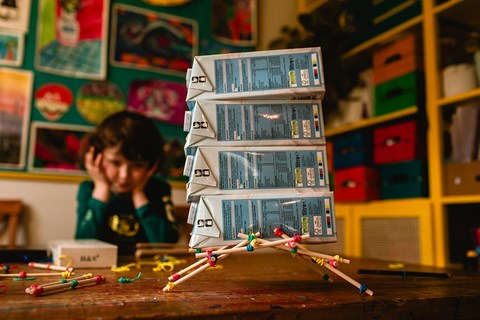
- Now place a cutting board on top of it and test how strong it is!!! The kids were absolutely blown away that it could hold their weight!