Making Cave Art With DIY Natural Paints
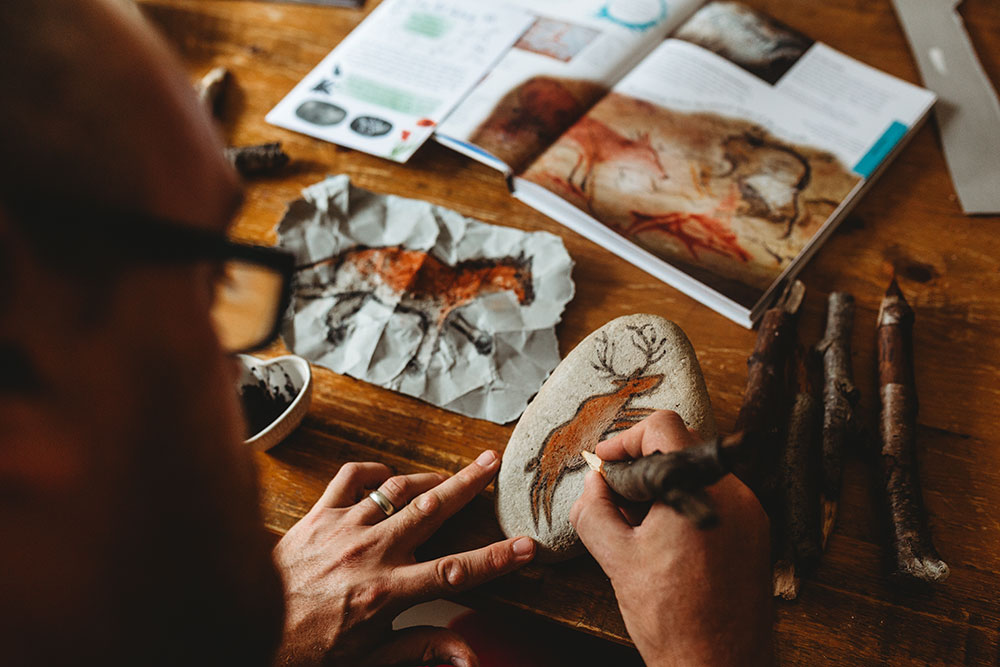
We had such a great afternoon yesterday being inspired by this month's box from The Little Naturalist's Club and spent some time exploring, discovering and learning about cave paintings and prehistoric art.
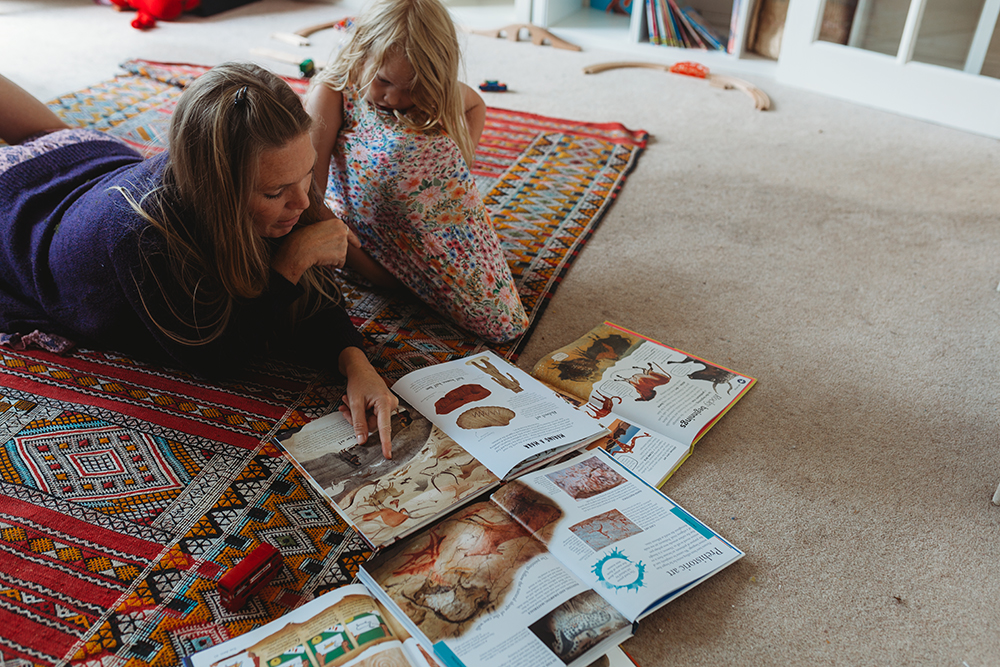
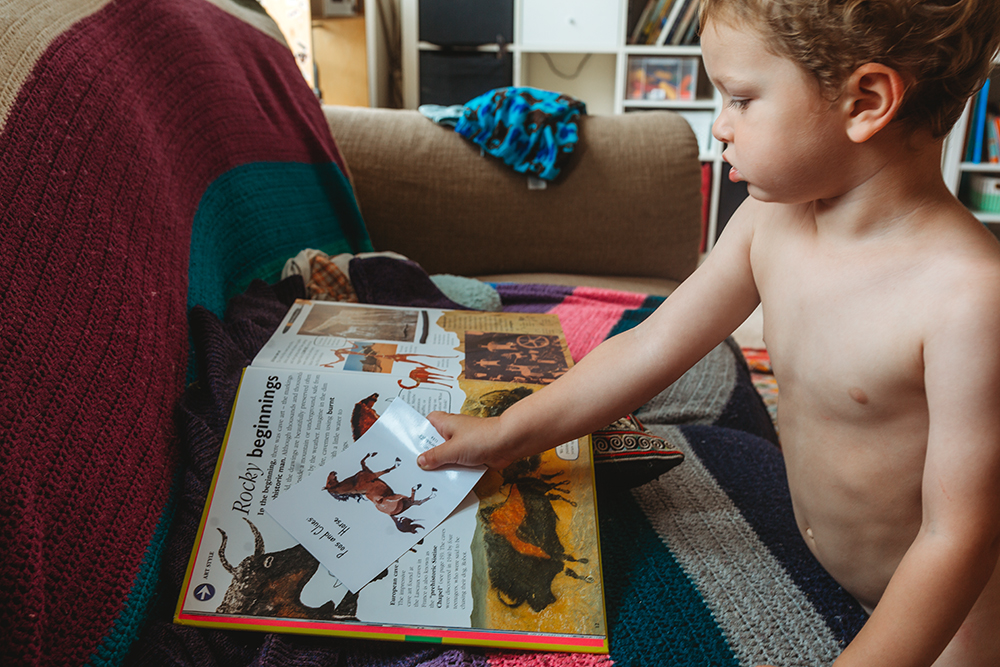
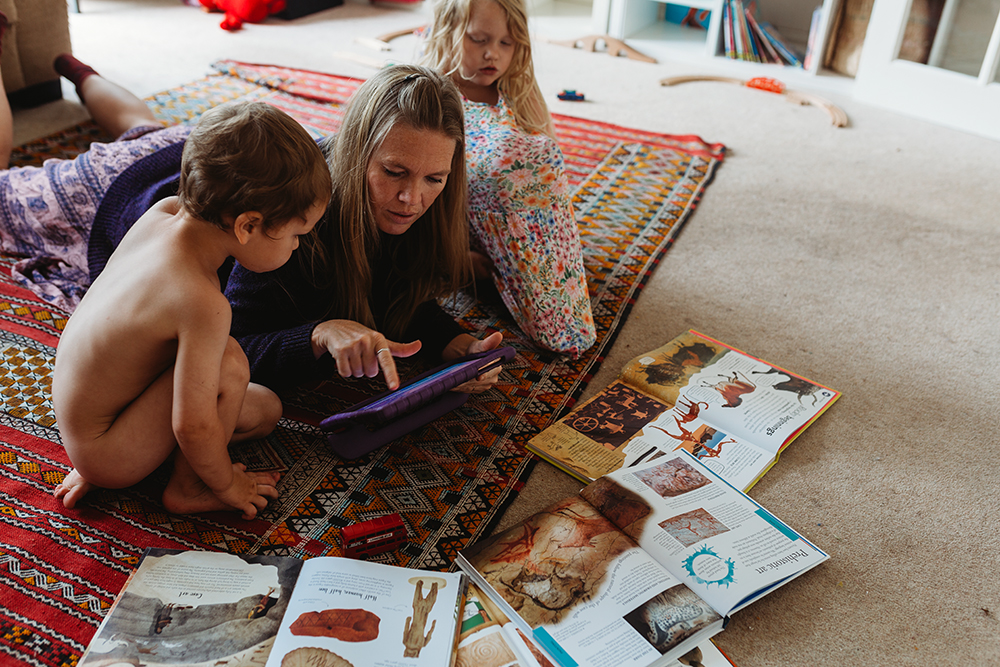
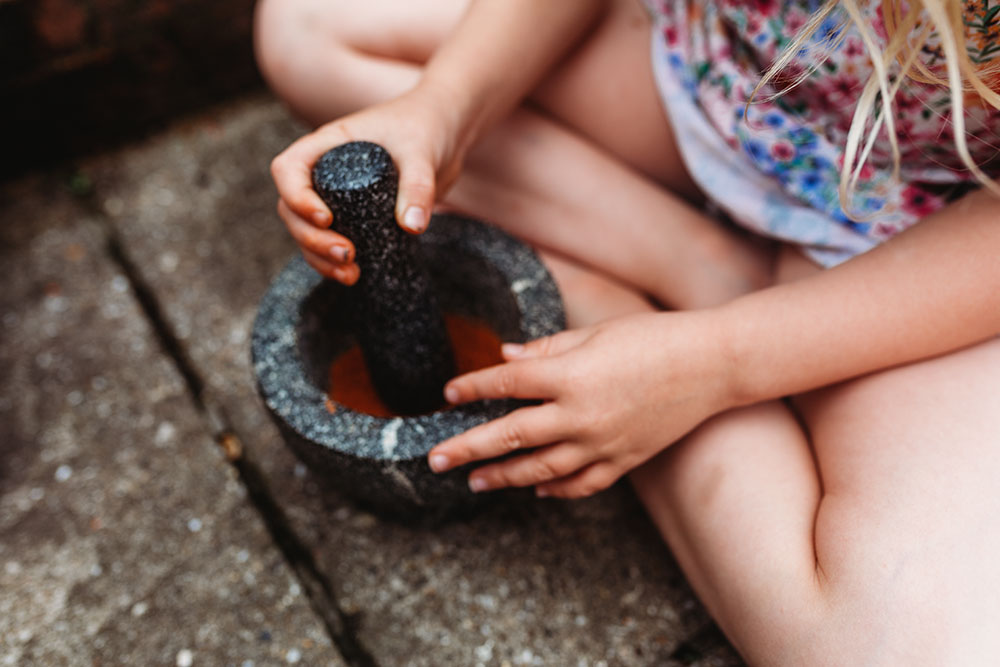
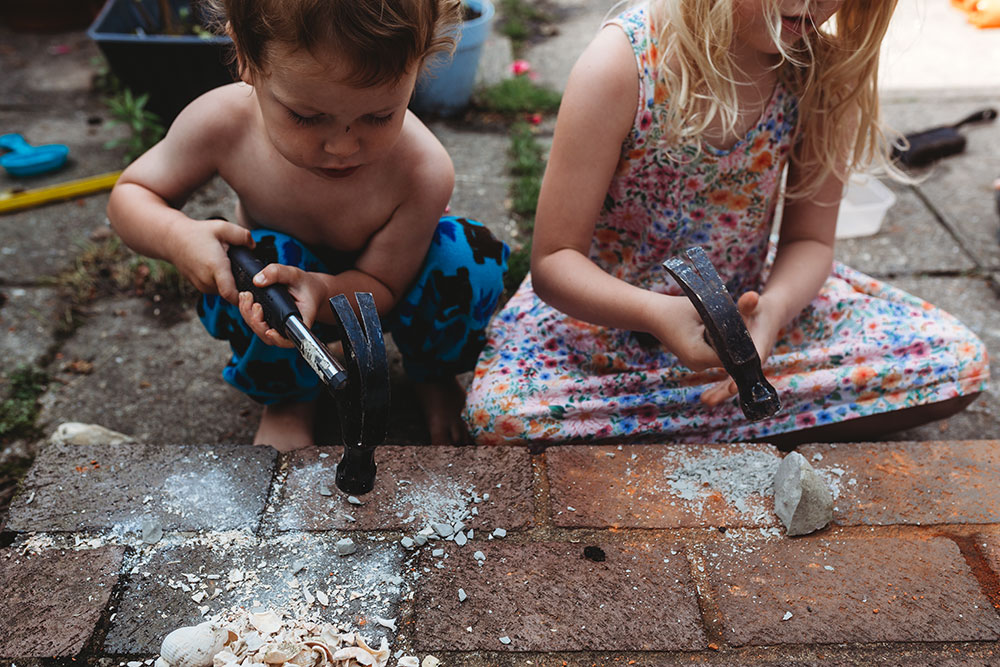
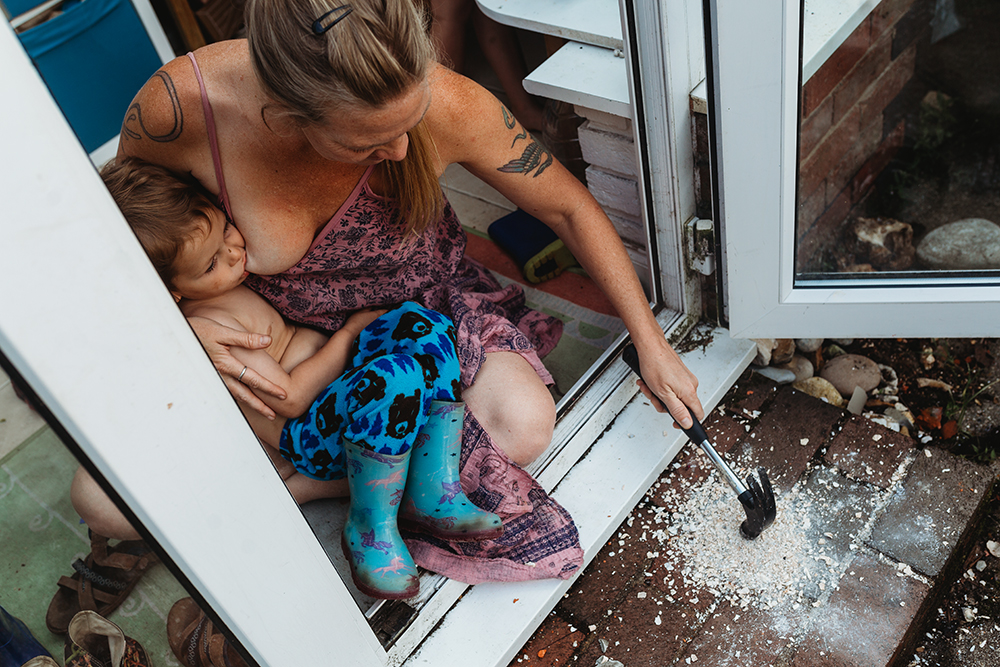
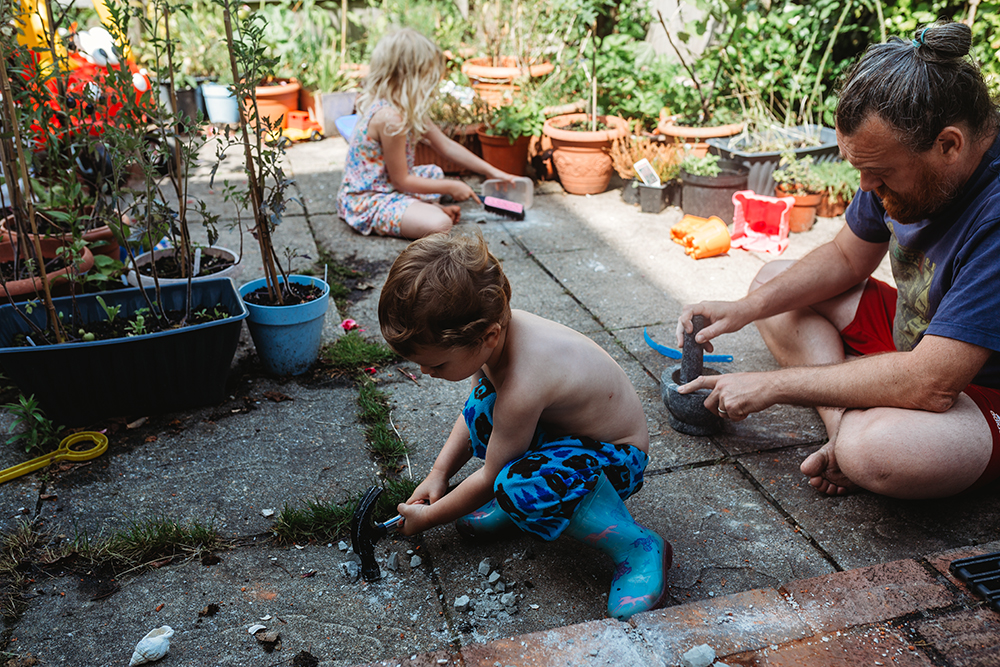
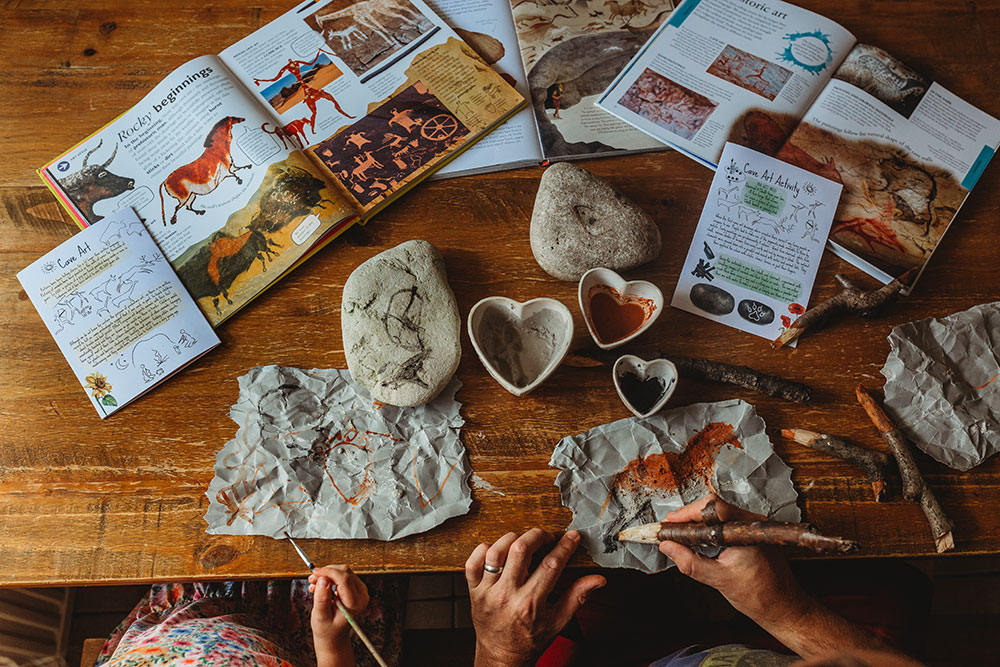
We decided to have a go at making our own paints using stones and shells we had in our garden as we wanted to show Nixie and Forrest how much work went into creating the cave paintings. This was a huge hit! They spent ages hammering away and testing out other materials. Then we just added some water to the powder. And used some sticks that Kevin whittled to paint with.
They were definitely more interested in the hammering part than the painting part but we still all had fun!
Making Your Own Paints
What You'll Need:
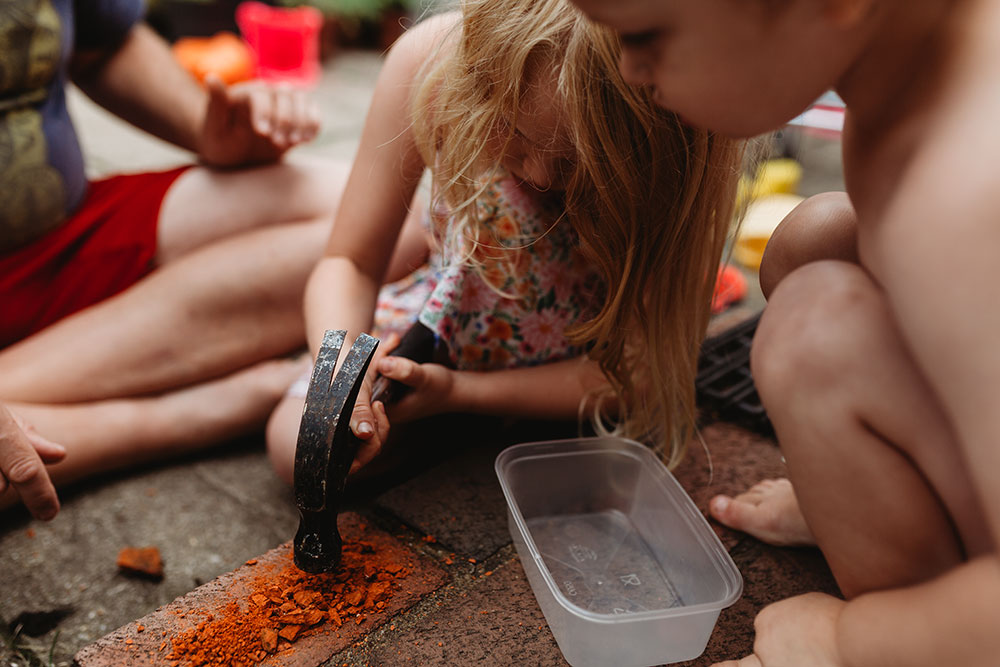
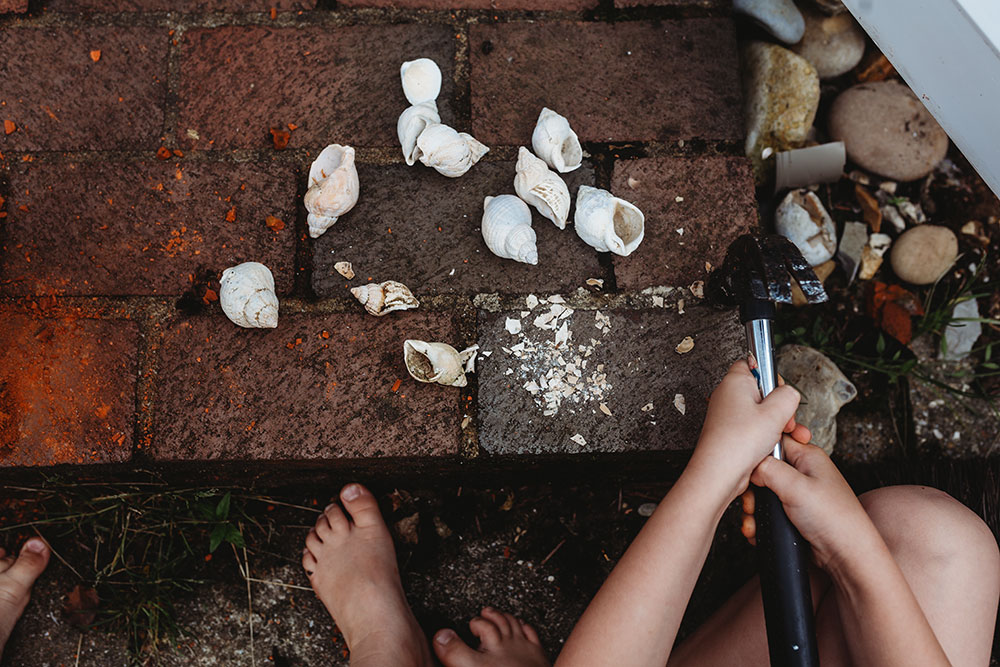
- Natural materials such as bricks, shells, sedimentary stones, anything you can break up
- hammer
- mortar and pestle
- water
- bowls
How To Do It:
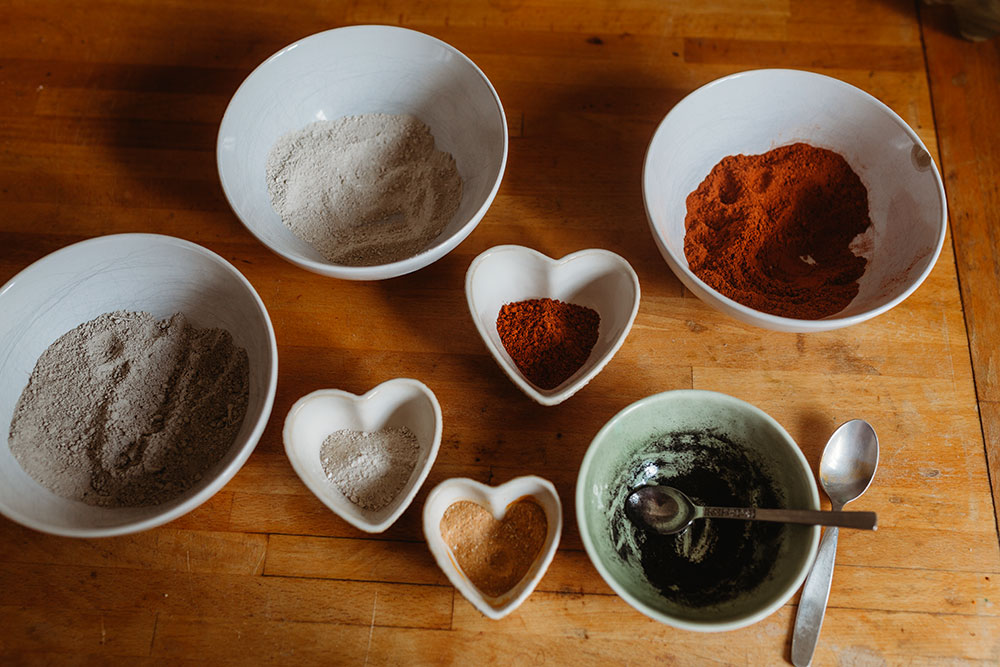
1. Begin by hammering your material into very small pieces and then grinding them with your mortar and pestle. You want to get it as fine as possible.
2. Then put it into a bowl and add a little water and your natural paints are ready!
Making Your Own Cave Art
What You'll Need:
- Your natural Paints
- sticks for painting with (we used some sticks that Kevin whittled for us)
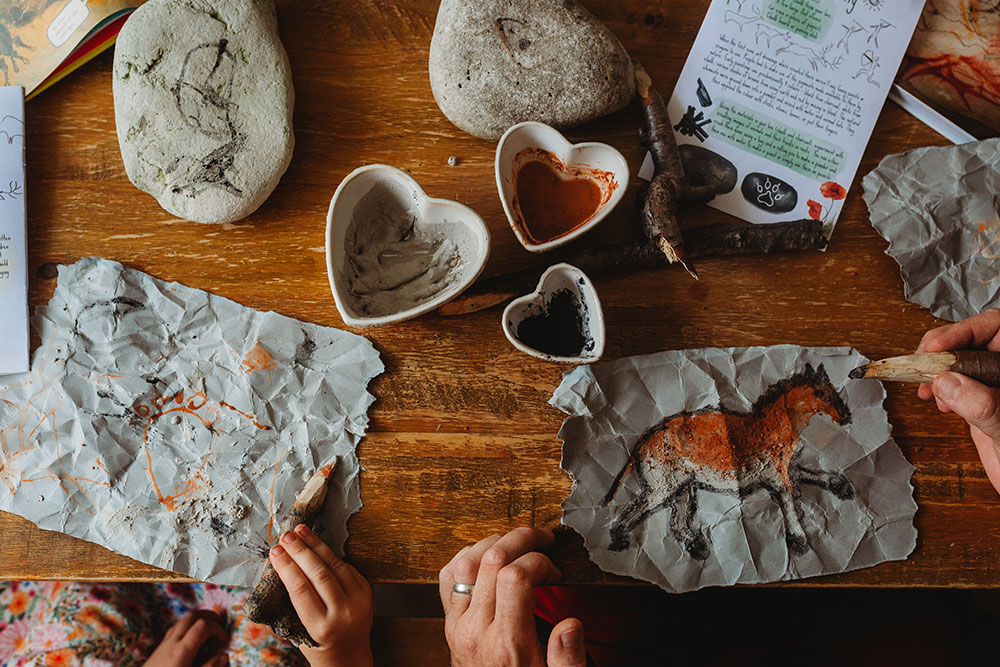
- Paper (we used a paper bag crumpled up to make it looks old and to add texture)
- Rocks
How To Do It:
1. All you need to do is dip your stick into your paints and start painting! It's not the easiest to do so will require some experimenting and a bit of patience.

