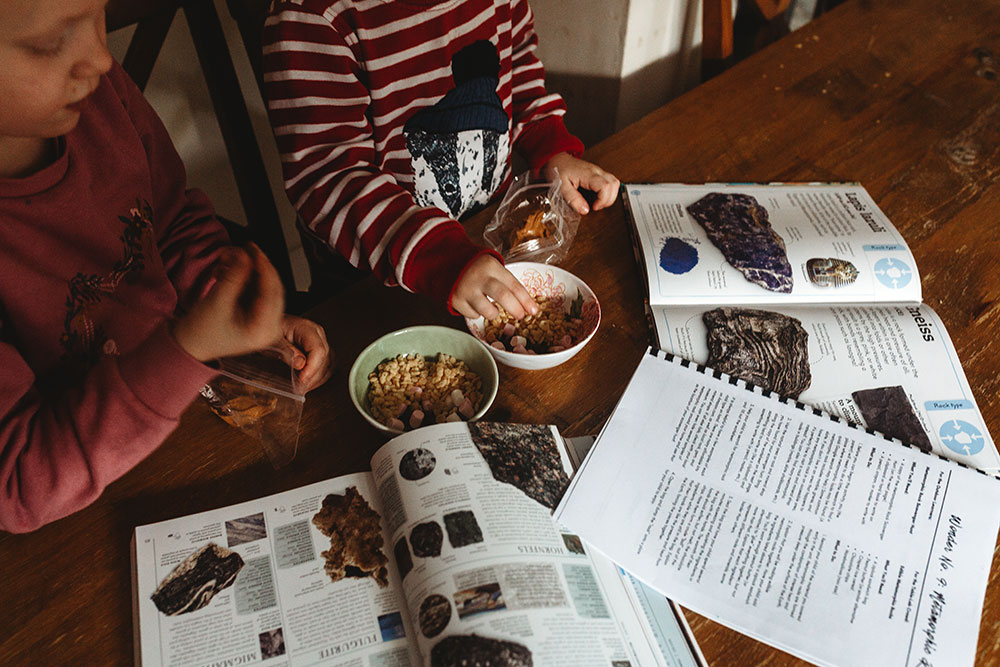
Learning About Rocks!
We began our rock unit by learning about Igneous rocks then Metamorphic rocks, then sedimentary rocks and finally the rock cycle. As I mentioned in my learning about crystals post I had gotten her a journal to keep track of all of her healing crystals and minerals so with each type of rock we learned about I would try to find some that she could add to her journal. We also learned how to identify rocks and minerals and how we use them today by doing some crafts.
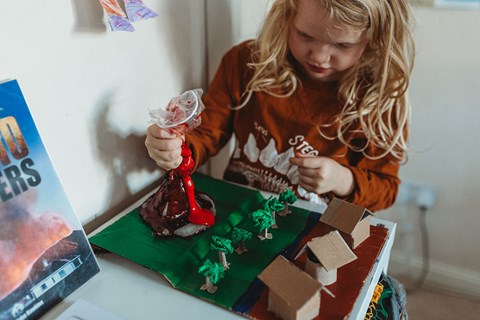
Learning about Igneous Rocks
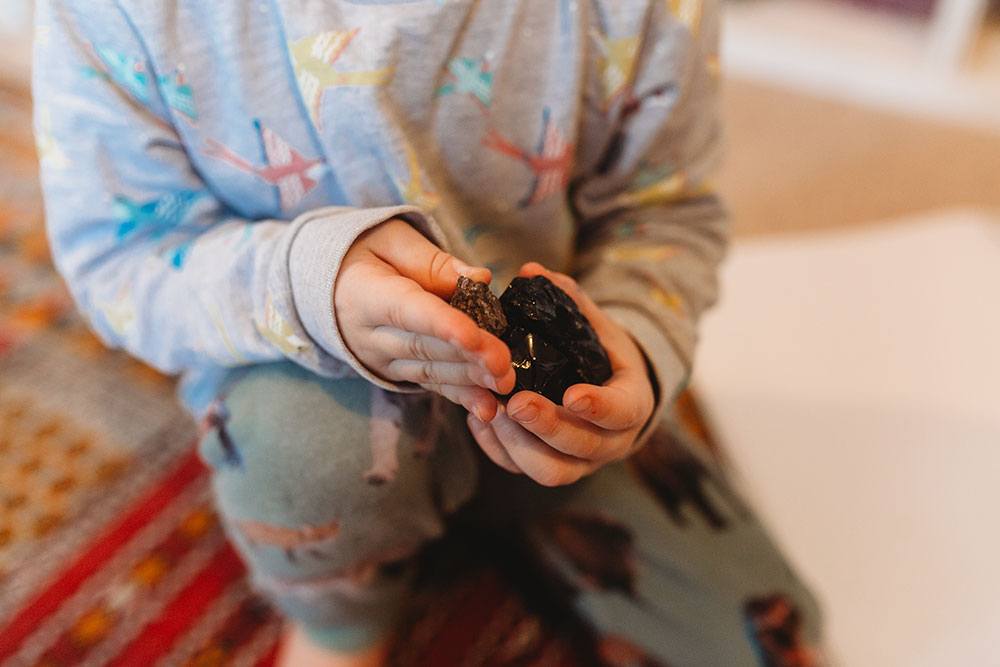
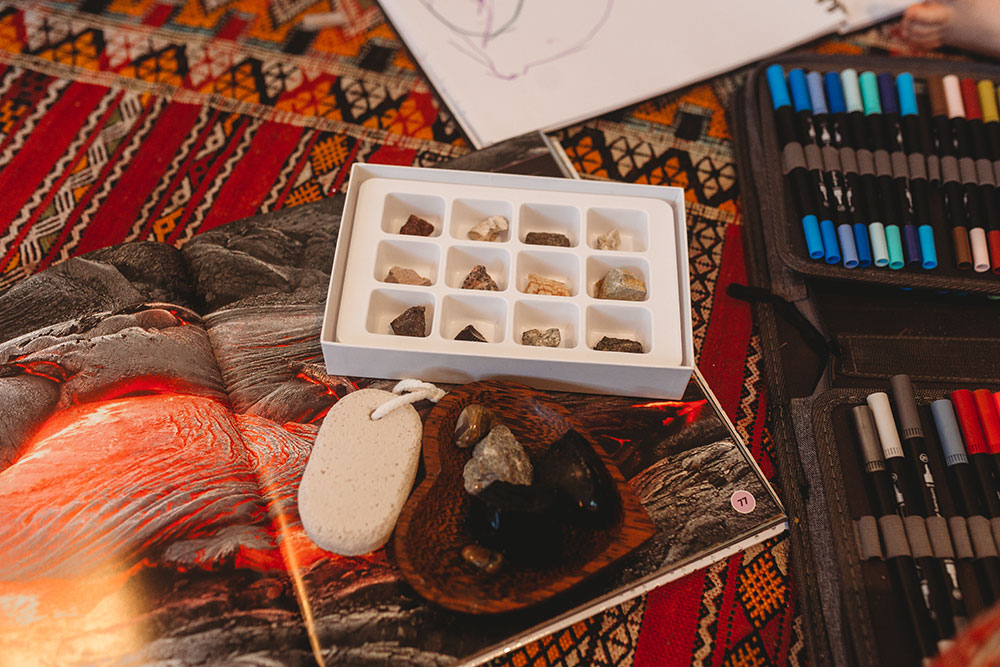
Igneous rocks form when molten rock cools quickly. This often occurs near volcanoes. When the magma (molten rock under ground) rises to the surface, it's called lava and when the lava cools it forms igneous rock. I purchased some Obsidian and pumice for her to have a look at and touch and I also purchased Learning Resources rock sets.
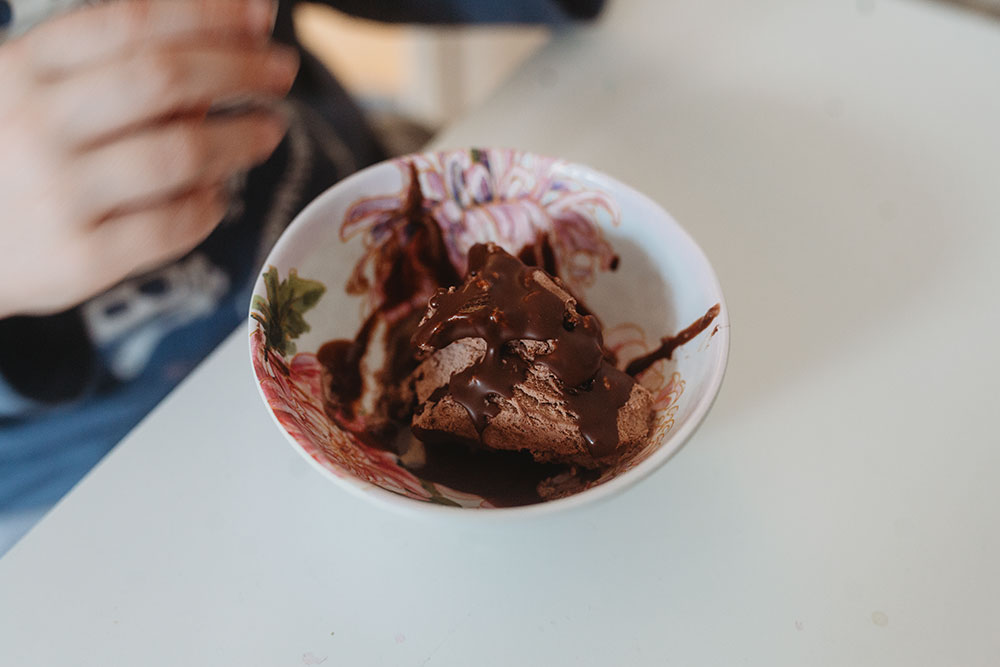
Easy Edible Igneous Rock with Magic Shell Chocolate
This is such a simple way to show kids how an igneous rock forms! All you need to do is pour some magic shell chocolate topping (which represents the lava flowing out of the volcano) onto some ice cream and watch it harden! The sauce represents igneous rock and we pretended that it was obsidian.
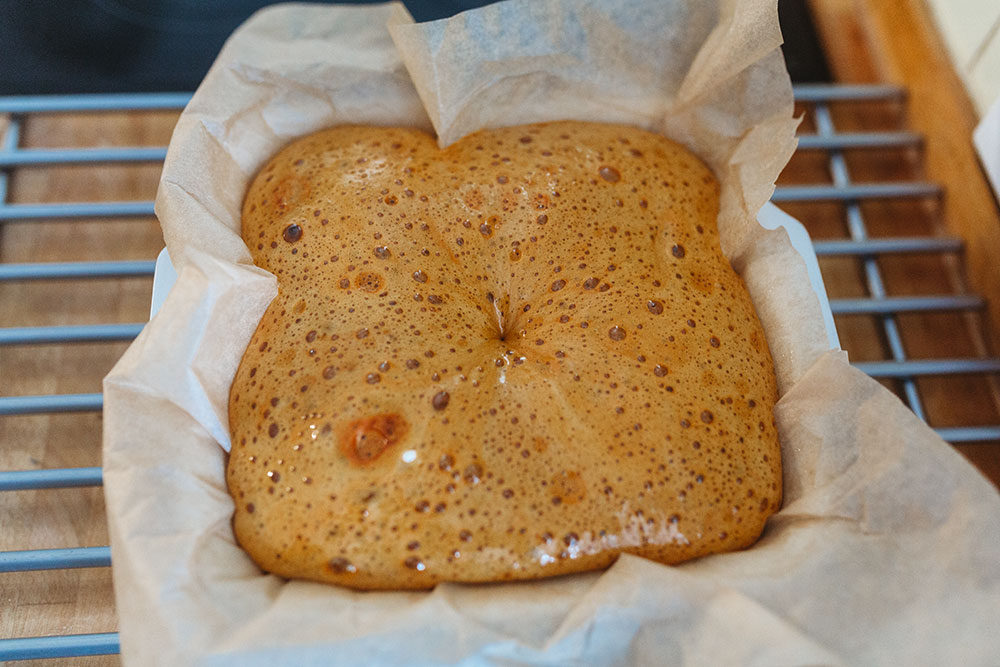
Edible Pumice Rock
this is a great little sweet treat that mimics pumice stone perfectly and the kids couldn't get enough of it!

What you'll need
- 1/2 cup sugar
- 1/2 cup golden syrup
- 1/2 tablespoon vinegar
- 1/2 tablespoon baking soda
- 1 teaspoon vanilla
- 8x8 square pan
- candy thermometer
How to do it
- Line the bottom and sides of an 8x8 square pan with parchment paper and grease with vegetable oil
- Add sugar, golden syrup and vinegar to a large deep sauce pan (the mixture will bubble up)
- cook over medium heat stirring continuously until the sugar dissolves.
- Continue cooking until candy thermometer reads 300f then remove from heat and stir in baking soda. It will foam.
- pour into parchment lined pan and let cool.
- break into pieces and enjoy!
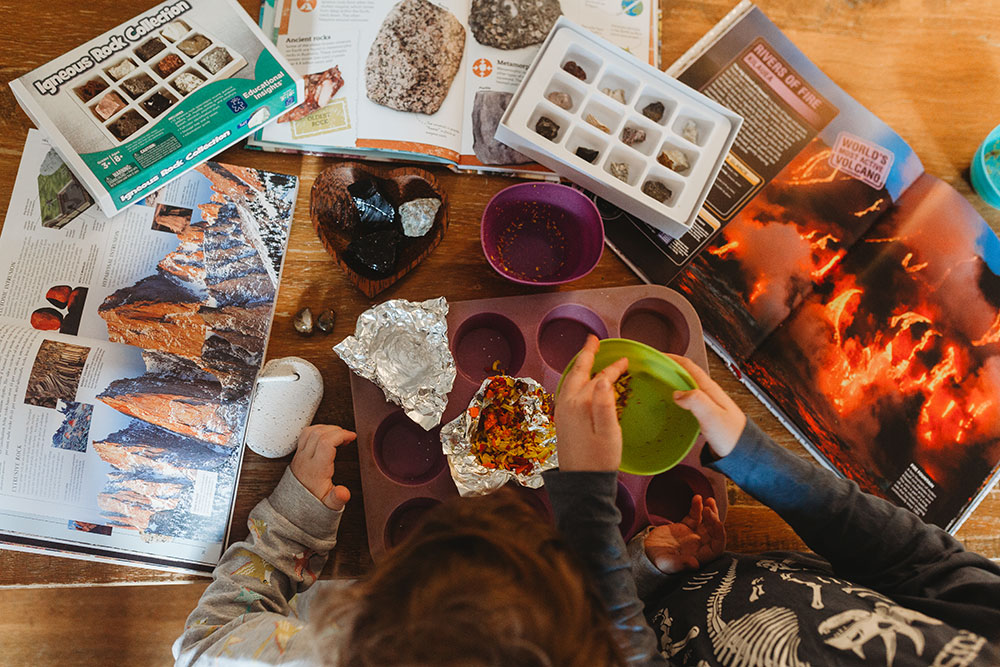
Igneous Rock Crayons
What you'll need
- several crayons (if already broken the better!)
- silicone cupcake tray
- tinfoil
- cheese-grater
How to do it
- preheat oven to 135C
- remove any paper from crayons and break them into small pieces either by hand or using the cheese grater
- add tinfoil to a couple of cells of the cupcake tray.
- Add pieces from all of the crayons into the tinfoil cups you have prepared. explain that these broken pieces are the rocks and minerals that are melted during the process that makes igneous rocks.
- Remind your child that igneous rocks are formed during volcanic activity when the the rocks become hot enough to melt into magma or lava and then cool and harden.
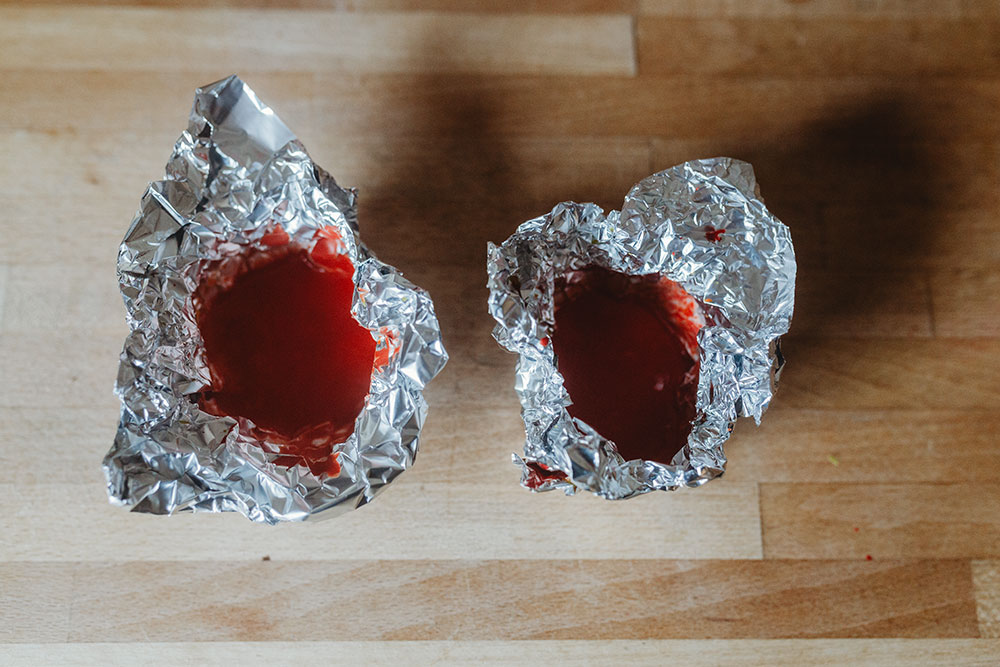
- place into the oven and watch closely until melted. Usually take around 5 minutes or so.
- to mimic how quickly igneous rocks cool place in the freezer until cooled and then your igneous rock crayon is finished!
Learning about Metamorphic Rocks
Metamorphic rocks can be formed by pressure deep under the Earth's surface, from the extreme heat caused by magma or by the intense collisions and friction of tectonic plates.
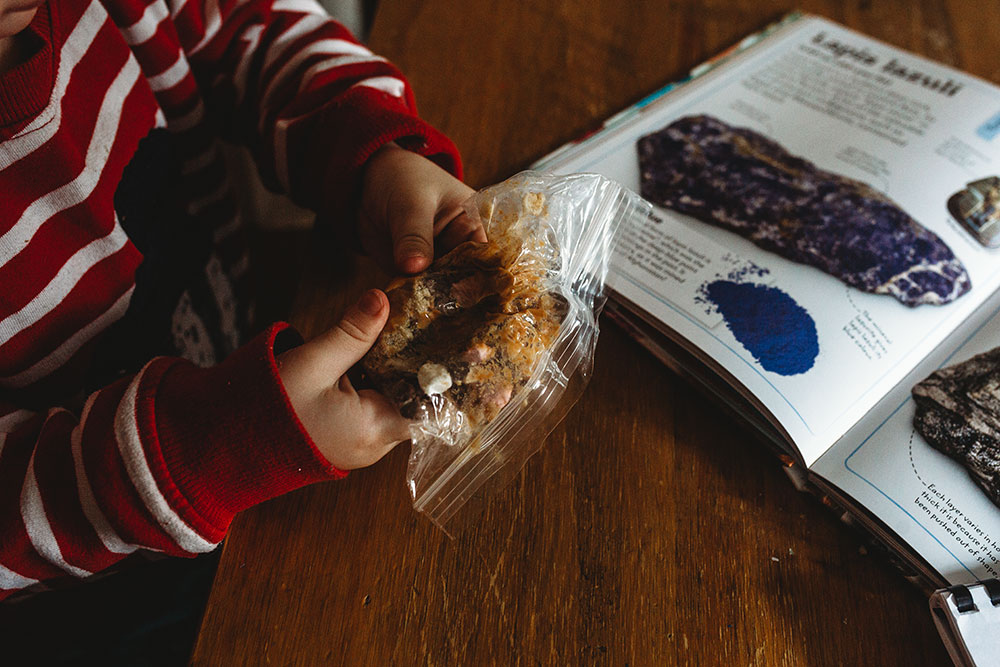
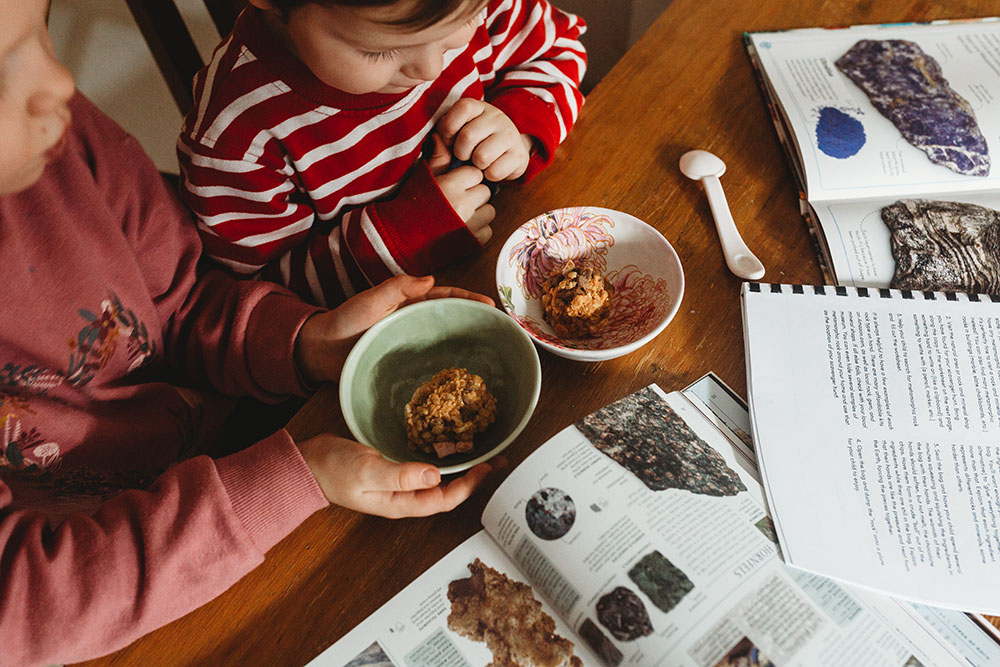
Edible Metamorphic Rocks
What you'll need
- rice crispies
- mini marshmallows
- chocolate chips
- nut butter of choice
- a ziplocked sandwich bag
How to do it
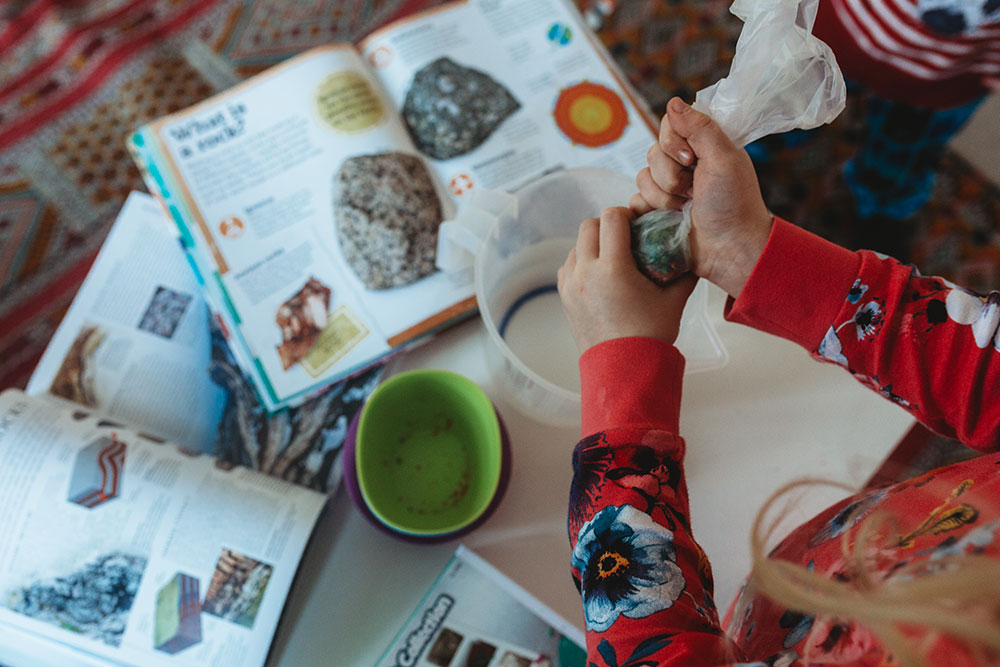
- remind your child that metamorphic rocks are formed through deep pressure and intense heat deep under the surface of the earth
- tell your child that each ingredient represents different types of rocks and minerals and have your child add all the ingredients to their plastic bag
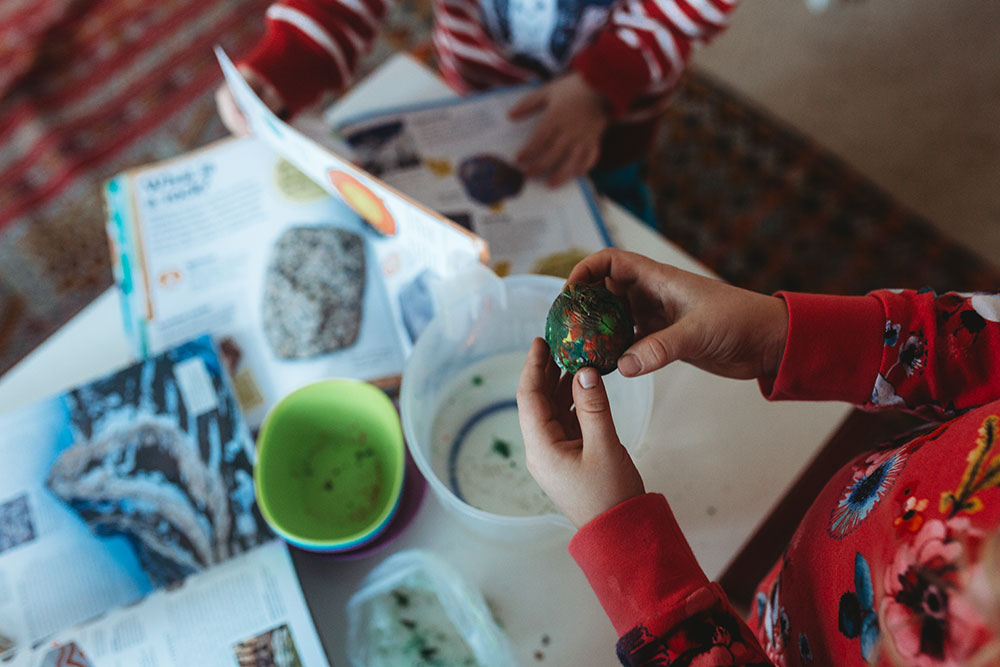
- seal the bag and have them squeezing and squishing all the ingredients together for several minutes. the warmth of their hands should soften, but not melt the chocolate chips. Tell them that their hands are like the pressure and heat from the earth, forcing the pieces together.
- form into a ball and enjoy your metamorphic rock treat!
Metamorphic Rock Crayons
What you'll need
- several crayons (if already broken the better!)
- a jug of hot water
- ziplock bag
- cheese-grater
How to do it
- remove any paper from crayons and break them into small pieces either by hand or using the cheese grater
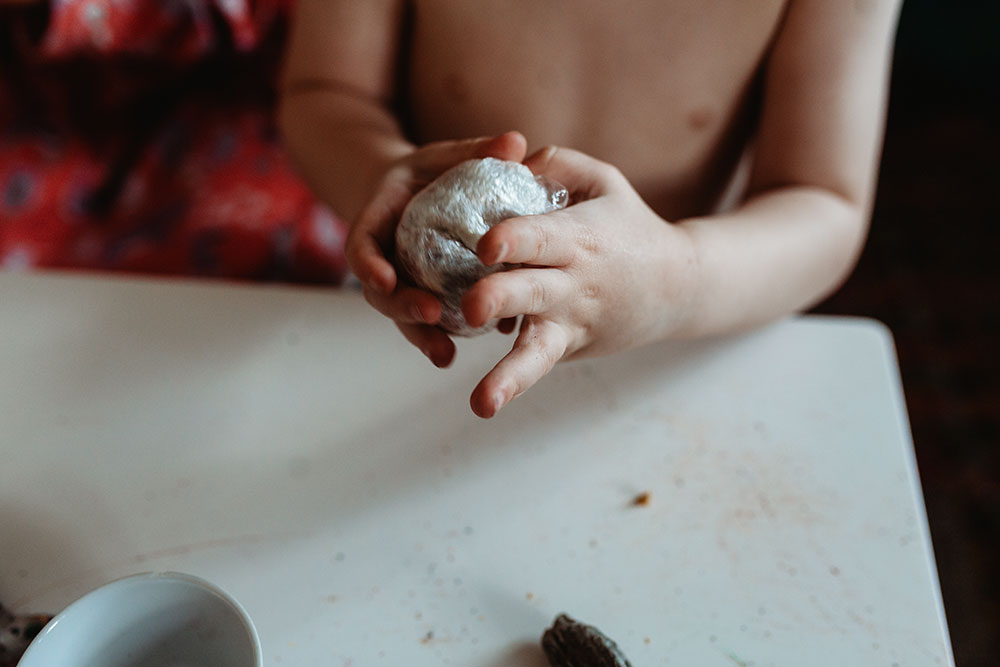
- place bits of crayon (which symbolise different types of rocks) into ziplock baggie and squeeze the crayons together and then dip into the hot water until they soften a bit and then squeeze them some more until it can form into a ball.
- remind your child that metamorphic rocks are formed through deep pressure and intense heat deep under the surface of the earth and that their hands symbolise the heat and pressure.
- now you have your metamorphic rock crayon!
Learning about Sedimentary Rocks
Sedimentary rock is formed by layers of sediment-minerals, mud, sad, pebbles and often the remains of living organisms- compressing together. Sedimentary rock often contains fossils of plants and animals from millions of years ago.
Edible Sedimentary Rocks
this is another super simple edible treat to show how sedimentary rocks are formed.
What you'll need
- rice krispies
- mini marshmallows
- chocolate chips
- 3 tablespoons butter
- smarties
- 8x8 greased pan
How to do it
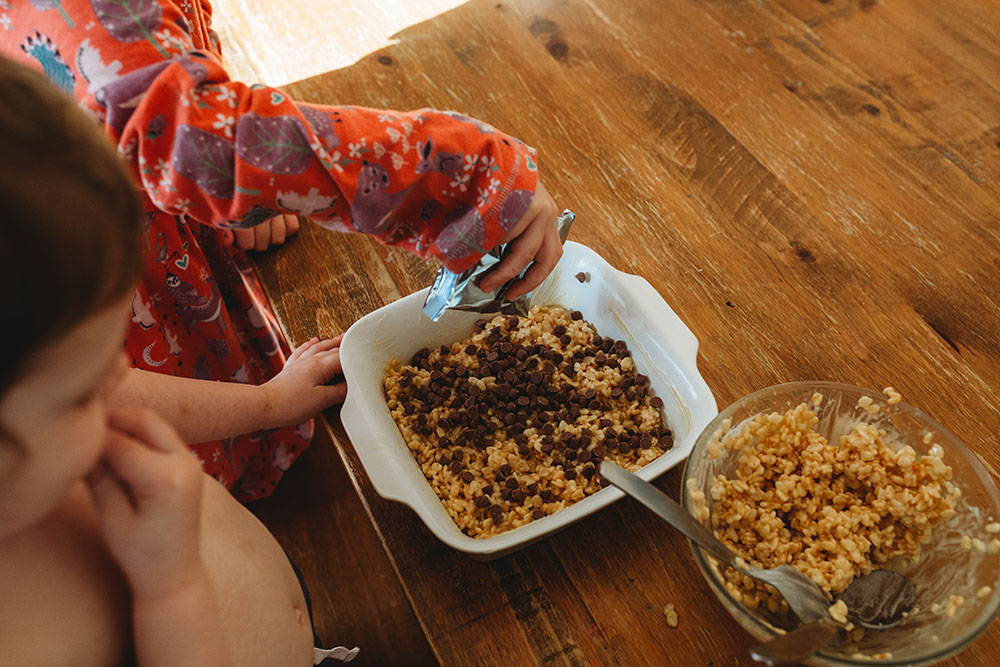
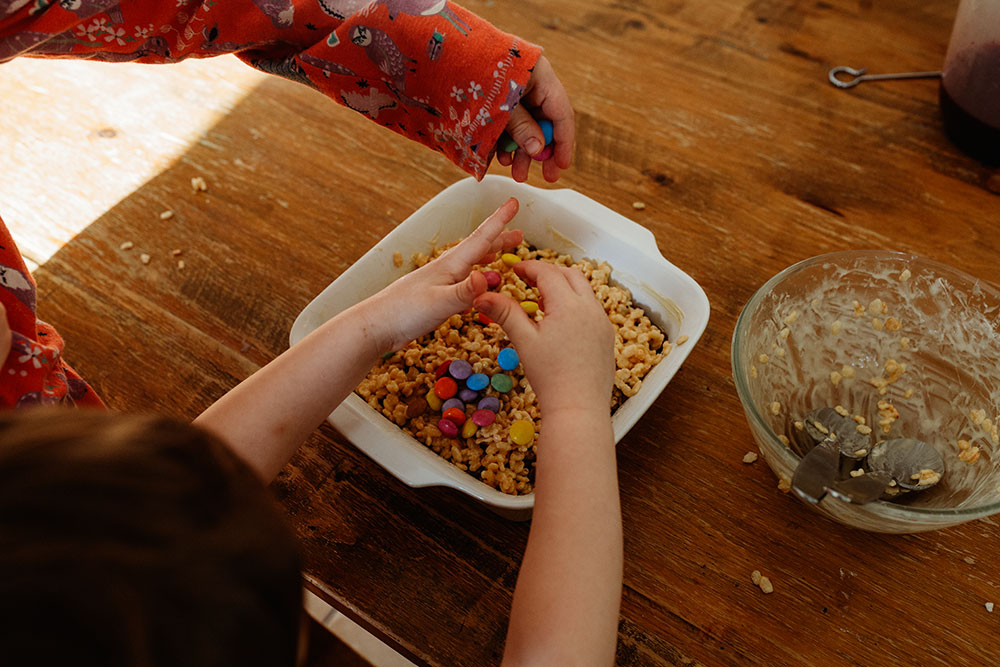
- remind your child that sedimentary rocks are formed by layers of sediment and each ingredient will be the mud, pebbles, sand or fossil
- in the stovetop melt your butter and marshmallows and stir
- pour in some rice krispies into your mixture and stir
- scoop half of the mixture (mud) into your greased pan and press firmly
- on another layer (rocks) add the chocolate chips and press firmly
- then another layer (sand) of rice krispies and press firmly
- and finish off with a layer of (fossils) smarties and press firmly
- let sit for an hour and then enjoy your sedimentary rocks!
Sedimentary Rock Crayons
What you'll need
- several crayons (if already broken the better!)
- a jug of hot water
- ziplock bag
- cling film
- cheese-grater
How to do it
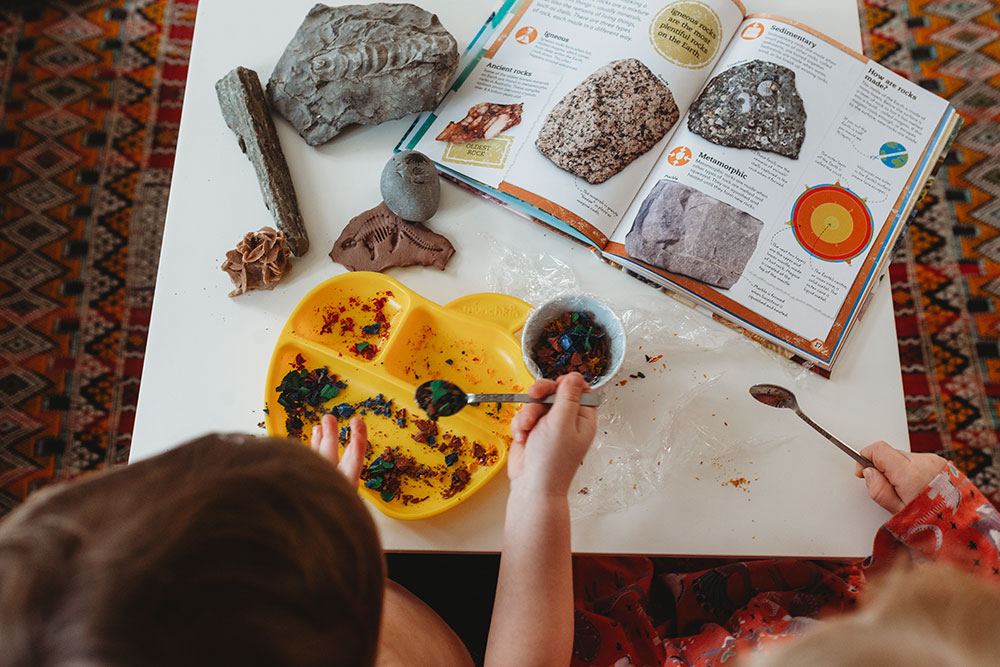
- remove any paper from crayons and break them into small pieces either by hand or using the cheese grater
- separate the colours into piles then place the broken pieces of crayon in a pile on a length of plastic wrap and add several layers of different colours to symbolise the different layers in sedimentary rocks.
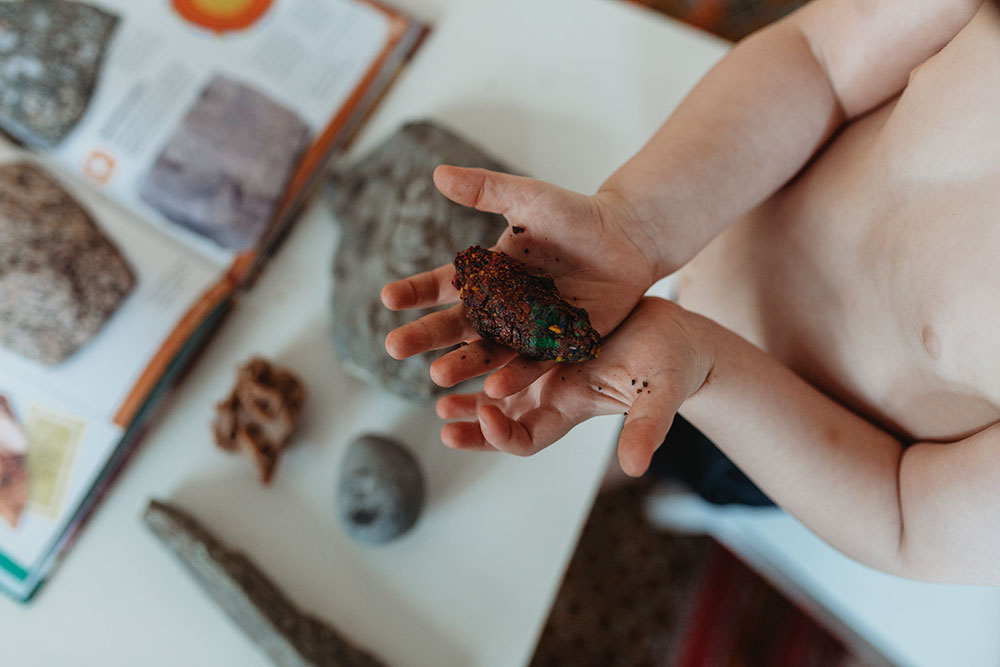
- wrap the cling film around the crayon and press down with the heel of your hand squeezing all the pieces together.
- talk about how sedimentary rocks are formed by pressure squeezing layers of sediment together. Their hands pushing down are like that pressure pushing down on sediment layers beneath the ocean or a river.
- Open the cling film and your sedimentary rock is finished! Now compare all of the different rocks you have made!

Learning About The Rock Cycle
Metamorphic rock, sedimentary rock and igneous rock can all transform into new igneous rock if they are melted into magma under the Earth's surface and then undergo cooling and hardening. Metamorphic rock, sedimentary rock, and igneous rock can all transform into new metamorphic rock from tremendous forces of heat and pressure under the Earth. Finally, metamorphic rock, sedimentary rock and igneous rock can all transform into new sedimentary rock when they are eroded and their particles are transported and deposited inn a new location- often along with sand, mud, minerals and the remains of living organisms and are then compressed and hardened.
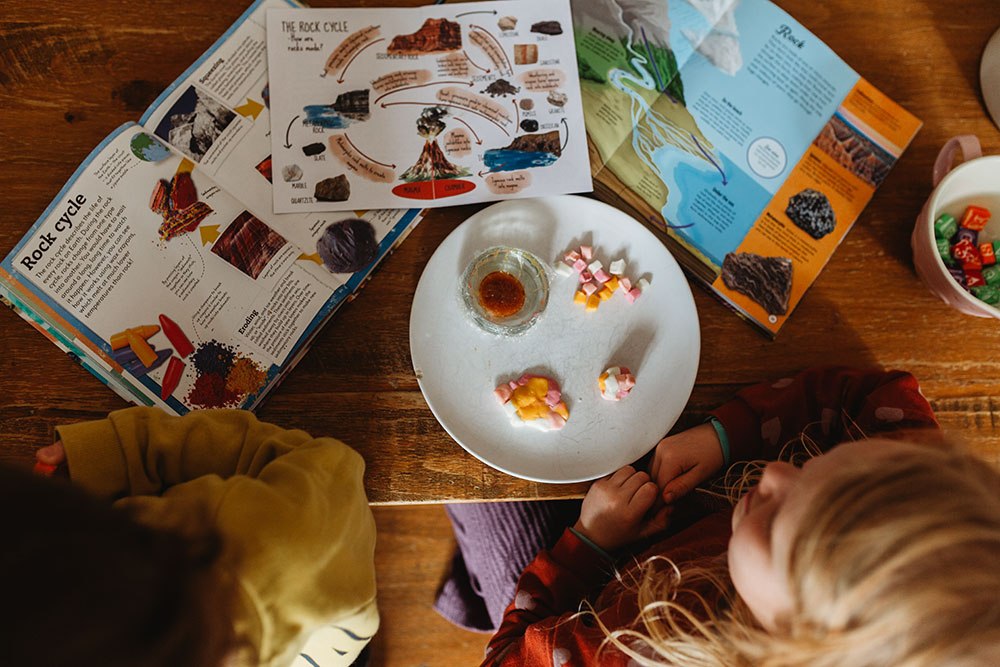
Starburst Rock Cycle
What you'll need
- lots of starburst candies
- microwavable container
- cling film
- ziplock bag
- plate
How to do it
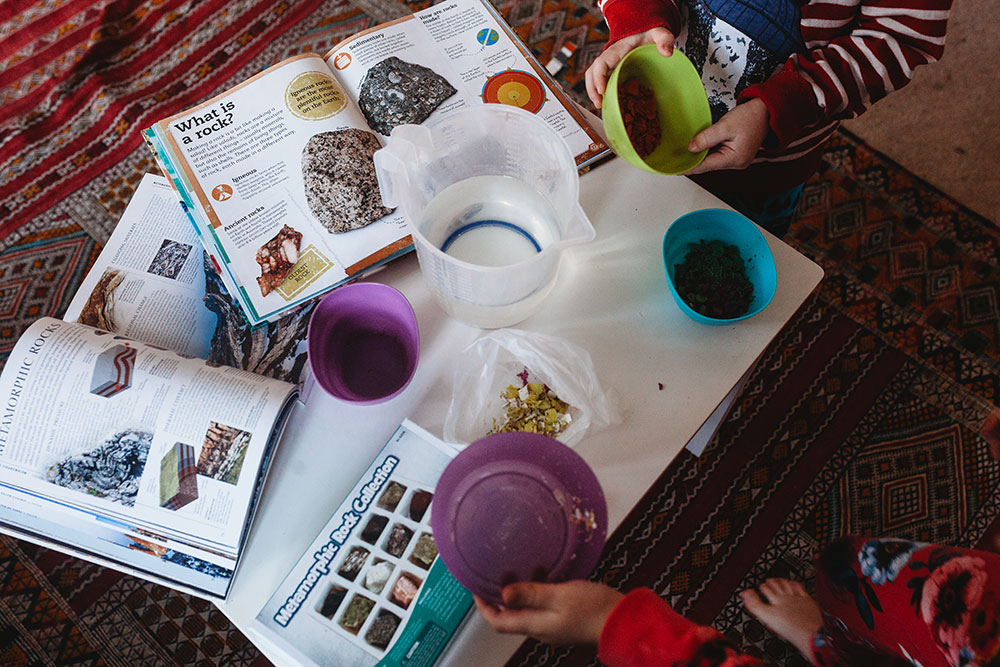
- first take three candies of different colours and give to each child
- First begin by creating the formation of sedimentary rocks. cut or tear the pieces of candy into small pieces which mimics the process of erosion breaking down the larger rocks into smaller sediments. Instruct them to make a small pile of sediment by stacking the pieces of sediment together by colour and then pushing down on the pile as hard as they can which is like the pressure over time pushing down on layers of sediment.
- Next you will turn your sedimentary rock into a metamorphic rock. Explain that rocks change into metamorphic rock when they are subjected to intense heat and pressure beneath the surface of the earth. put your "rock" into your Ziplock bag. put it in the microwave for just a few seconds, you only want them to get warm not to melt. once warm have your child squeeze the baggie creating your new metamorphic rock.
- now you will make your igneous rock. Put your metamorphic rock into your container and put it into the microwave to melt completely take it out and remind your child that igneous rock is formed from magma or lava that cools and hardens.
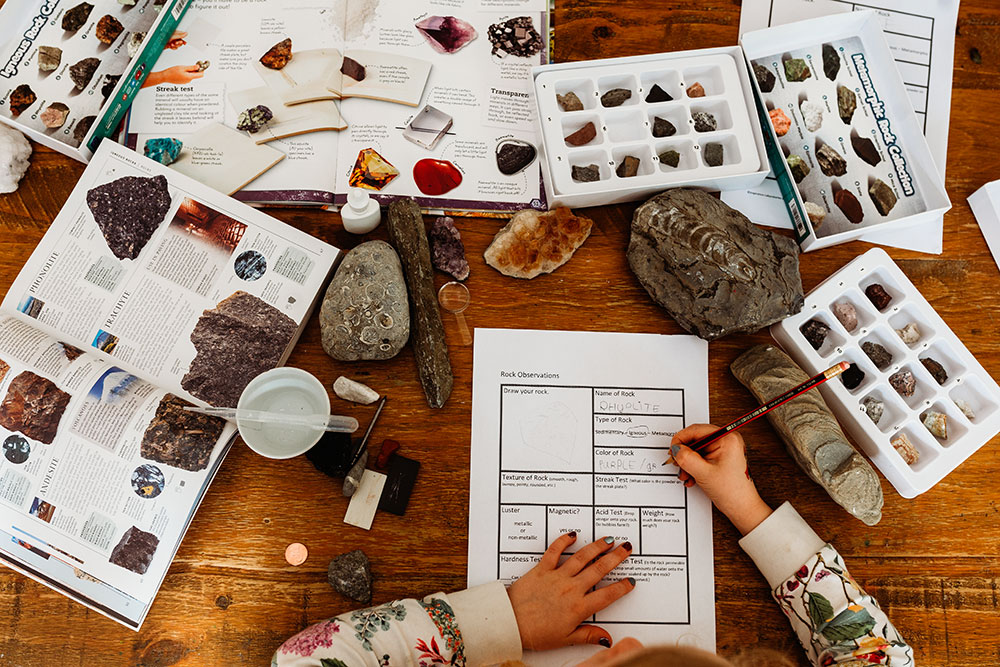
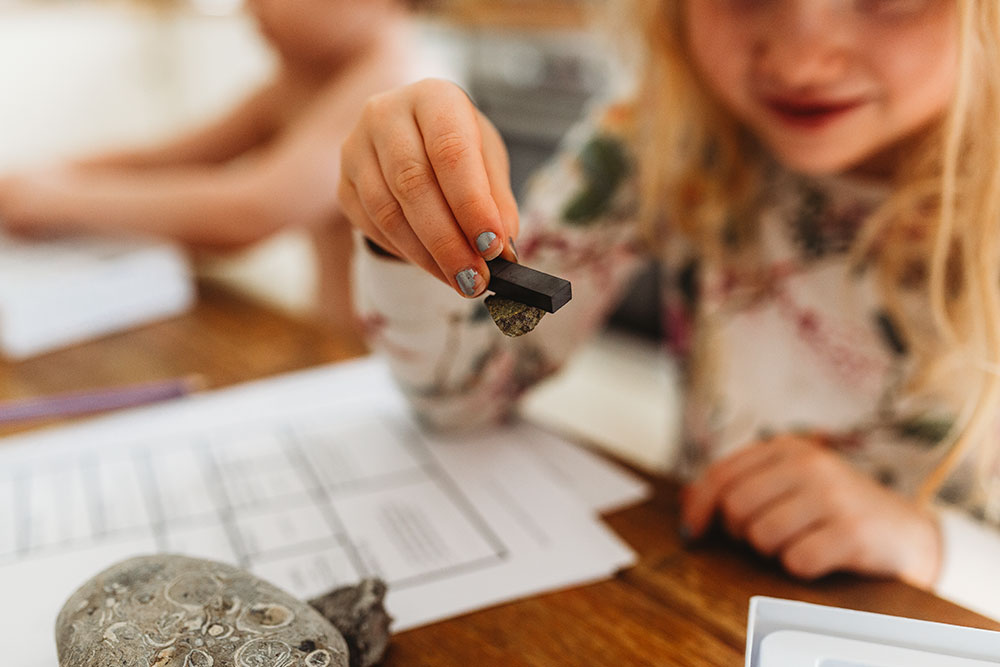
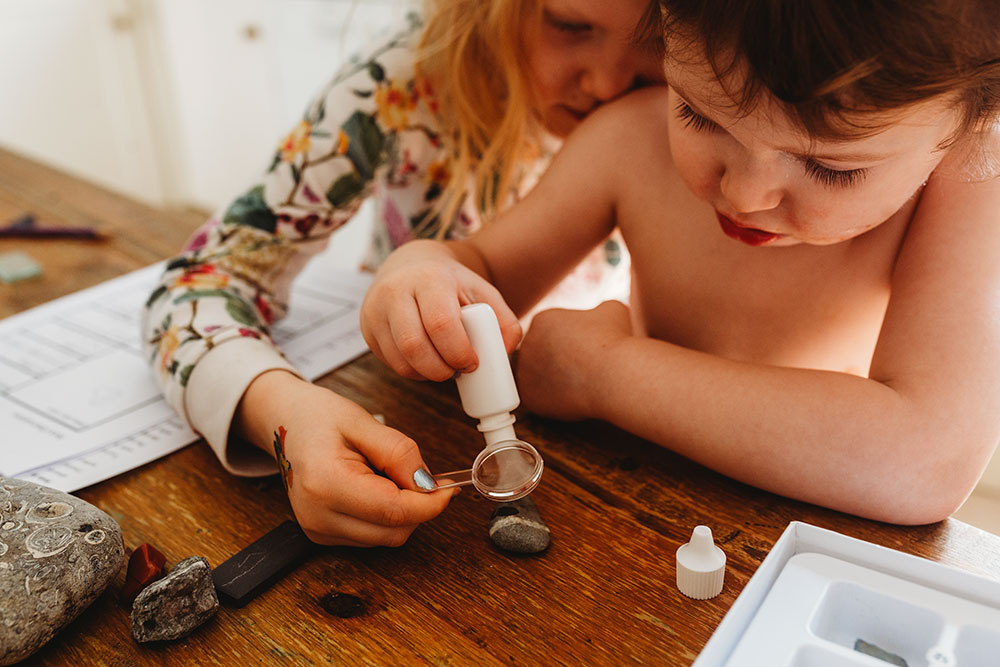
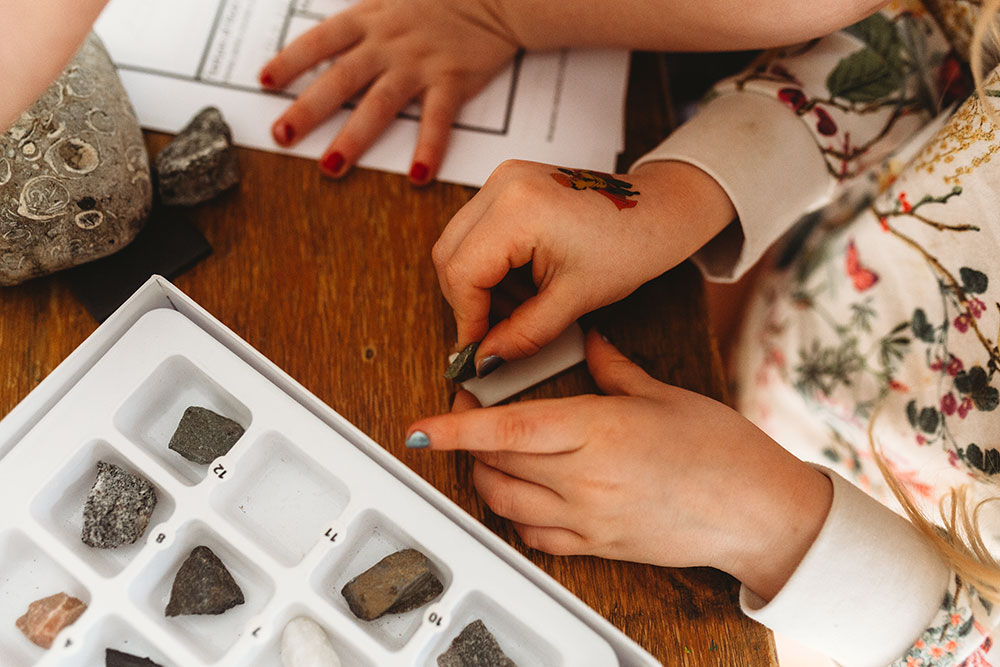
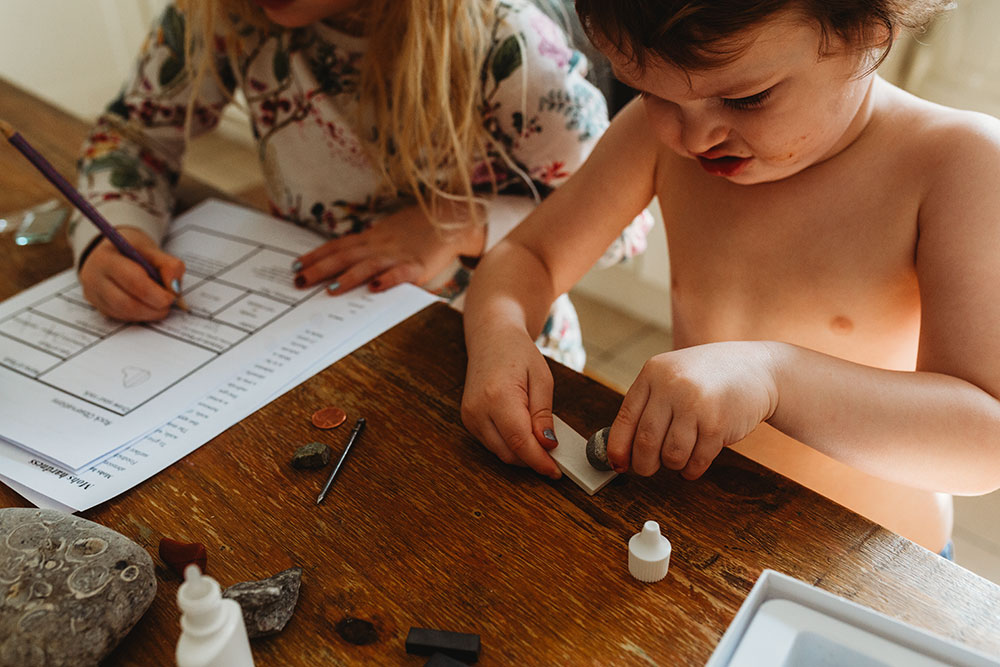
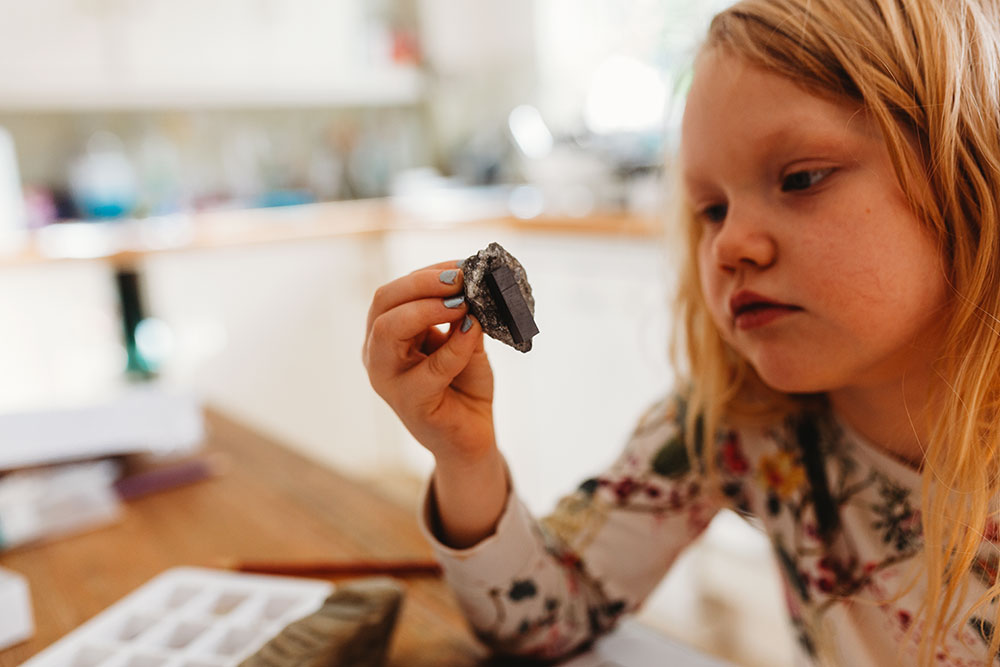
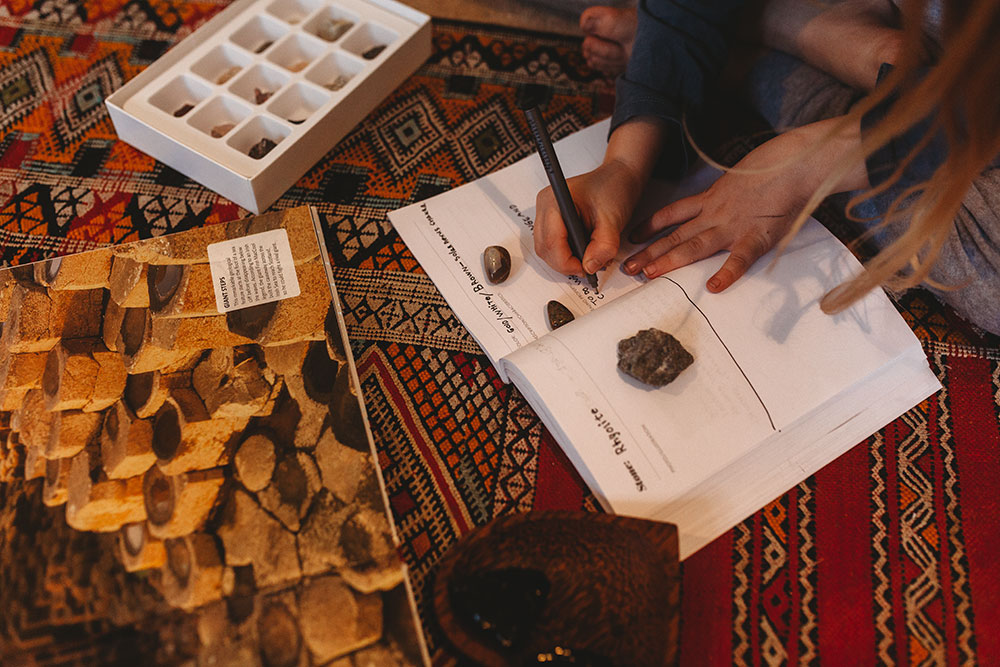
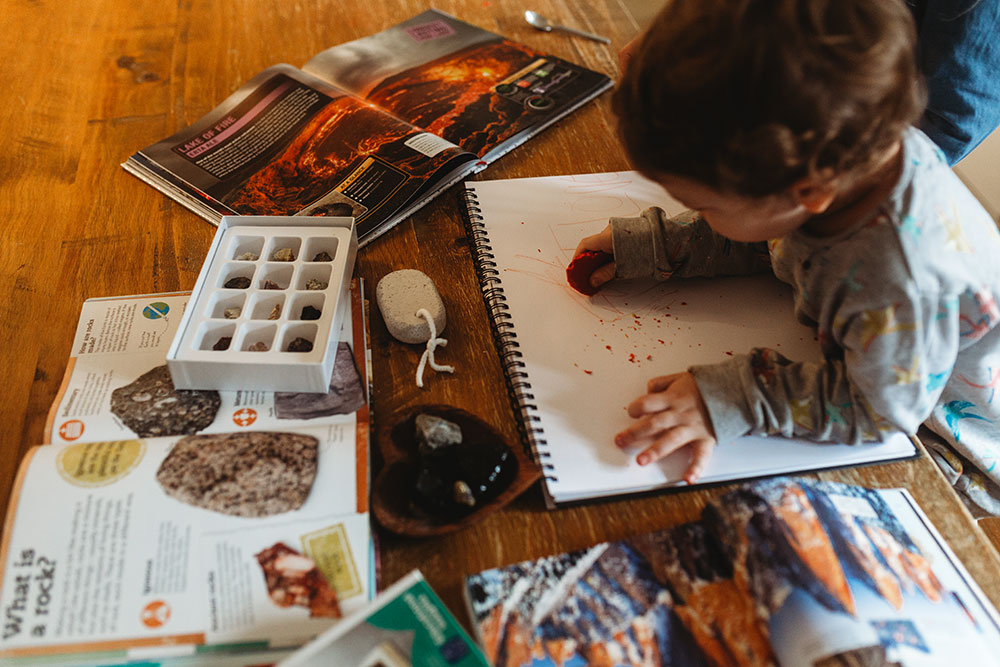
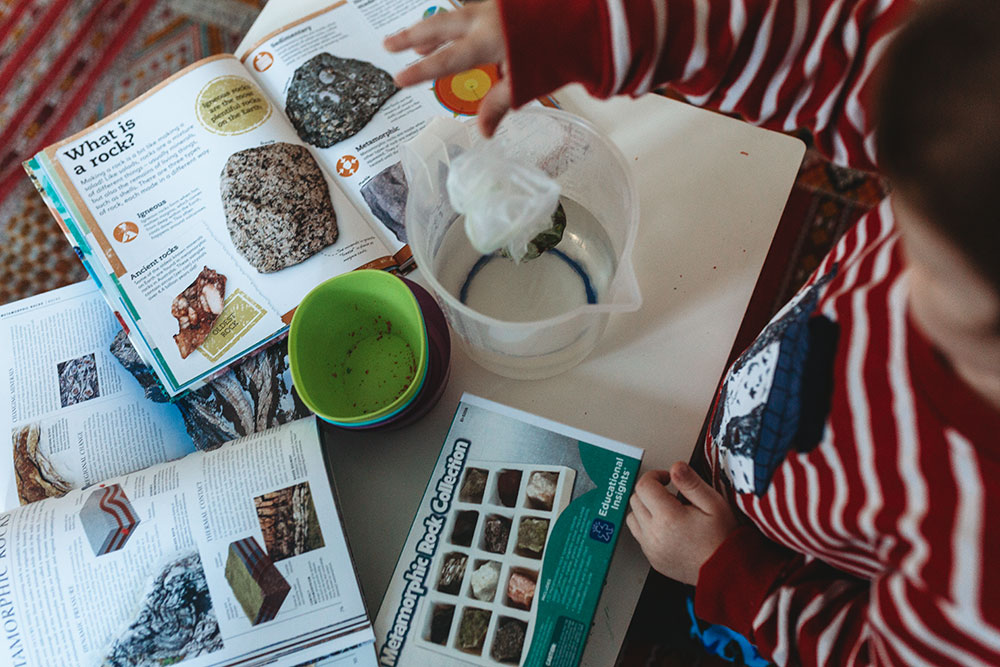
Get Hands on with a Rock Testing Kits
we also spent a lot of time looking, touching and testing our rocks. We had found a cheap rock and mineral testing kit online (annoyingly I can't find the link but easily searchable for other ones) or you can visit A Rainy Day Mum's blog where she shares how you can make your own and where you can also download a great printable to make your observations (which is the one we used in these images). But it's a lot of fun to do and Nixie and Forrest especially loved finding rocks that were magnetic!