Hydraulic Bridge experiment
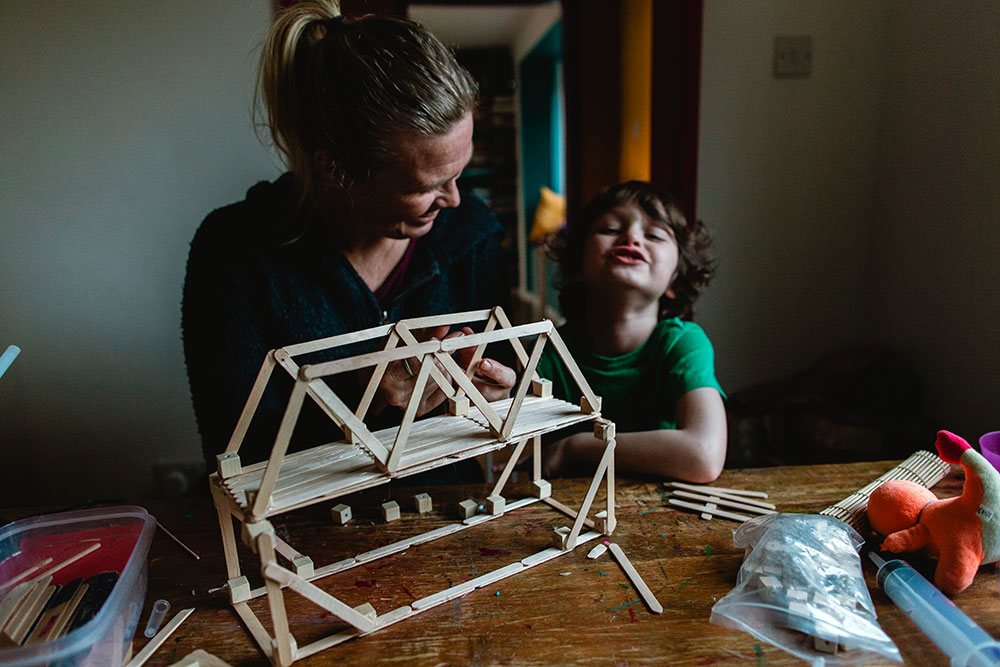
Since we've been learning about bridges and I've been scouring the internet for project ideas I found this hydraulic bridge project shared by Stem Inventions which I knew we had to try for ourselves although we did end up making some tweaks to make it work a bit better for us. This was a project that captured Forrest's attention and he thought it was the coolest thing ever. What was even cooler was that a couple of days after we had finished Nixie had turned on an episode of Inside The Factory and there was a whole segment about hydraulic power!
It took us two weekends to finish this project because I accidentally had purchased the wrong size syringes for the hydraulics so had to order new ones and wait them for them to arrive which was slightly annoying so I'll add a link to the ones we used that worked.
What you will need:
- thin lollipop sticks
- wooden cubes with holes 1.5cm
- dowels to fit the holes (we used the dowels found in a sushi rolling mat!)
- glue gun
- syringes x2 and tubes
- 4 inch cable tie
- water
How we made it:
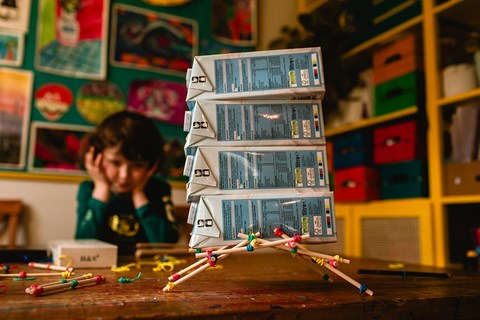
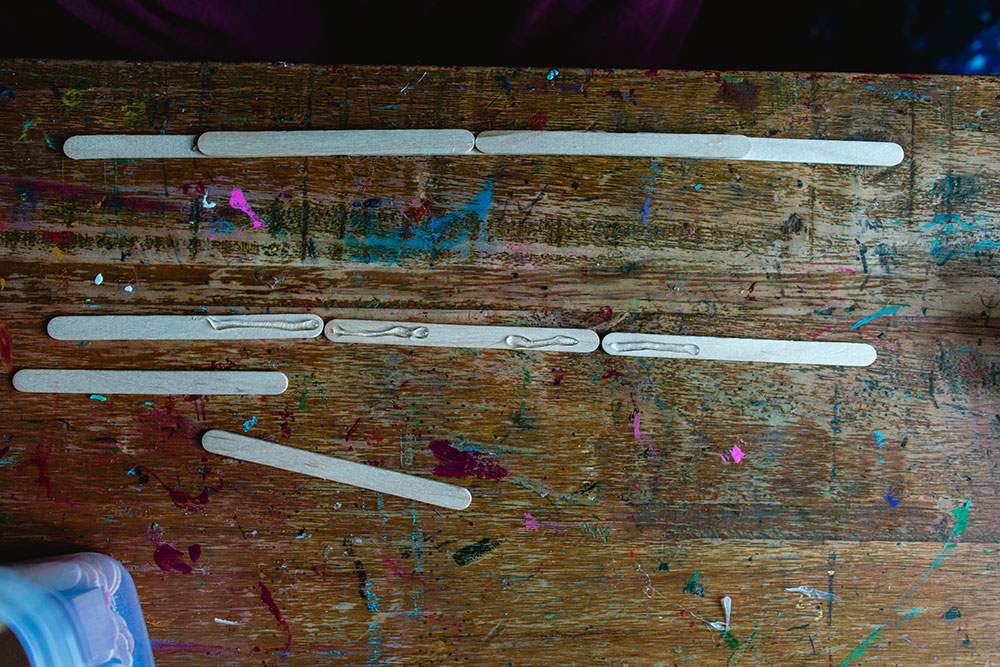
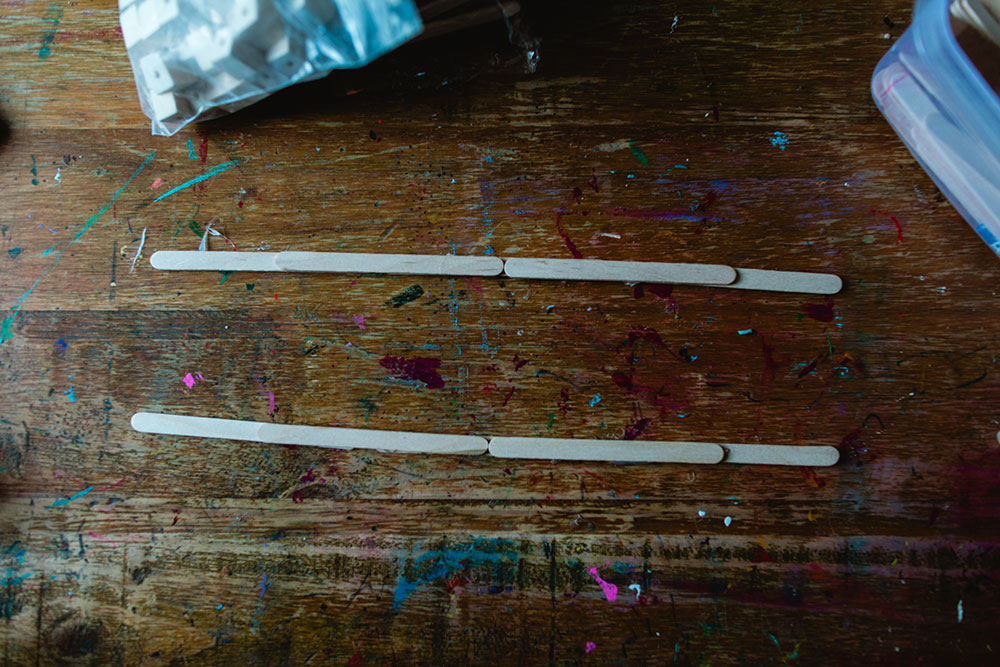
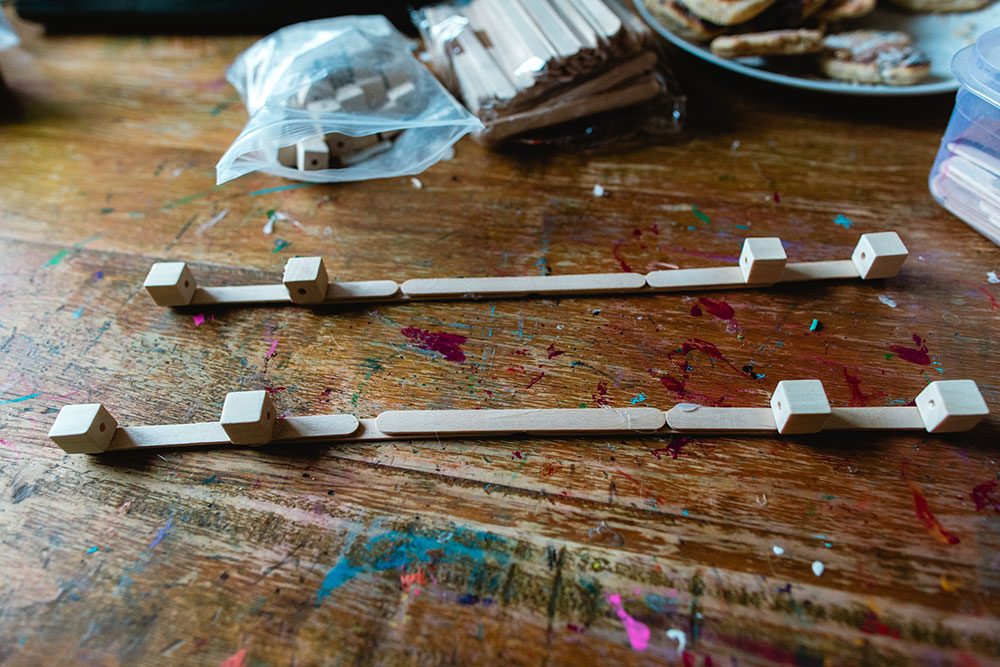
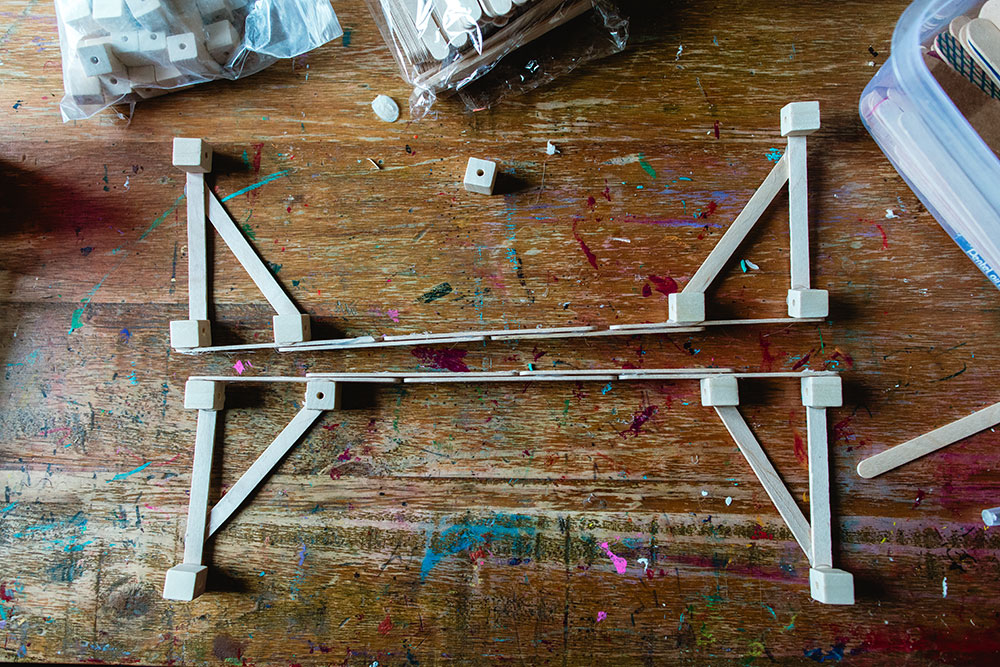
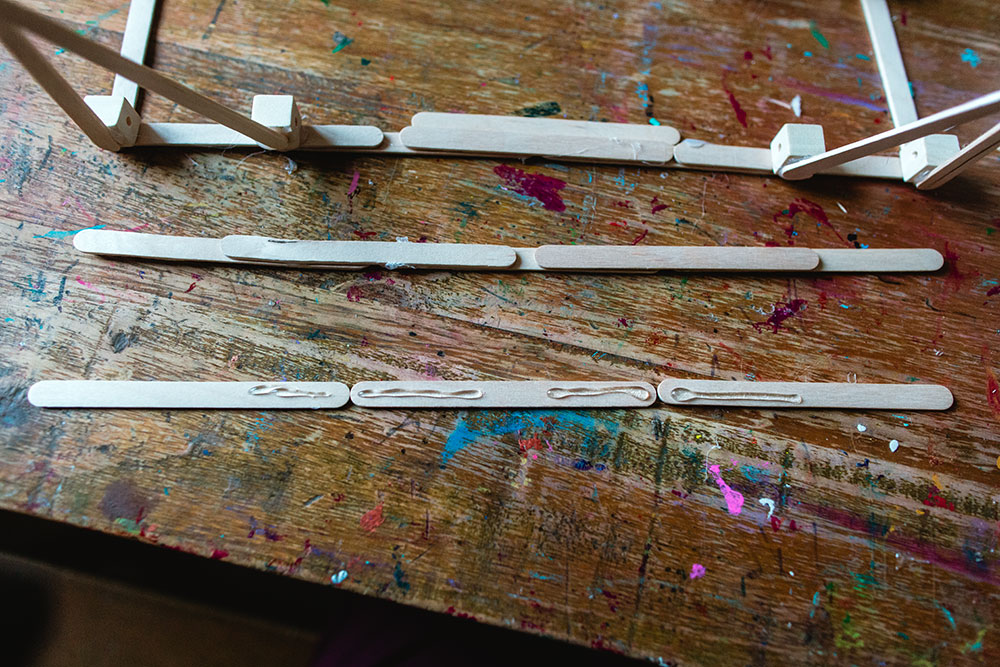
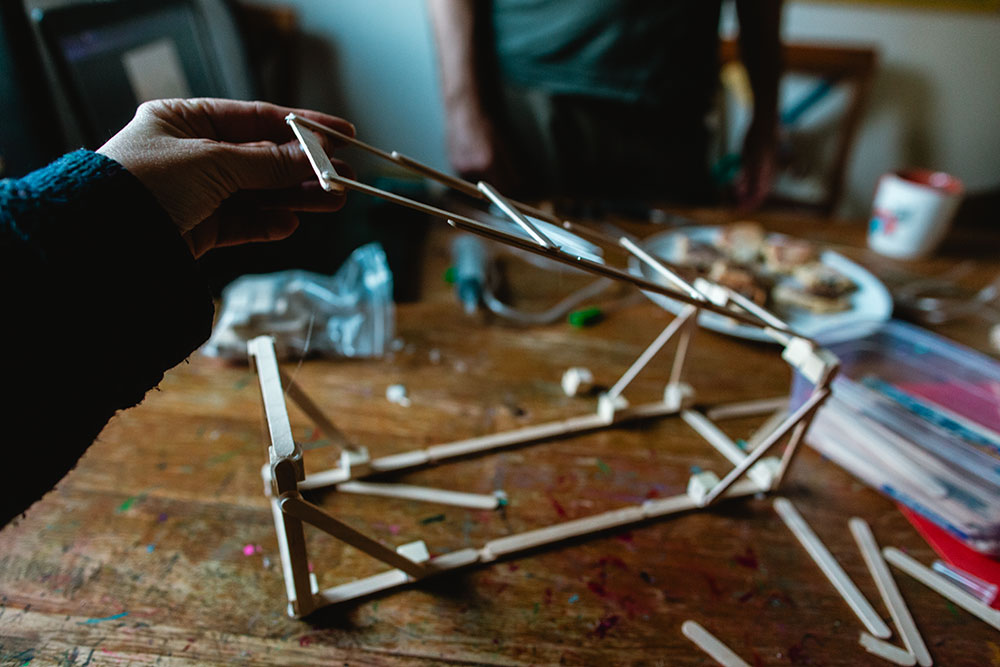
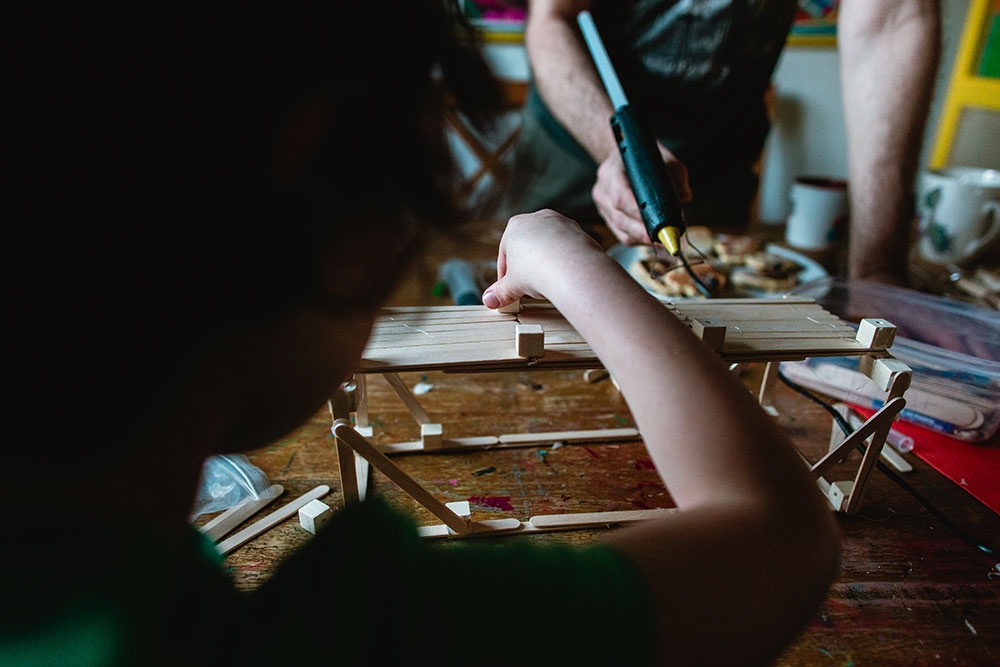
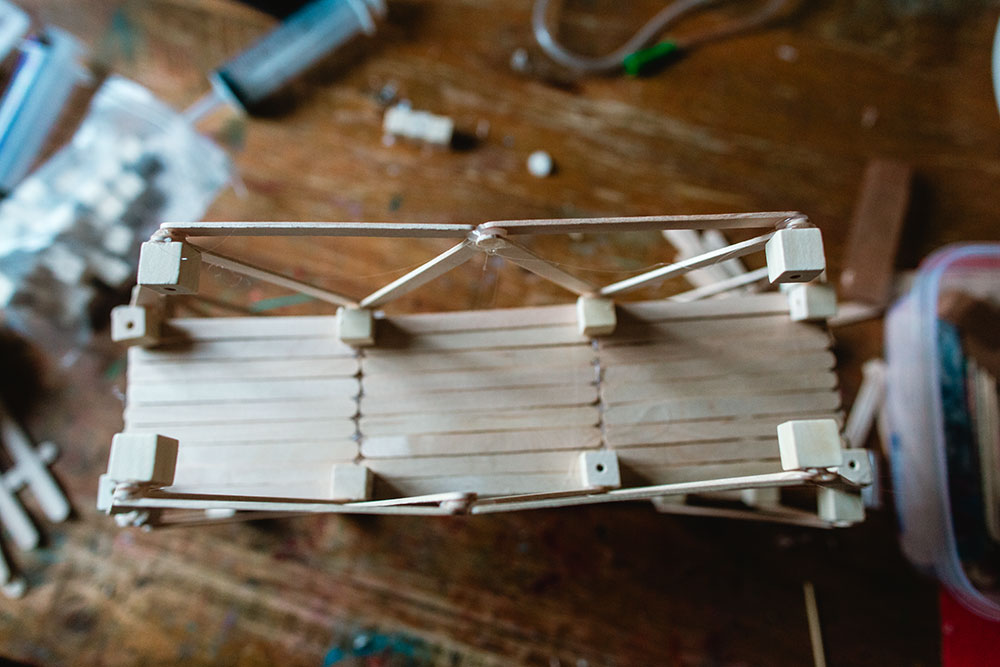
- Create your base using 5 lollipop sticks. Have three sticks in a row and add glue as shown then add the other two on top of the glue. Repeat so you have two identical pieces. Then add 4 cubes to the end of each length (we ended up flipping ours over so the cubes all laid evenly on a flat surface).
-
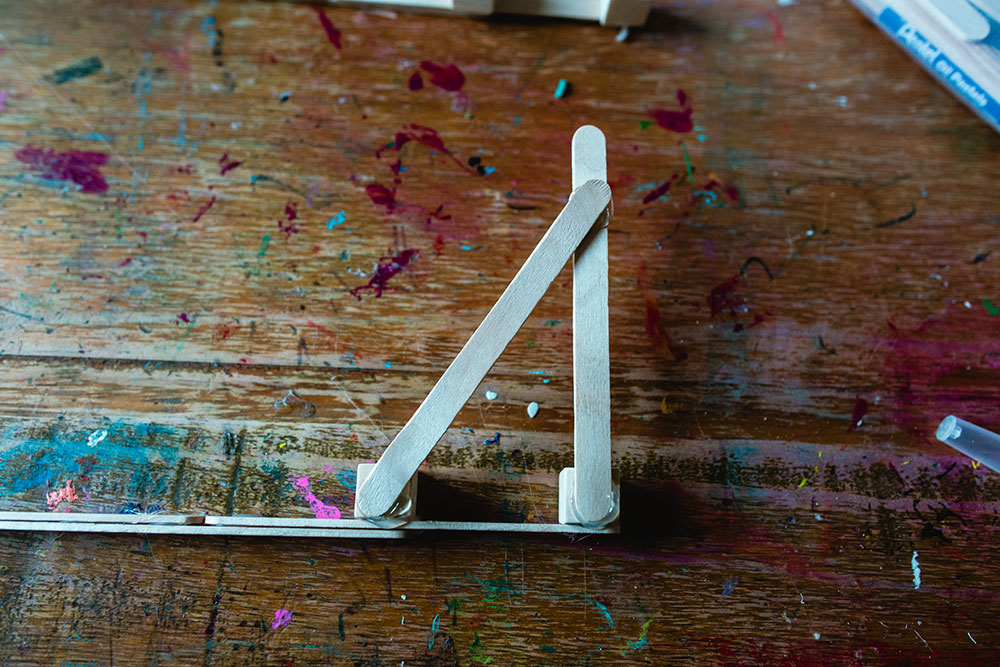
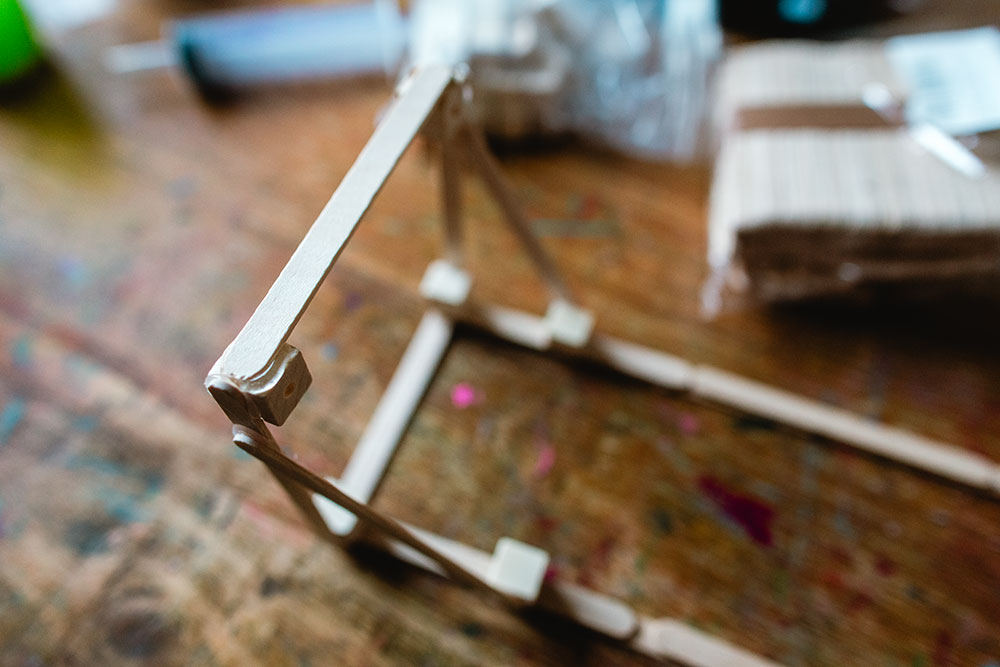
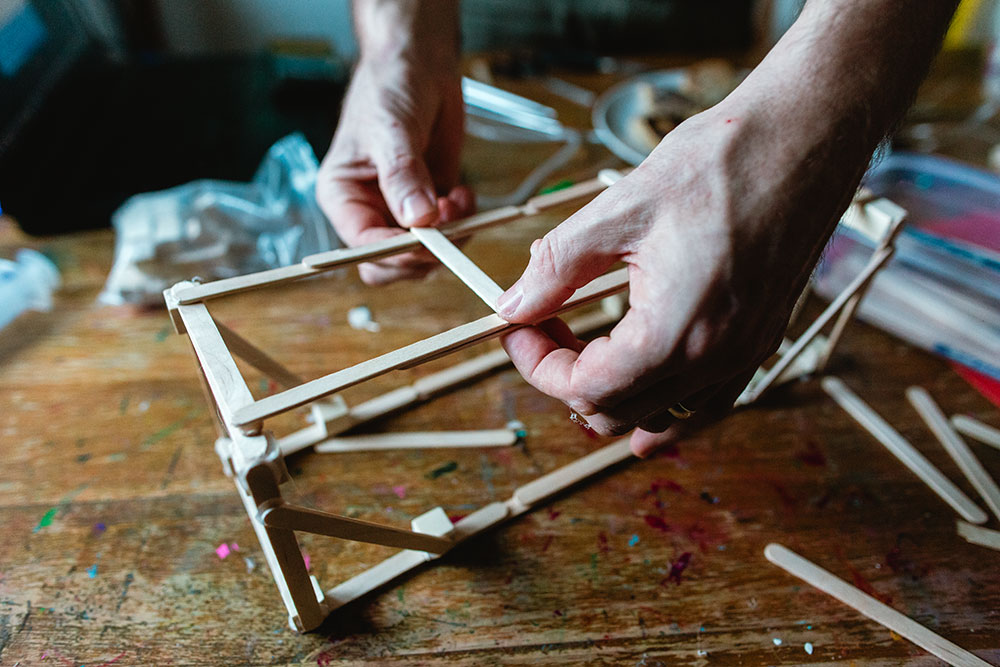
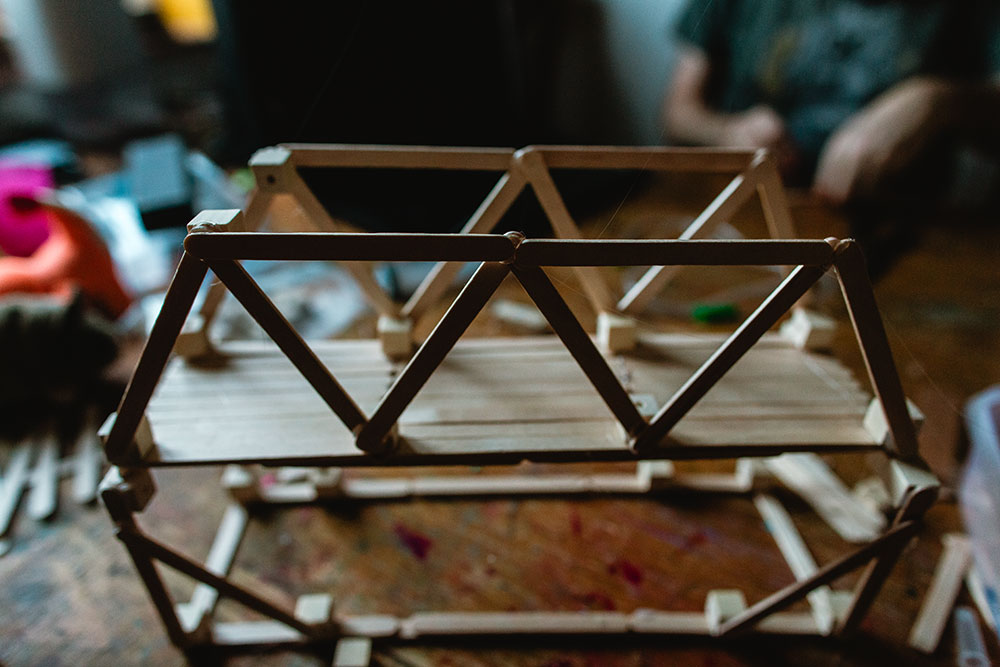
Next add 4 lollipop sticks to each length by creating triangles at each end like shown in the photo.
-
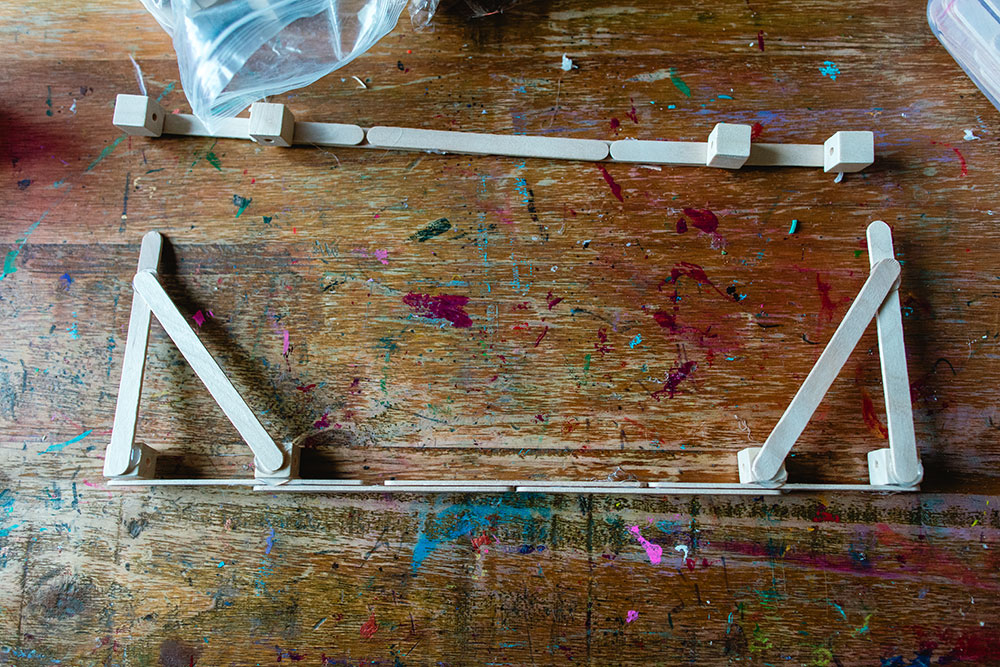
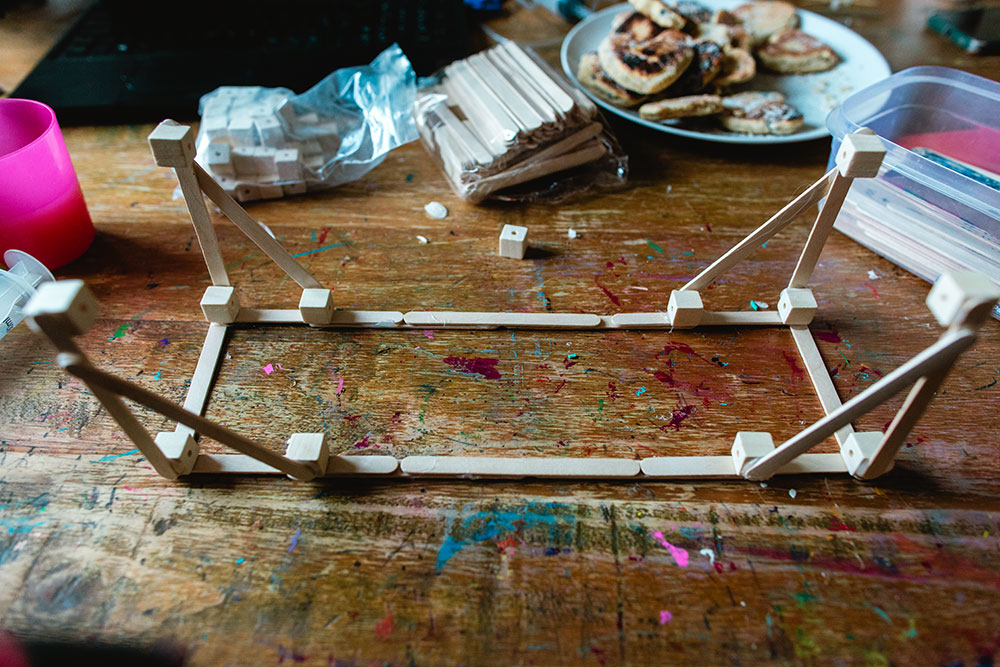
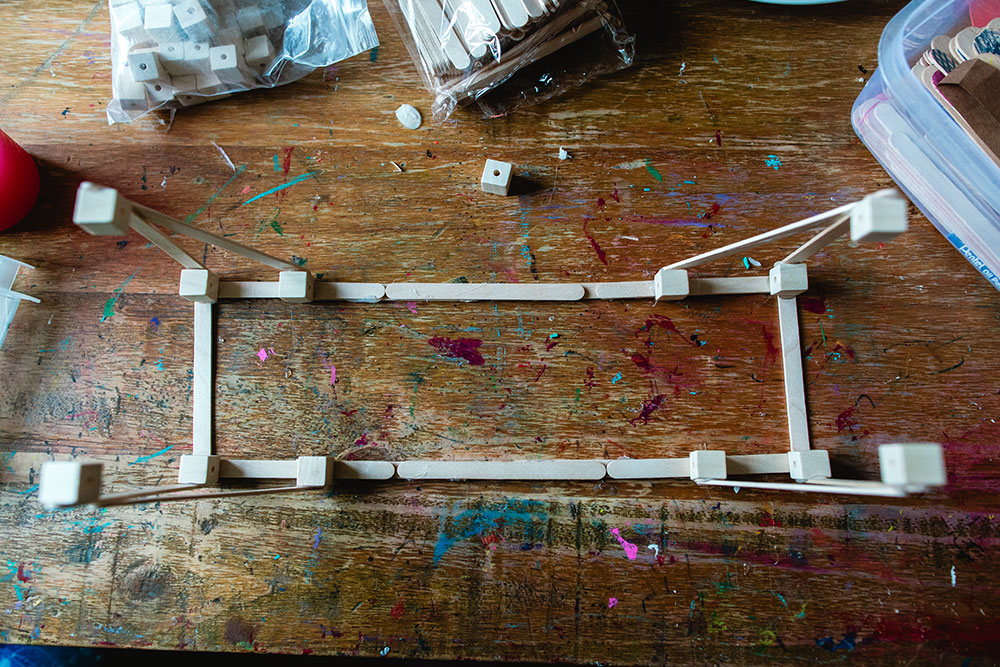
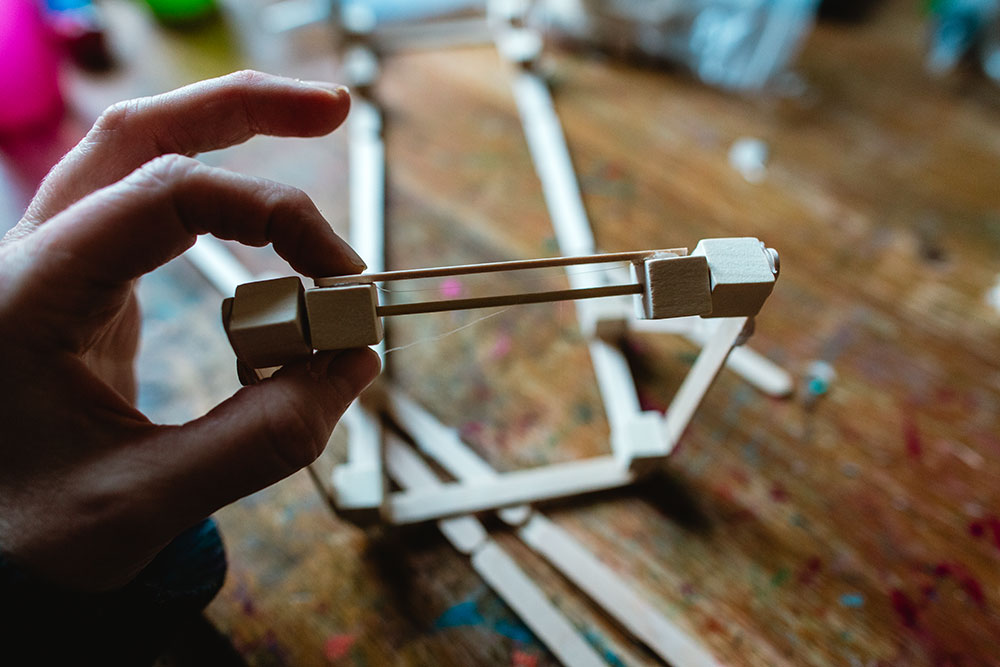
Next you want to connect your two sides by gluing a lollipop stick at each end and adding 4 more cubes at each corner (make sure that the holes are pointing outwards).

-
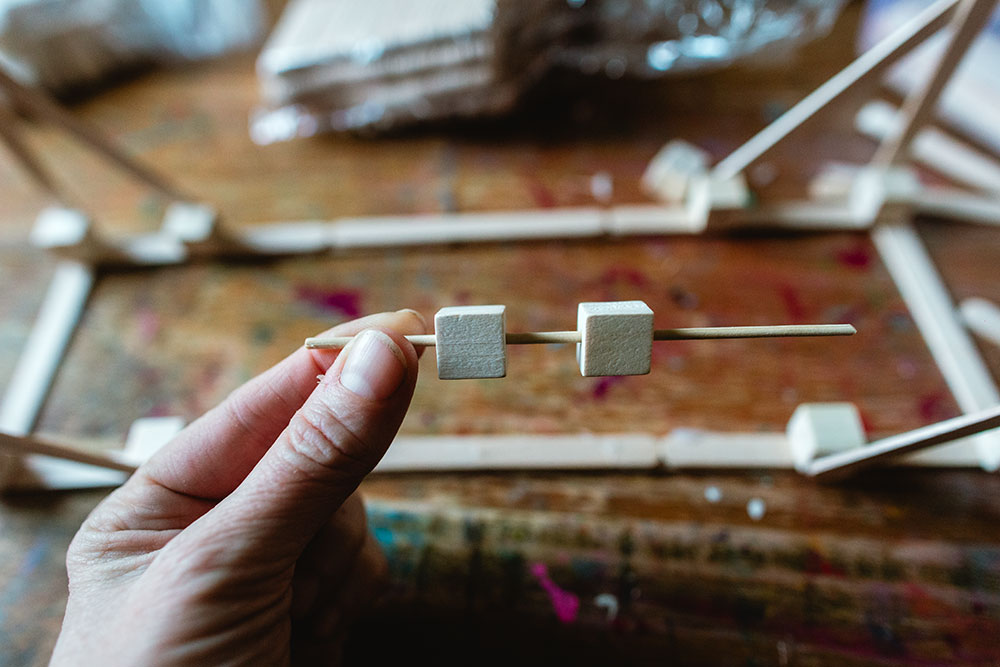
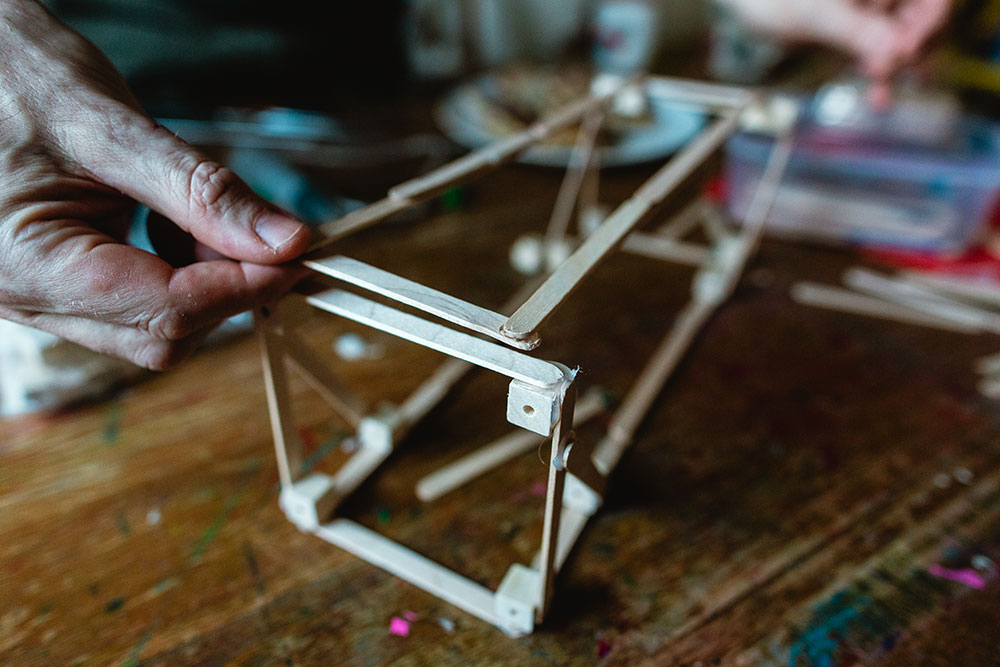
Next, we cut our dowel to size and beaded two cubes onto it. This will be the hinge that the bridge goes up from.
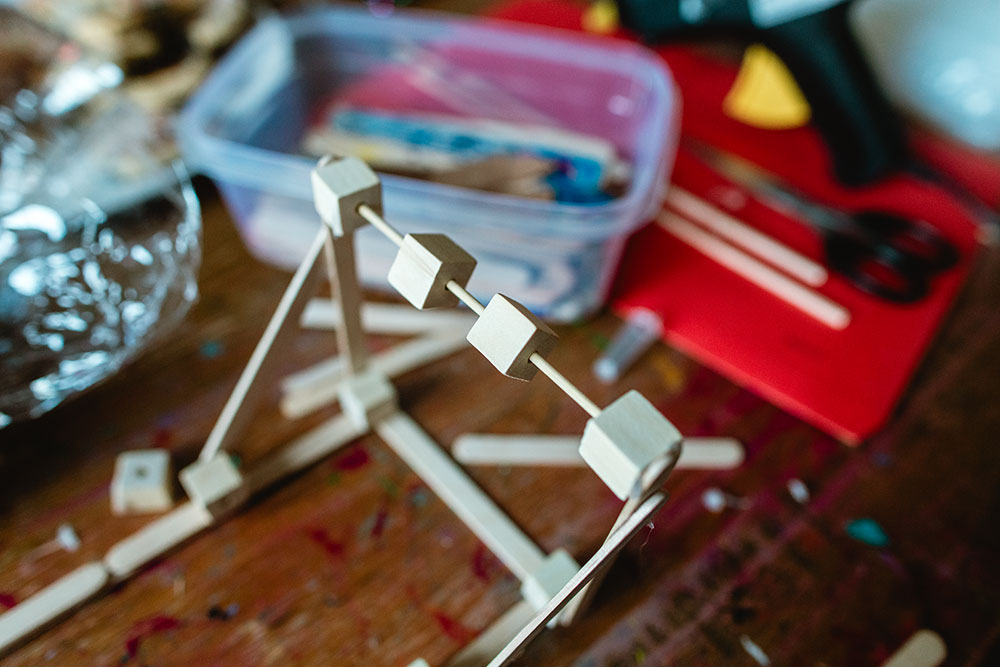
- Next we cut a lollipop stick to fit from the two new cubes (make two of these) (this end will be slightly narrower than the other end) Then we glued a regular sized lollipop stick from cube to cube on the other end and began making our top base.

- Next we glued our two long strips we just made to the shorter lollipop sticks (add the other short one to the other side). Next we added 2 lollipop sticks across the top base.
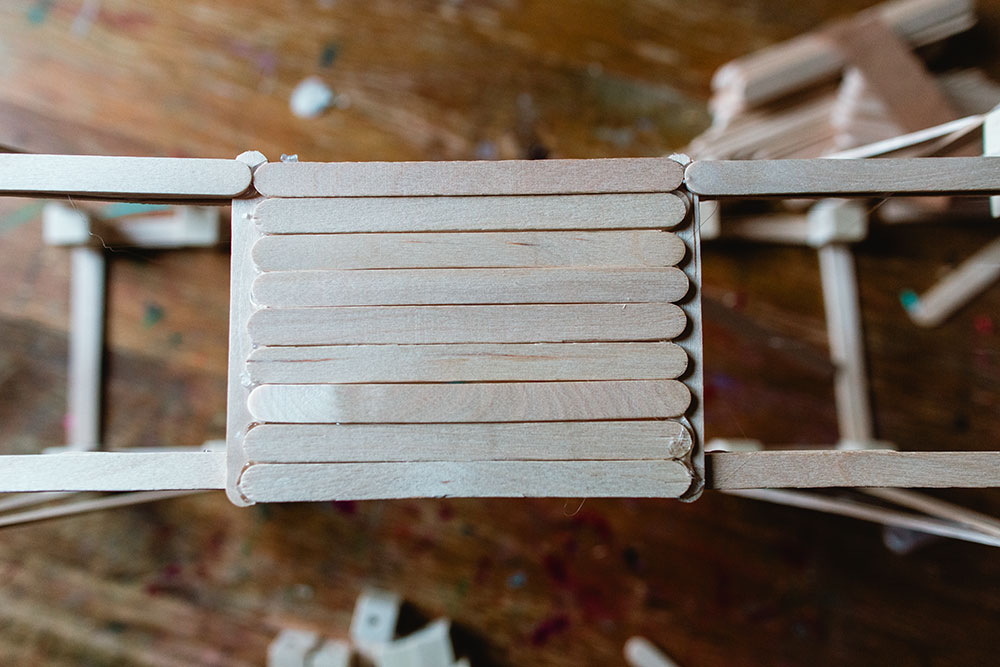
- Then we began building the floor of the bridge beginning with the middle section and then continued outwards until it was covered and finishing it up with adding 8 cubes at each section.
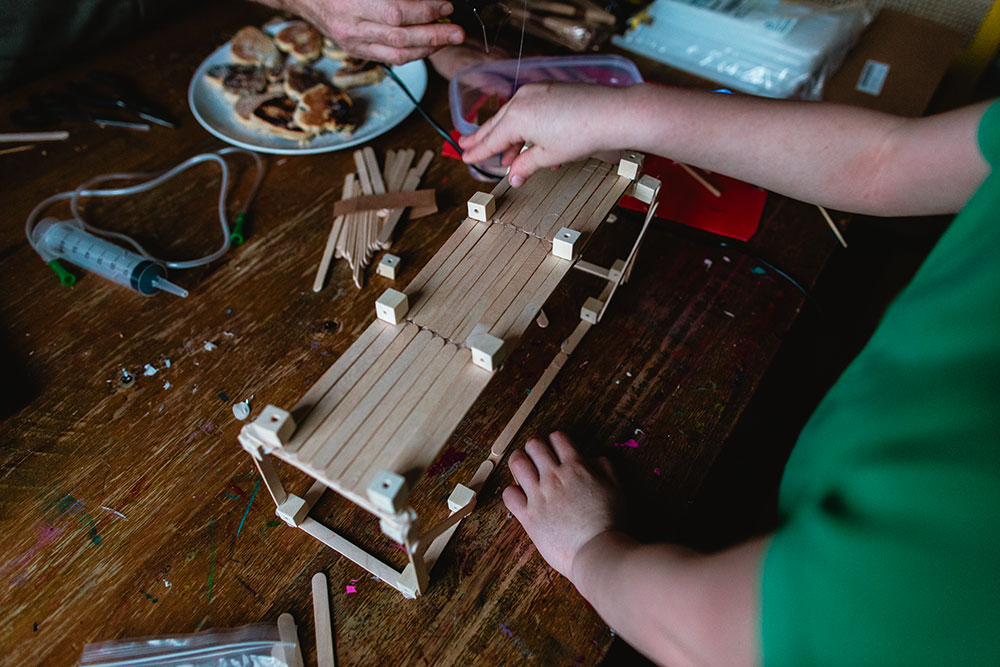
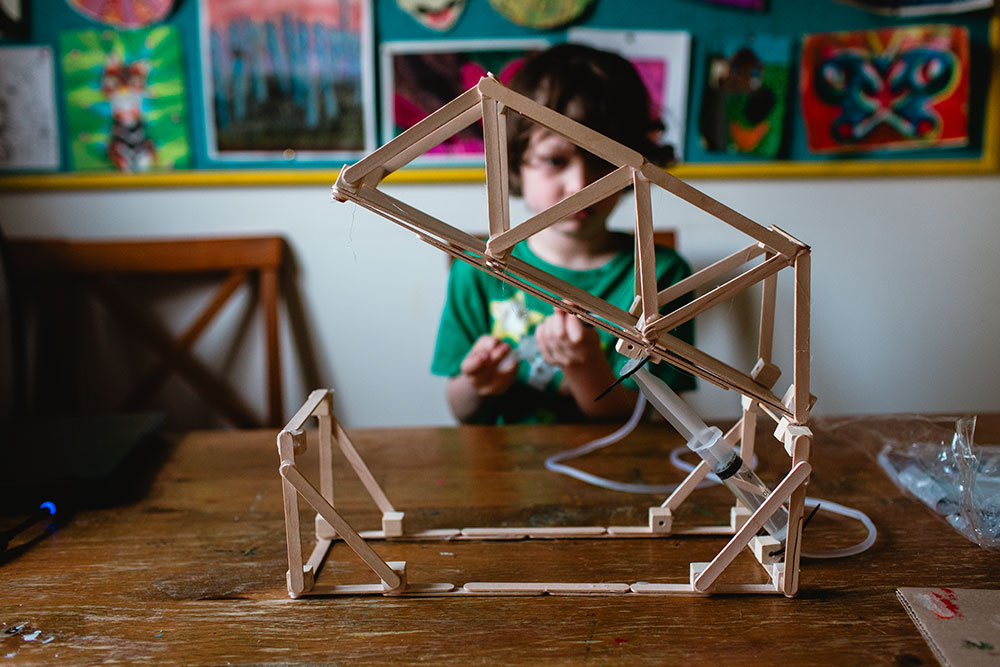
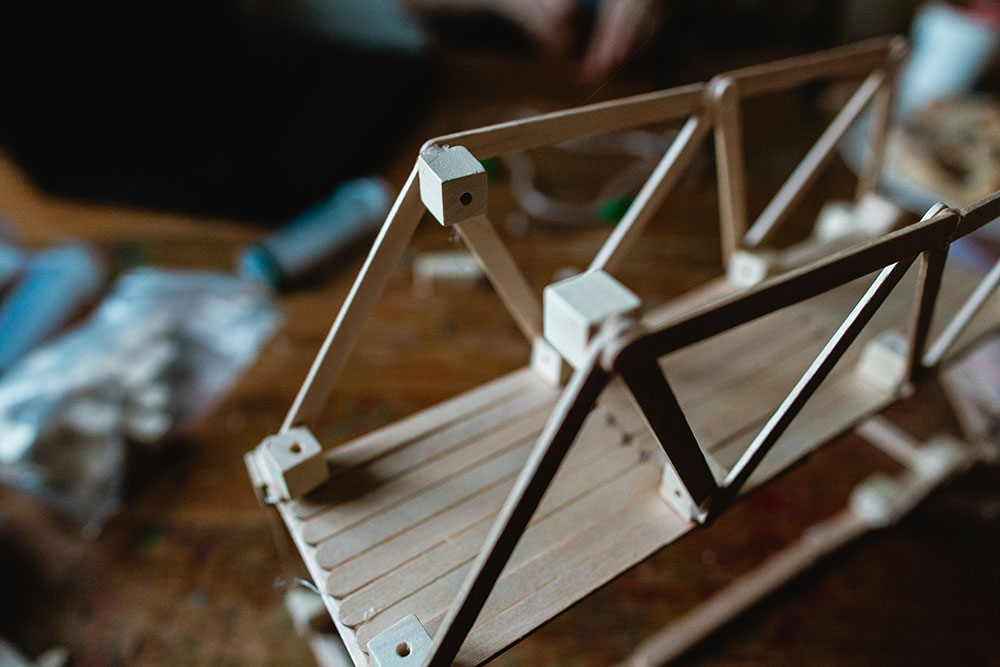
- Next we built the sides using the truss design and adding cubes to all four ends.
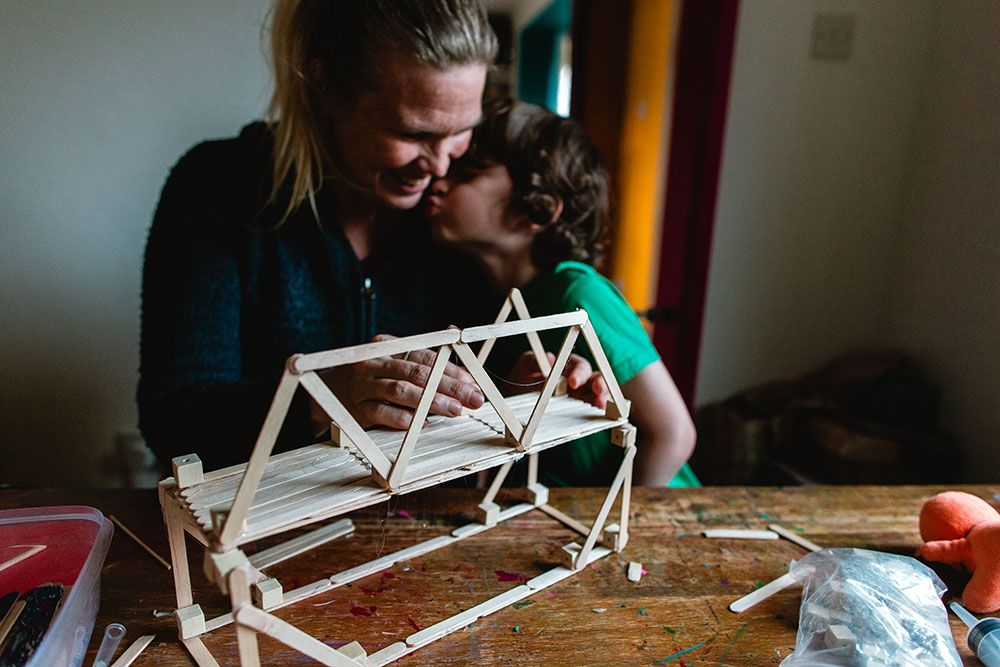
-
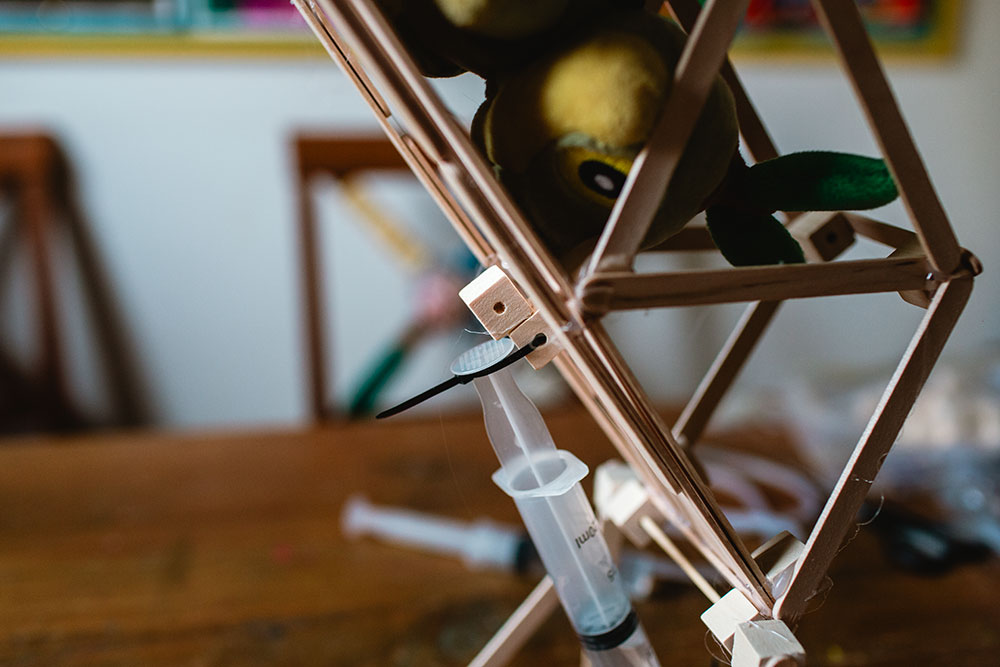
- Then we added a cube to the bottom centre of the hinge side with the holes pointing to the sides and also a cube just by the first horizontal lollipop stick.
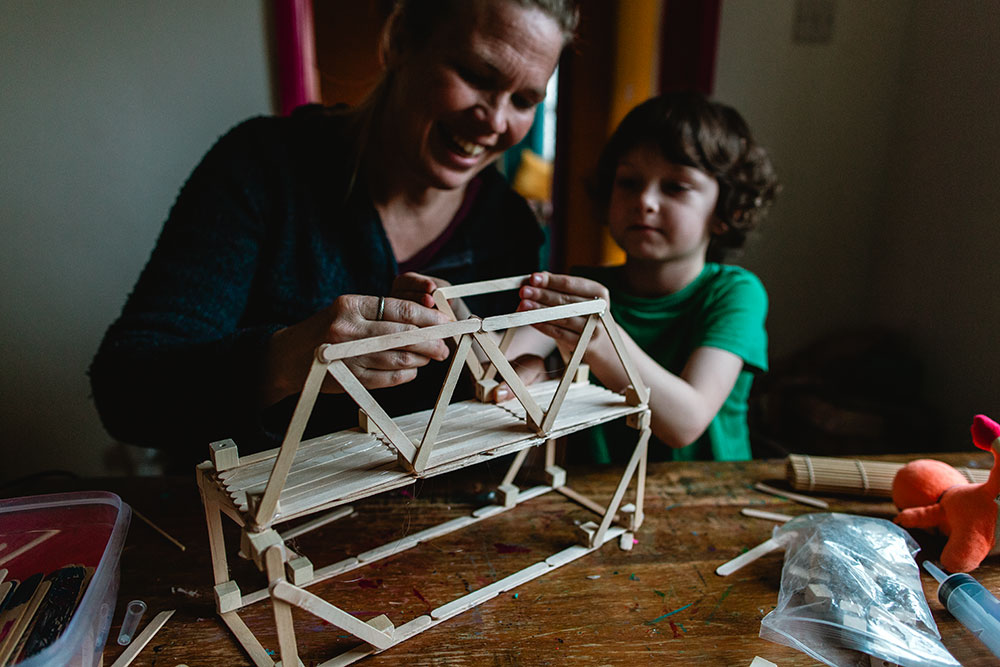
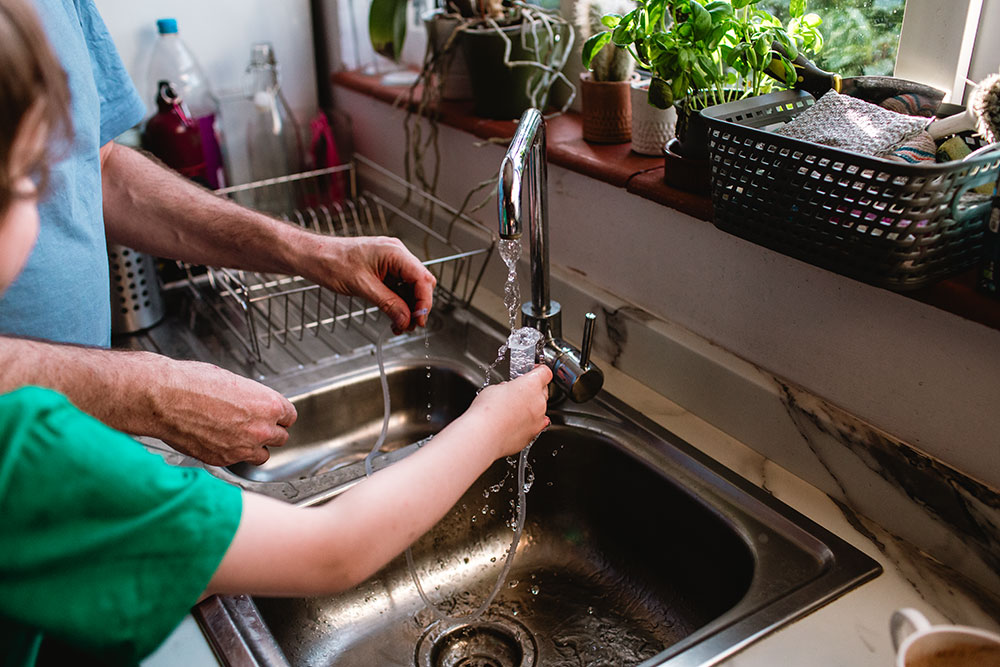
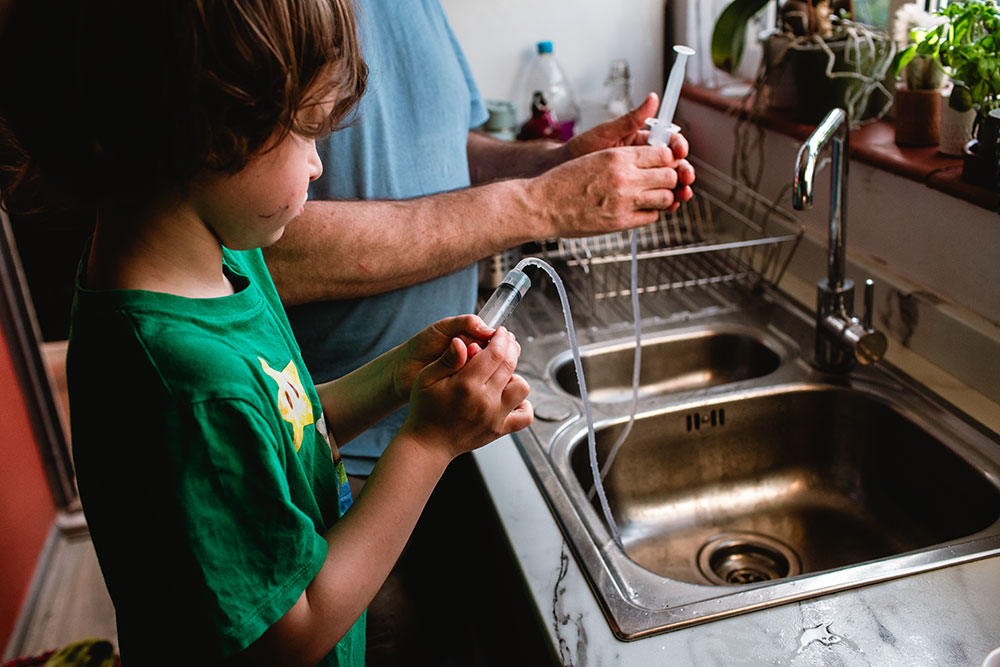
- Next it's time to sort out the syringes. Take one tube and attach it to the other syringe then fill it with water.
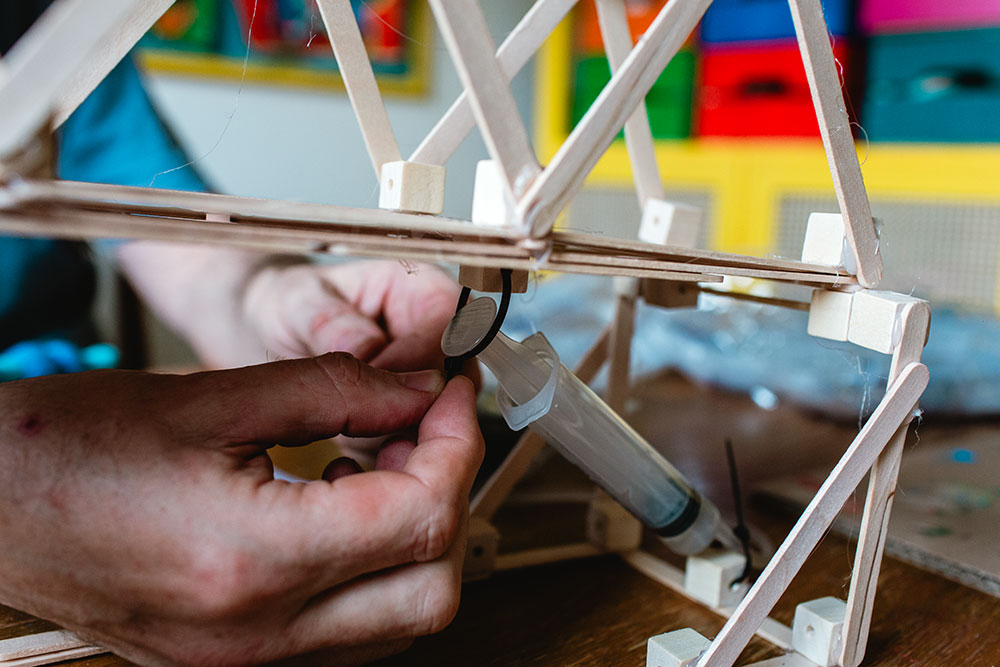
- Next take 2 cable ties and attach your syringes to each cube you just attached to the bridge. We ended up needing to add another cube to the one on the top just t create a little lip so that the syringe wouldn't move as much and so that it would lift the bridge the highest

- Now you are finished and you can test it out.